


Are you asking, "How do I start making jewelry?" Starting to make jewelry can be a fun and rewarding creative journey, allowing you to express your personal style through unique, handmade pieces. What begins as a simply hobby can quickly turn into a fulfilling passion, with endless opportunities to experiment with different designs, materials and techniques. Whether you're designing and creating jewelry for yourself, friends or as a relaxing escape, the possibilities are endless. This guide will help you on your way to your jewelry-making journey, providing you with knowledge and inspiration you need to bring your visions to life.


Bead Stringing: A Calming and Creative Foundation for Jewelry Making
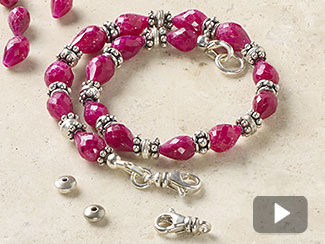
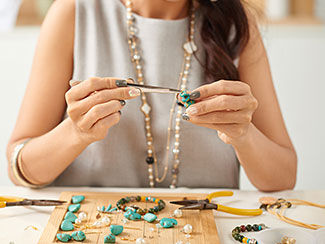
Bead stringing is a fundamental jewelry-making skill that forms the foundation for many designs. It is also a calming, therapeutic activity that promotes mindfulness and stress relief. It involves threading beads onto a string or wire, allowing for endless creativity and customization. With the ability to mix different shapes, colors, and sizes of beads, the design possibilities are limitless, making bead stringing a versatile technique for both beginners and experienced jewelry designers.
"A calm mind is a creative mind." - Sarah Selecky

Must-Know Techniques
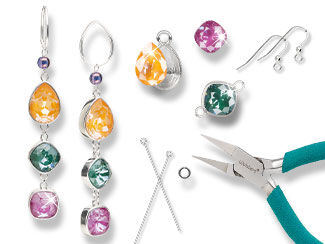
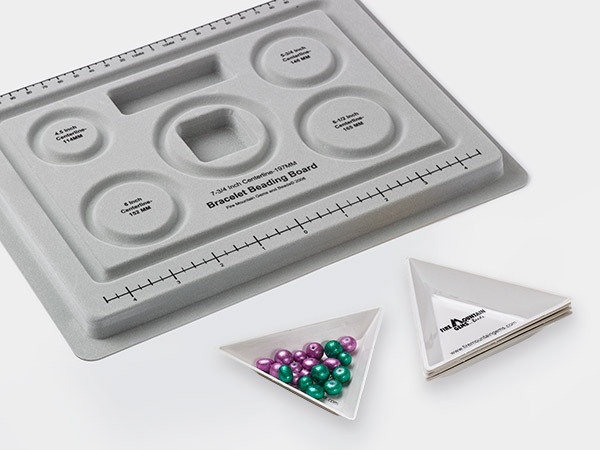
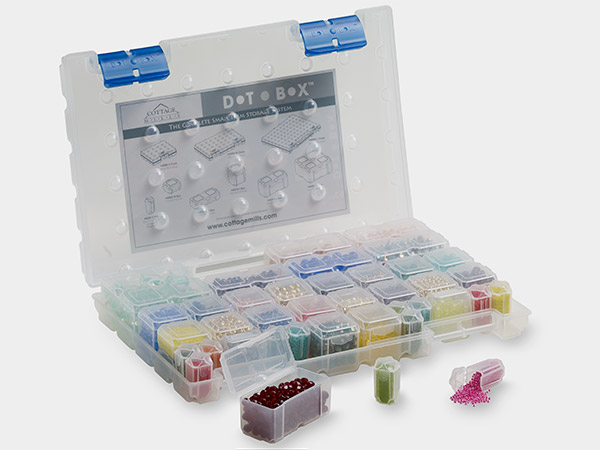
Follow along as Patti shares her list of top tools and materials every jewelry maker needs for various techniques.
Hosted by Patti
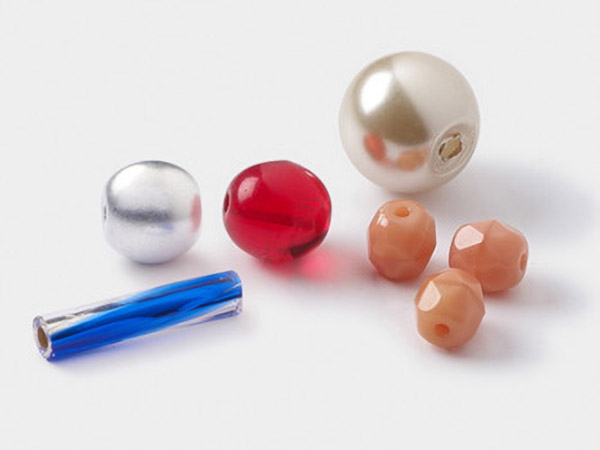
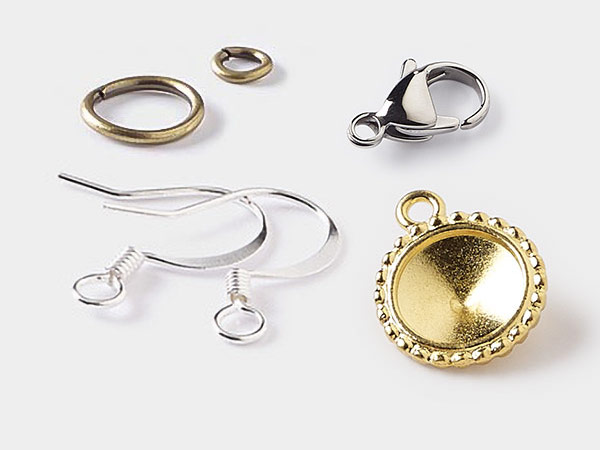
When stringing beads, selecting the right stringing material, beads, and findings is crucial for ensuring the strength, durability, and overall aesthetic of your project. The stringing material should complement the weight and type of beads you're using, while also providing the flexibility or rigidity needed for your design. Beads come in a wide variety of shapes, sizes, and materials, so choosing the right ones will help achieve the look and feel you want. Similarly, selecting the appropriate findings, like clasps, crimps, and jump rings, is essential for securing your design and ensuring it’s functional and wearable. Taking the time to carefully choose these components will make a big difference in the success of your jewelry creation.
Avoid These Bead Stringing Mistakes
Patti shares 5 common jewelry-making mistakes to avoid, such as crimping incorrectly, which can cause beads to slip or fall off, and not leaving enough wiggle room at the ends of your stringing projects, leading to a too-tight fit or potential breakage. By learning from these mistakes and carefully selecting the right components, you can create stunning, long-lasting jewelry that stands the test of time.

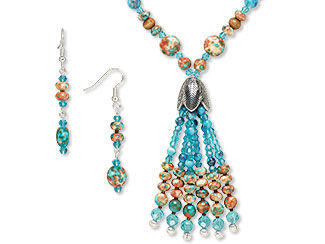
Create a DIY Focal Using a Cone
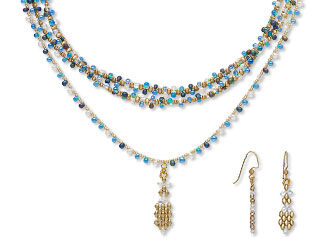
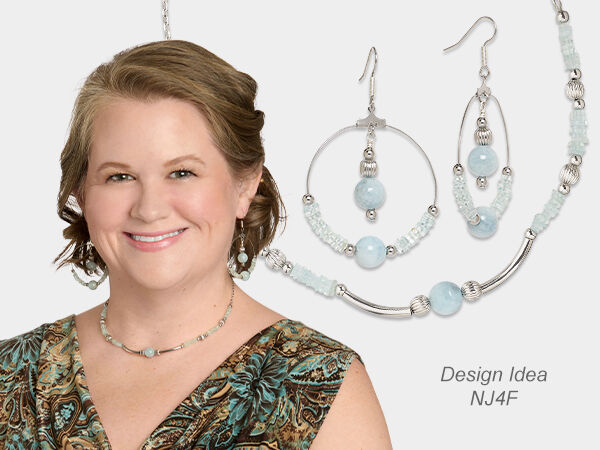
In this featured project, follow the step-by-step instructions to make your own necklace and earrings. Choose your favorite beads and create your own one-of-a-kind set.
A Ceramic Escape
It's time for an escape ... even if it's just for the time it takes to string this brilliantly colored jewelry project. Let the one-of-a-kind painted ceramic beads inspire you as you make a new version.
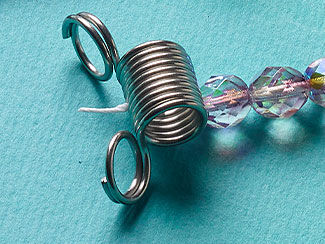
How to Use Bead Stoppers™
Want a tool that keeps beads from falling off your jewelry wire or thread? Learn how to use a bead stopper in this how-to video from jewelry artist Katie Hacker.
Frequently Asked Questions
Our team of experts is here to answer all your bead stringing questions. Whether you're wondering what stringing materials work best with wood beads, how to reduce beading wire waste, which thread to use with pearls, or the best stringing material for tiny beads, we've got you covered.

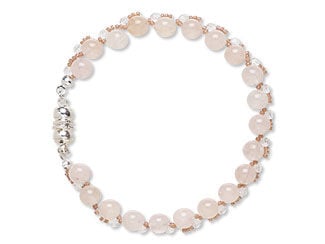
Q: I want to make an 8mm beaded bracelet using turquoise and mother-of-pearl. What size elastic cord should I get?
A: We suggest 0.8mm Powercord® for an 8mm beaded bracelet. This size is thin enough to pass through most bead holes, while still maintaining the strength and flexibility needed.
Jewelry Making Charts
Charts are also a great way reference for questions about bead stringing. .

"How many beads per strand?" and "What are standard jewelry lengths?" are common questions in bead stringing. These charts save time and reduce errors, ensuring that your projects turn out as planned and fit properly, while also helping you experiment with new ideas and techniques.
Explore bead stringing charts to find these answers and more.
Get Inspired!
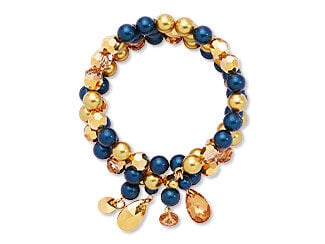
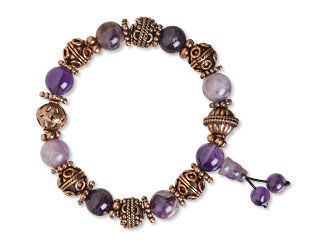
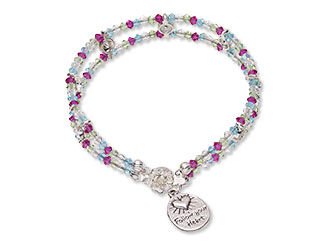
Find inspiration for your bead stringing projects in the Gallery of Designs. Explore a variety of creative designs featuring a wide range of beads for jewelry making.
Top 8 Bead Stringing Jewelry Making Supplies
Your Guide to Jewelry Making