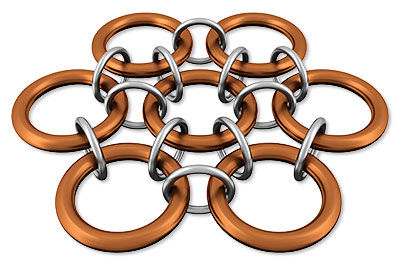
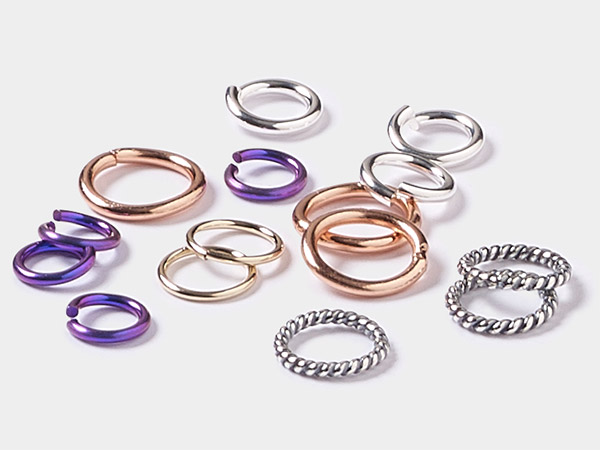
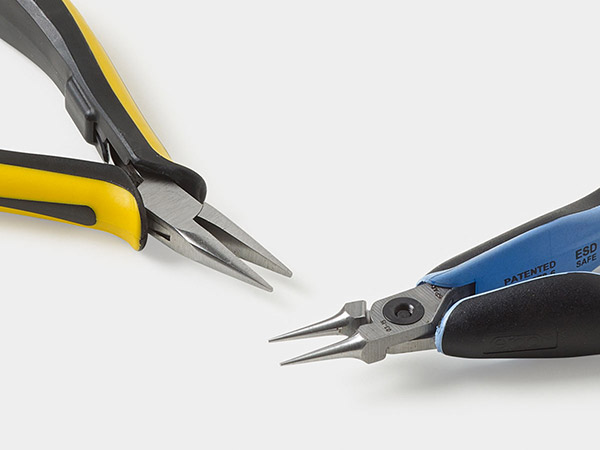
How to Create a Japanese 6-in-1 Chainmaille Weave
Instructions
Option 1: Row by Row
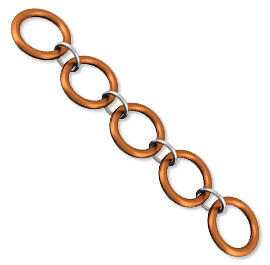
Starting and ending with large jump rings, create a 1-1 chain to the desired length with alternating large and small rings.
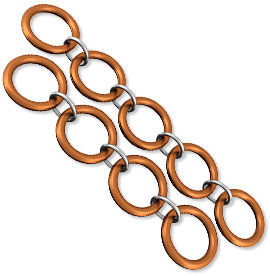
Starting and ending with large rings, create a second chain with one less set of large and small rings.

Pass a small ring through the last large jump ring on each chain, then close.
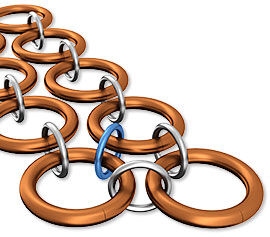
Pass a small ring through the last large ring on the shorter chain and the second to last large jump ring on the longer chain, then close.
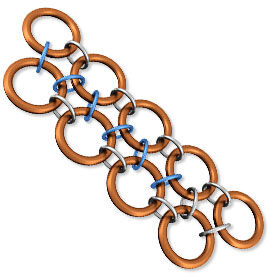
Pass a small ring through the second to last large jump ring on the longer chain and the second to last large jump ring on the shorter chain.
Continue to add jump rings to connect the two chains completely.
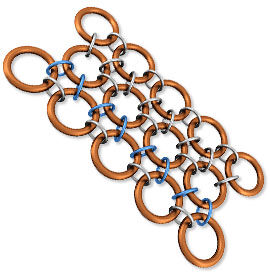
To lengthen the weave, create another long chain and connect it to the previous row as in Step 4.
Continue by creating and adding short and long chains until the desired size is reached.
Option 2: Ring by Ring
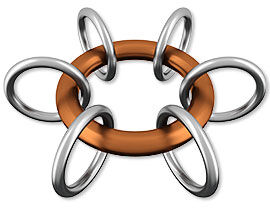
Pass a large ring through six small rings, then close. This is now the center ring.

Pass a large ring through two small rings and a small ring added to the center ring in Step 1, then close.

Pass a large ring through a small ring, a small ring added in Step 2 and the next small ring on the center ring.
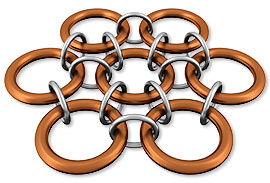
Repeat Step 3 until a total of six large rings are connected to the center ring.
Note: The flower-like component can be used alone, connected to other components or extended. To extend, continue to add rings in the desired direction(s).
Shop for Your Materials Here:
Have a question regarding this project? Email Customer Service.
Copyright Permissions
All works of authorship (articles, videos, tutorials and other creative works) are from the Fire Mountain Gems and Beads® Collection, and permission to copy is granted for non-commercial educational purposes only. All other reproduction requires written permission. For more information, please email copyrightpermission@firemtn.com.
