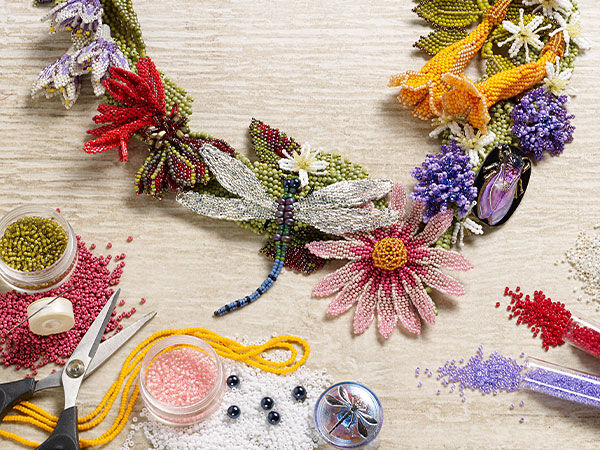
Gallery of Designs Browse over 4,000 Design Ideas and Over 1,000 Jewelry Projects
Find jewelry-making inspiration in the Gallery of Designs showcasing the work of brilliant artists in the mediums of seed beading, wire-working, stringing and much more.

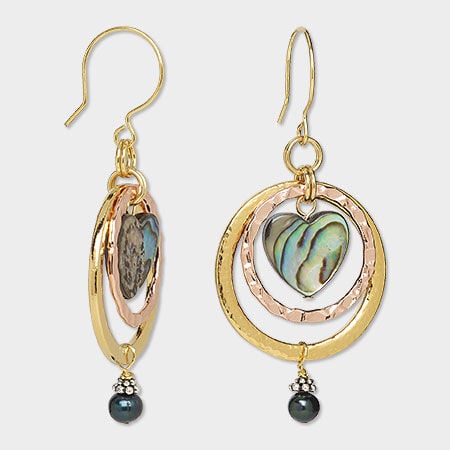
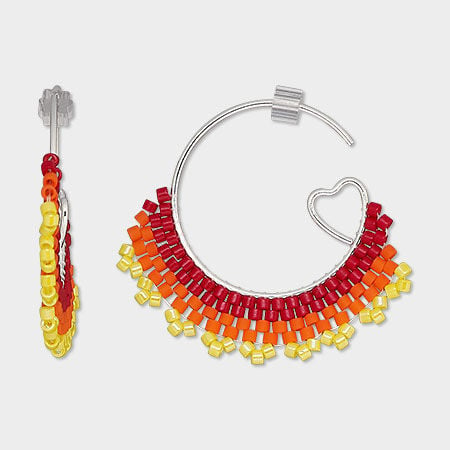
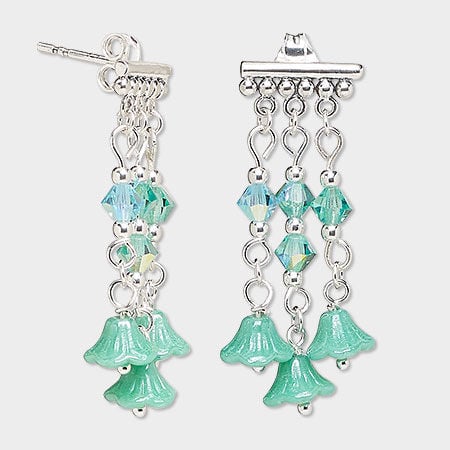
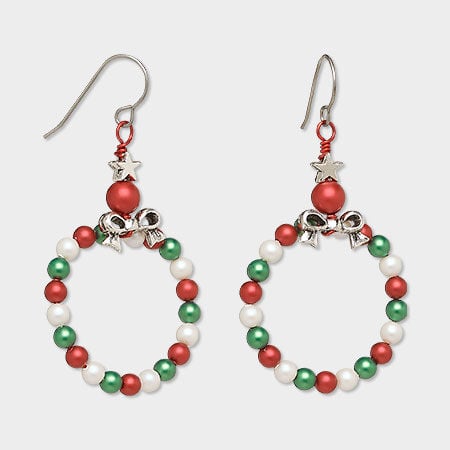
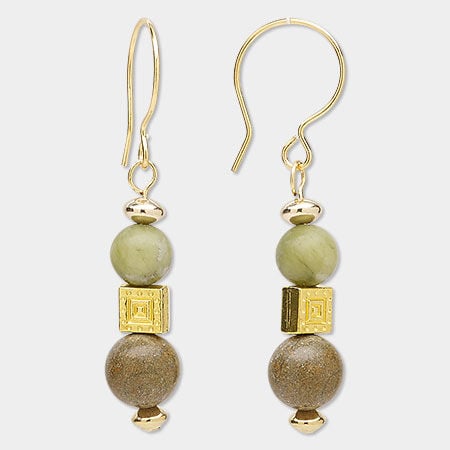
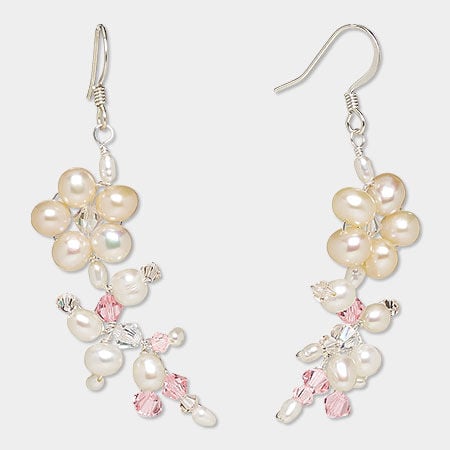
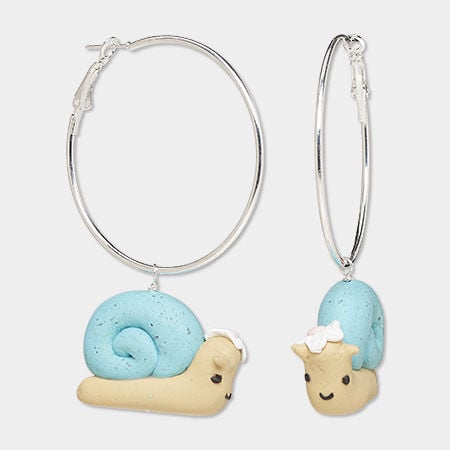
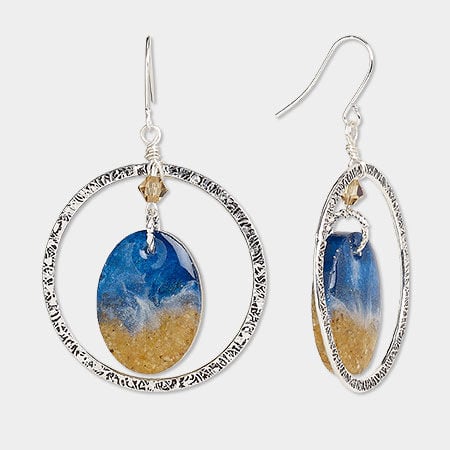
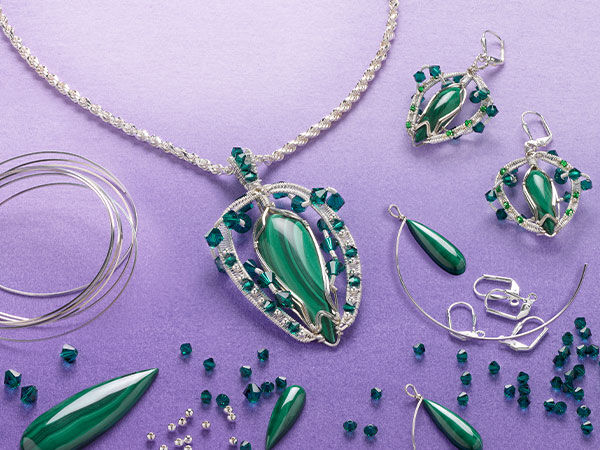
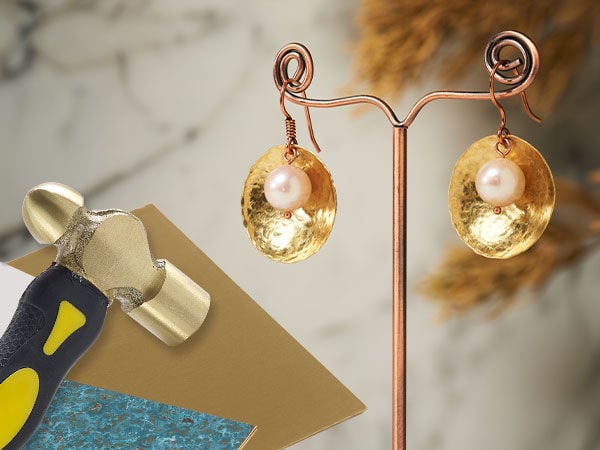
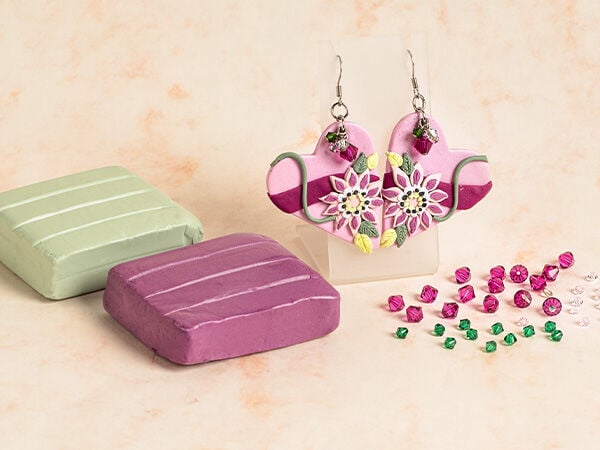
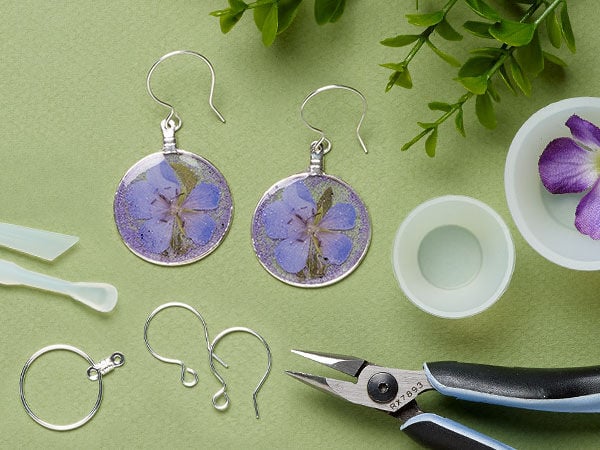
Earrings
There's plenty to get hooked on among our earring designs. The Gallery is studded with elegant styles to delight and inspire, from chic studs to spectacular shoulder dusters, stand-alone pieces or part of a set.

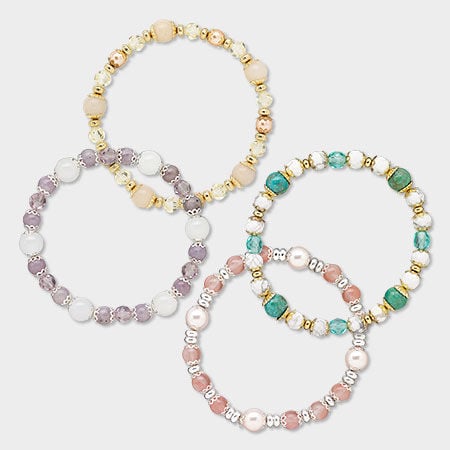
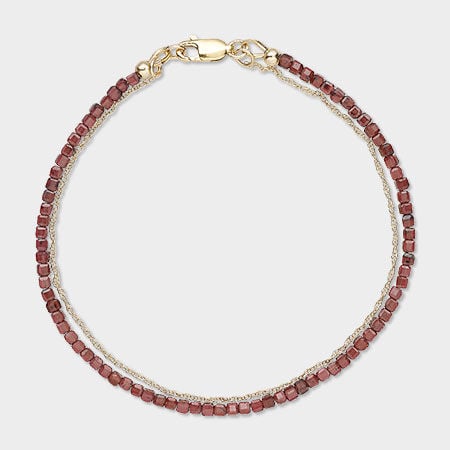
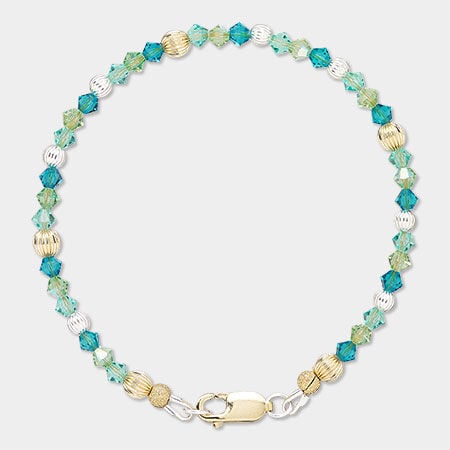
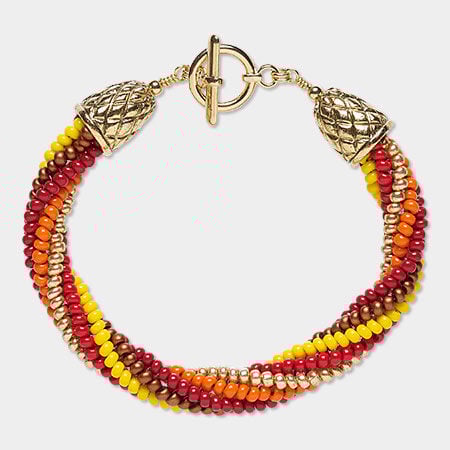
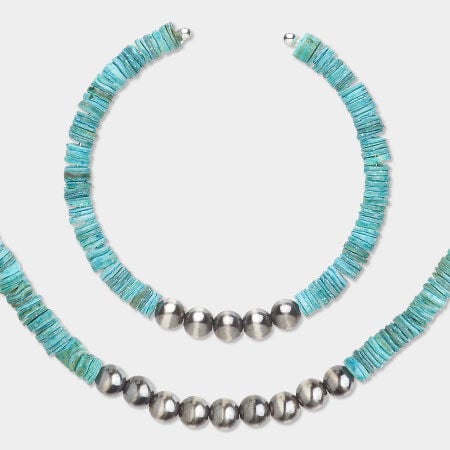
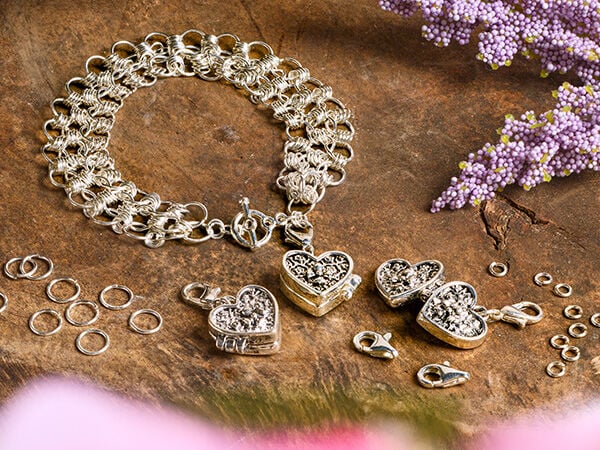
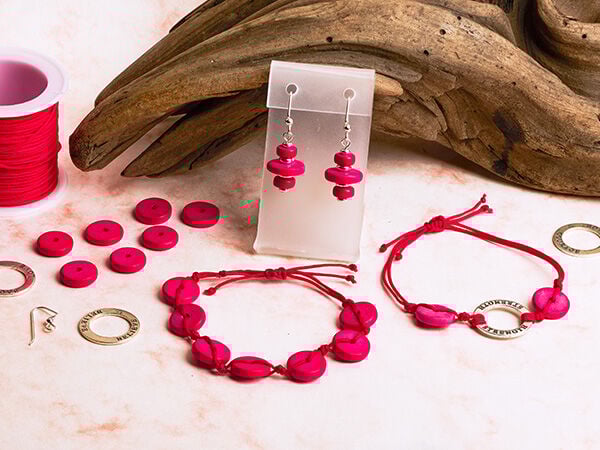
Bracelets
Add pizzazz to your arms with bracelets inspired by our Gallery designs. Explore adjustable, cuff and bangle styles and more to suit a variety of tastes. You'll even find ideas for bicep wraps and watch bands!

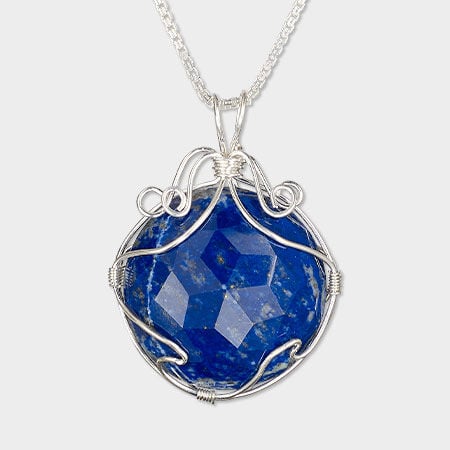
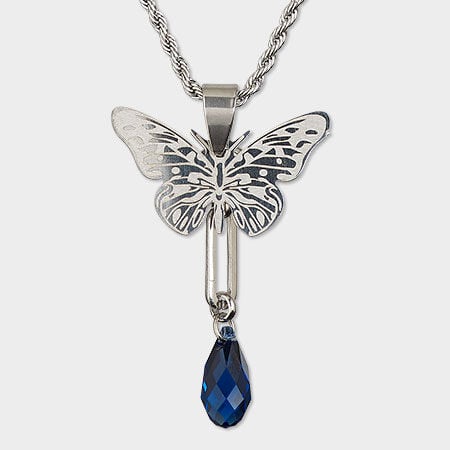
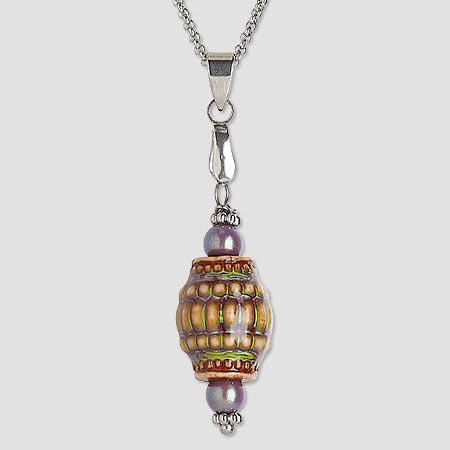
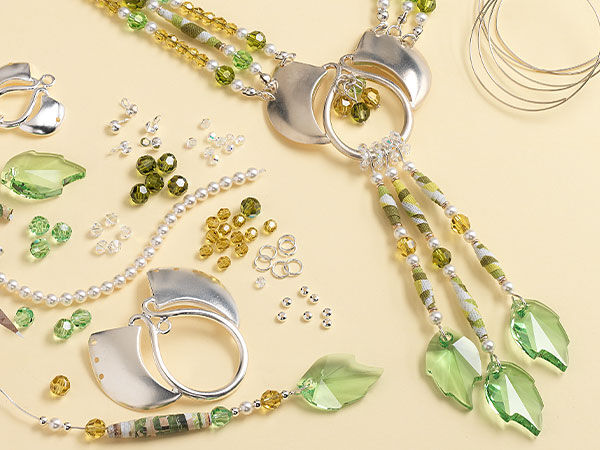
Necklaces
Give your jewelry-making inspiration a creative boost with our nifty necklace designs. From simple stringing to macramé and wirework, you'll find something for every taste and skill level here.
Browse by Style


Browse by Material
Browse by Jewelry Medium
Explore curated jewelry projects organized by type to spark fresh ideas and simplify your creative process. From earrings and bracelets to necklaces and more, discover inspiring designs, techniques and materials tailored to the styles you love to make.