It's Showtime: Preparing for Your First Craft Show

It's showtime! Spring is here and that means artisan events, craft fairs and street fairs are starting up again. Whether you're a novice or expert, some of these will be new and some may just be a nice refresher. Below, you'll find both a more in-depth guide and a handy-dandy printable checklist for everything leading up to your craft fair.
5 Weeks Before--Decisions, Decisions:
DON'T PANIC!! Okay phew, got that out of the way.
Research. You need to know:
- Location (is it indoor or out?)
- Size of your space
- If there is internet and electrical hookup
- What is provided by the venue
- Rules of set up and operation
- If a license or permit is required and/or insurance
- Type of vendors and their products
- Number of visitors expected
Set reminders for yourself. Mark down the time and date of the craft show and when you should arrive. Also mark points from this guide to make sure you're staying on target for time. You're going to use these reminders as target goals.
Decide what product you'll be taking. How much are you taking with you? How much are you planning on selling? How many different designs do you need to stock up on?
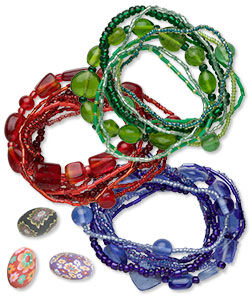
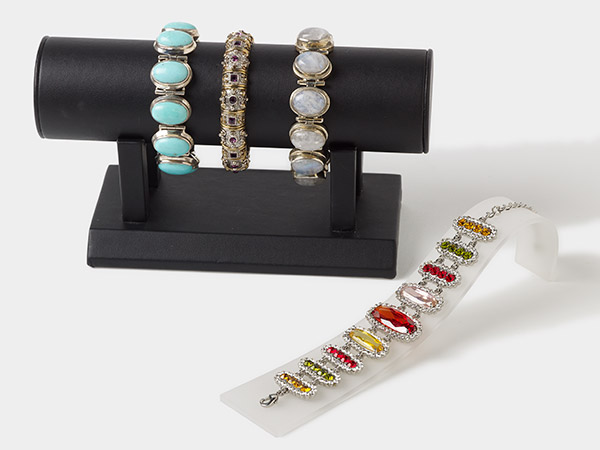
Too many options and people won't know what to buy, too few and your table looks empty or repetitive. Decide how many of each option you'll be taking with you. A good rule of thumb is to set a sales goal for each design then prepare half again as many of that item. So, if your goal is to sell 40 bracelets, then you'll want to make sure you have 60 bracelets. This way you won't run out of a product that sells exceptionally well in the middle of the show.
Set production goals. Between now and your determined "stock completed" target day, set goals with certain numbers of inventory in mind. Determine how many of each design you need to make each week. Do this with all your products and add that to your reminders.
Make your travel arrangements. Are you staying at a hotel? Make sure you've got your room reserved. Are you flying? Double check you've got your seats booked. Are you driving? Verify your truck is rented if you need one to carry all your supplies. If anyone will be attending the show with you, make sure they have these same things prepared. If you're shipping your product to the show via mail, make sure you have the correct address.
Decide how to accept payments. You'll need to make sure you have a lock box, fanny pack or some other way of keeping money securely on hand. Many booths now are moving toward credit card and cash, or credit card only, as the amount of people carrying cash has decreased in recent years. Get a card slider to plug into your phone or tablet if you decide to go this route. Will you accept checks? This is considered the riskiest option. If the check bounces, it can be hard to find the person that gave it to you after the event is over.
Decide on policies for your booth. Are you going to allow a refund or exchange if someone decides later in the day that their purchase wasn't right? Will you accept custom orders? Will custom orders be able to be completed during the show, or would you have to send them later? What if another vendor asks to trade items with you?
4 Weeks Before--Visualize:
Decide on your booth set up. Knowing if you have six feet of space to work with rather than ten makes a huge difference in presentation space. Use the most of your space. Style not just across the surface of your table but also vertically. Think about how your layout is going to look based on the event location. If you're outside, make sure that your display won't be so flimsy it's knocked over with a gust of wind.
There is an entire psychology to booth layout. This includes the path of eye travel, called the "eye flow", from one product to another. Mastering this can lead to a marked increase in sales. (Some studies suggesting as much as a 20% boost!) If you look at most high-end boutique window displays, they rely on eyelines to draw you in. If your booth is going to be outside, check the show rules before getting a booth canopy.
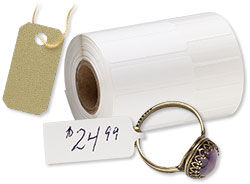
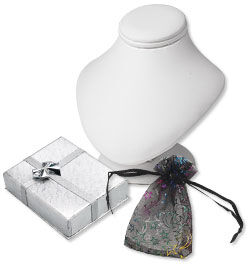
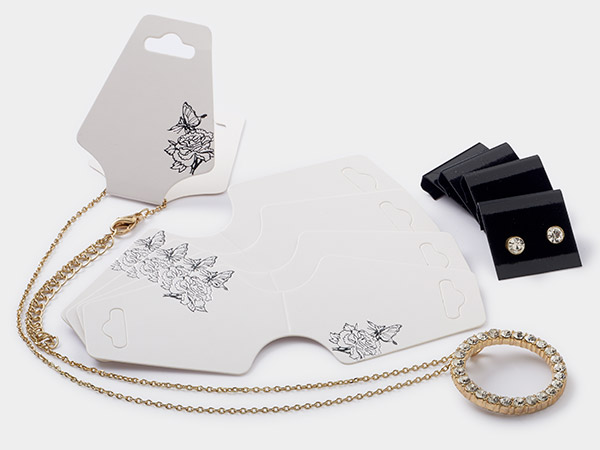
Purchase any materials you'll need for sales such as, business cards, display cards, gift bags, boxes, tags, stamps or stickers, tissues and necklace displays.
Set up a practice booth. Walk around your display and pretend to be a customer. See where your eyes go and then work on your layout from there. Take pictures as you work to review later. Go over the booth with friends and see what input they have. Have family members mock shop and see what works for them. Once you settle on a finalized display, take a picture of it! Save that picture and when it comes time to set up your display for the show you can easily and quickly recreate it!
Set up a look book. Take pictures of pieces that you aren't bringing and alternative styles of the pieces you are (different colors or different gemstones). Compile them into an easy-to-view book to take with you. This lets customers see the full range of your designs without cluttering your display. Alternatively, select some of your designs to feature on a flyer to hand out, or even on the surface of your business cards to put into the bags.
Product Focus. This week you'll want to focus on getting your products completed on time so you can hit your goals.
3 Weeks Before--Wow Your Customers:
Invite people to your booth. Do you have any followers on Facebook, Instagram, Pinterest, Twitter or another social media platform? Invite them to your booth, telling them your booth number and location. Make an event that they can get a reward from when they arrive to incentivize them to see you.
Set up a promotion to encourage booth visitors. Like a small free item if they visit your booth with a codeword or send out some coupons for a discount. Maybe advertise a giveaway for something; all people need to do is come by the booth and put their name in a bowl.
Create or update your online shop. You may want to consider setting one up if you don't have an online store so that customers can find you after the craft fair is over. If you do, make sure the contact information is up to date! You will also want to remove the product inventory from your online shop that you are taking with you.
Work on your sales pitch. You don't want to jump on people as soon as they approach your booth, talking up a storm, but you also don't want to sit there like a lump on a log. Decide on a one or two sentence pitch you can toss out to someone if your pieces catch their eye. You never know, others might hear and come over to see. Stand as much as possible and make eye contact to engage potential customers.
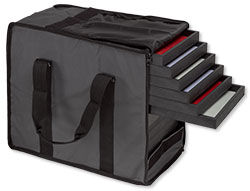
Prepare bins to carry your products and displays. You can find some great jewelry tray carrying cases on our website. Do they need extra padding if you plan on shipping them or to protect them during the drive over?
Production Check: Are you on track for production to be finished in time?
2 Weeks Before--Preparing to Make Green:
Make sure you've got all your prices figured out. Too high and you'll be leaving with as much as you arrived with, too low and you may not break even. If you can, find out what others of your style are setting their prices for. A helpful tip: you can use your business cards as price tags. That way every purchase guarantees they'll have your card. Another helpful heads up: we've got some wonderful guides on pricing your jewelry.
Test your technology. Once you have your card swiper, make a test purchase to make sure it's running smoothly. You wouldn't want the machine to not function the day of the show! Check if the show will have Wi-Fi and get the log in information for it. If not, see if your phone can act as a mobile hot spot.
Know your inventory. Print out an inventory list to make sure nothing is missing when you get there. This will help you after the show as well by letting you know how much of each product sold to better tune your stock for next time.
Production completion. Finish up your production this week. You'll want to sort it and, if need be, you can even begin to pack things up, so they are ready to go.
1 Week Before--Get Packing:
Get all your product and displays packed. Double check that you've got all your products packed up using that handy inventory list! Include your signs, props and make sure you've got your business cards.
Plan your outfits. Make sure you're ready for the weather. It might be unusually hot or cold.
Go on vacation (mode). Set your online store to vacation mode, which will automate some of the processes for you while you're away.
Purchase and/or pack last minute items.
- First aid kit
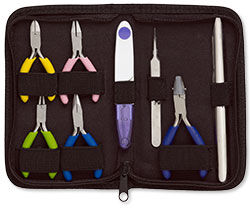
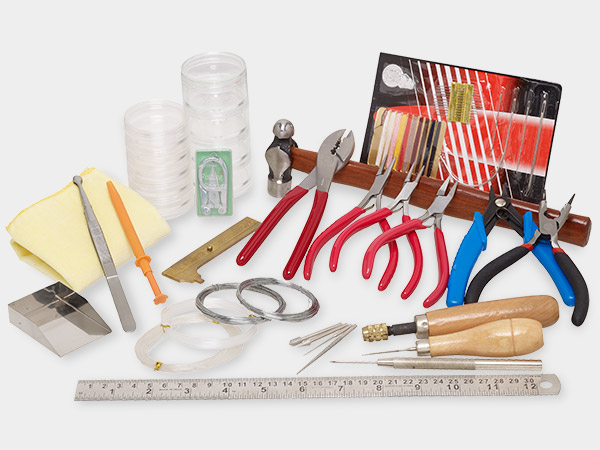
- Repair kit (never know if a product may break)
- Cash change (usually $100 in 1's and 5's will do the trick),
- A portable charger for each of the devices you're bringing
- Custom order forms
- Scissors and tape
- Snacks and water
- Trash bags
- A journal
- A table-top mirror
- Gas for the trip
- Receipts for cash payments
The Day Of: Still No Panicking
Make sure you aren't forgetting anything, such as your phone charger or wallet, pack your bags, pack your helper into the car with your other stuff (they'll be fine, I'm sure) and then…take a deep breath. Get you and your helper some coffee, then set out.
Set up your booth. Use that handy picture you took to recreate your booth. Keep extra stock under the table in boxes so that you can restock quickly. Stand in front of your own booth and look at it from the view of a customer. Tidy it up a little if it needs it. If the mirror needs it, clean it so that the image is nice and smudge free.
Keep busy. If you have any designs in progress that you can work on, do so at your booth so that customers can see you in action. Use the journal you packed to keep notes and observations throughout the day. What sells well, what doesn't, what do people comment on (good or bad) and what colors do people like the most.
Interact. Introduce yourself to your booth neighbors. If you can, occasionally leave the comfort of your booth and walk around. Look at other booths and exchange business cards.
Take care of YOU. Stay hydrated. Stay fed. Move around and stretch.
But most importantly, have fun with it. Don't set your expectations too high about how well you are going to do. If you can cover the costs of getting to the show and the entry fee then hey, consider that a successful day! The most important thing is that you got exposure both to potential new customers and to other creators.
Give yourself a treat, a pat on the back and breathe. You've survived your first craft fair. Follow up with anyone that you met, thank those that came to see you and try to continue expanding from there. You're 7/10ths of the way to becoming a craft show master! Take everything you've learned from this day and apply it to your next show and the next one after that and so on. The final 3/10ths of the journey is refining your skills. With every new fair, the booth you make will be just a little bit better, your sales will be a little stronger and pretty soon you'll be helping that new creator in the booth next to you finish their first craft show.

Shop for Your Materials Here:

Have a question regarding this project? Email Customer Service.
Copyright Permissions
All works of authorship (articles, videos, tutorials and other creative works) are from the Fire Mountain Gems and Beads® Collection, and permission to copy is granted for non-commercial educational purposes only. All other reproduction requires written permission. For more information, please email copyrightpermission@firemtn.com.