How to Make a Right-Angle Weave
.jpg)
These instructions are for using four beads in the right-angle weave pattern.

Instructions
Cut a piece of thread to a comfortable length for you to work with. The longer your thread, the farther you can work before you will have to add thread. Almost double your thread to make it easier to work with, but do leave a tail so you are working with only one thread.
Pick up four beads then pass through the first bead again. Pull the thread tight to form a circle. Pass through the next bead so the working thread is opposite the tail.
Pick up three beads then pass your needle through the bead your thread was coming out of, forming a second circle of beads. Pass the needle through two of the beads you just added so that you are coming out of the bead opposite the bead you used to complete the second circle.
Repeat Step 3 until the strip is your desired length. Your thread will be moving in a figure eight pattern as you add each circle of beads.

A versatile stitch for jewelry makers, the right-angle weave technique can be used with seed beads, crystals and more. Learn this professional stitch in less than three minutes with step-by-step instructions. Design Idea PH2B
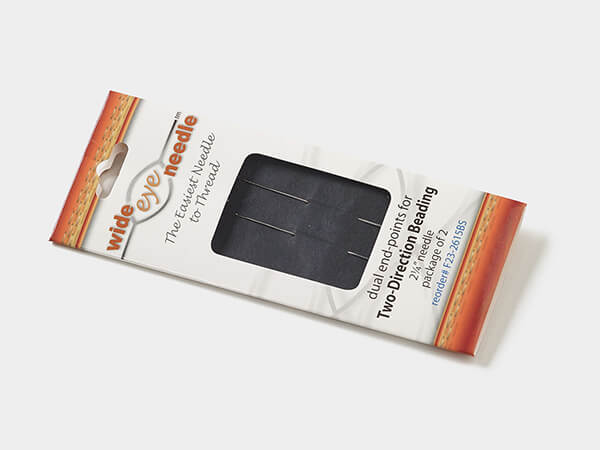
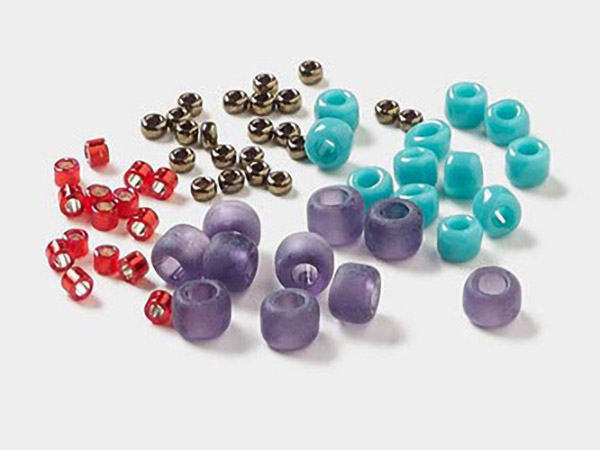
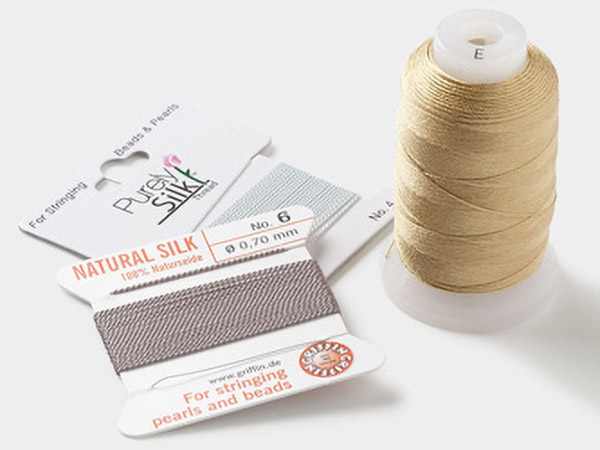
Shop for Your Materials Here:

Copyright Permissions
All works of authorship (articles, videos, tutorials and other creative works) are from the Fire Mountain Gems and Beads® Collection, and permission to copy is granted for non-commercial educational purposes only. All other reproduction requires written permission. For more information, please email copyrightpermission@firemtn.com.