Using Omni-Gel™ Photo Transfer Liquid

Instructions
Image Transfer Steps
Find images of interest. These can be anything from magazines* or books*, or good quality photo copies of treasured photos with printer. (Do not use original photographs.)
*Please be sure not to violate any copyright restrictions.
Place on a clean surface. (Put down freezer paper or newspaper to protect work surface.)
Apply the first thin coat of Omni-Gel directly to the image with a nylon brush. Work vertically (up and down), and cover the entire surface to be transferred plus about 1/2 inch past the transfer area, always brushing up and down. Let dry.
Please Note: The thickness of your layers of Omni-Gel, along with temperature and humidity will determine how long each layer of Omni-Gel will need to dry. In most cases, when the Omni-Gel is completely translucent, it is dry and you can proceed with the next step.
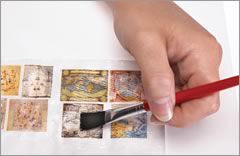
Apply a second thin coat with nylon brush, perpendicular to the first coat. (Horizontally, or side to side.) Let dry.
Apply the final thin coat of Omni-Gel with a nylon brush, going diagonally (top to bottom - at an angle). Let dry completely (at least 6 hours).
After dried, trim off excess transfer material from your flat surface. Now you are ready to use the photo transfer piece in jewelry or craft projects.
Applying Transfers
Trim away extra paper from images leaving a 1/4-inch border around image.
Place transfer, image gloss side up, in cold water for about 20 minutes.
Take transfer image from water and place image side down on plastic tray, vinyl tablecloth, etc.
Make sure image is smoothed down and is in contact with tray. If it's not, the image can stretch while removing the paper.
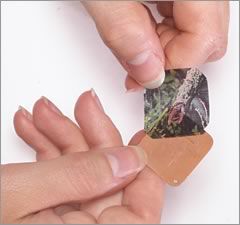
Use your finger to roll away the paper from the back of the image. (Keeping the image moist while removing the paper helps.)
When the majority of the paper is gone, use a lint free towel to clean off the rest.
Place on flat surface and allow to dry.
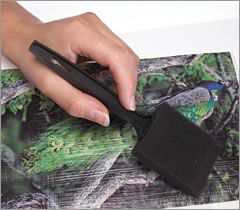
To mount on surface, use Omni-Gel as glue and paint a thin layer on the flat surface receiving the transfer. For a brush stroke effect, place the Omni-Gel coated side up, for smoother effect, place Omni-Gel coated side down.
Press surfaces together eliminating all air bubbles. Use your fingers or a foam roller if you wish. After thoroughly dried, trim off any excess with sharp scissors.
Tips
Work on a clean flat surface.
Use a plastic tray, vinyl tablecloth, etc. to clean the image before adhering transfer. This reduces the possibility of the Omni-Gel material stretching and distorting the image.
Plan to apply Omni-Gel to a large number of images to give plenty of style choices.
Protect work surface (Omni-Gel is also a great glue). Use a nylon brush and clean with warm soapy water after use.
Please Note: In most cases your transfer is translucent. Some card stock and buffed papers may leave a white finish on the back of the transfers. These will inhibit the clarity of the transfer. To correct, paint on a coat on Omni-Gel and let dry.
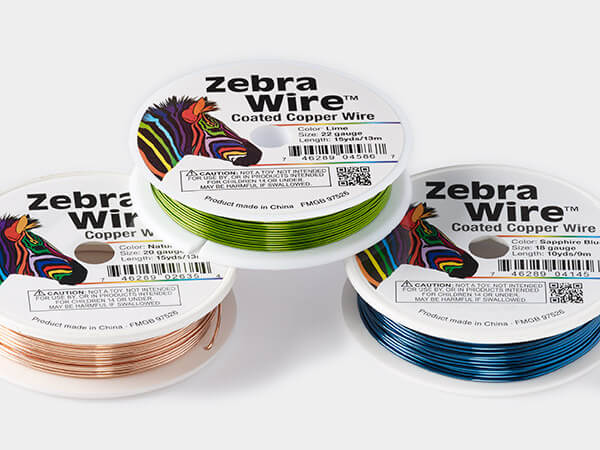
Shop for Your Materials Here:

Have a question regarding this project? Email Customer Service.
Copyright Permissions
All works of authorship (articles, videos, tutorials and other creative works) are from the Fire Mountain Gems and Beads® Collection, and permission to copy is granted for non-commercial educational purposes only. All other reproduction requires written permission. For more information, please email copyrightpermission@firemtn.com.