Making a Silk Thread Needle
Create a silk thread needle when hand knotting pearls and other beads. This type of needle allows you to work without a metal needle as well as offers an easier start and finish when working with the hand knotting technique.
by Sandra Lupo, Jewelry Designer and Instructor, Exclusively for Fire Mountain Gems and Beads®
Instructions
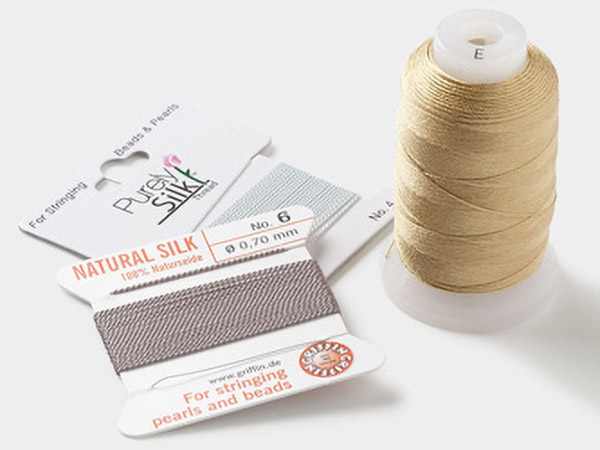
Cut a length of thread four times the finished length of what your finished design will be, plus 10 inches. The thread needle will be made from the extra 10 inches, offering a little extra to remake the needle if necessary.
Fold the thread in half and bring the thread ends together.
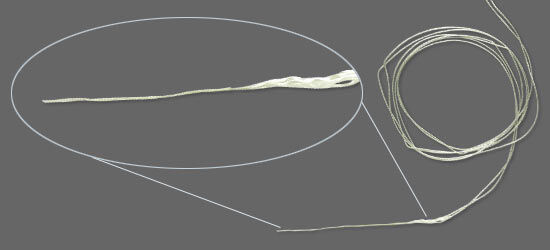
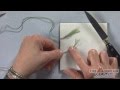
Hold the thread firmly against the smooth tile and shave 1-1/2 inches of the thread ends with the paring knife, in an outward motion.
You are removing fibers each time you pass the knife over the silk, creating a thin slender needle. The more you shave the thread, the thinner and pointier your needle will be. This may take about 30 seconds of work time to do properly.
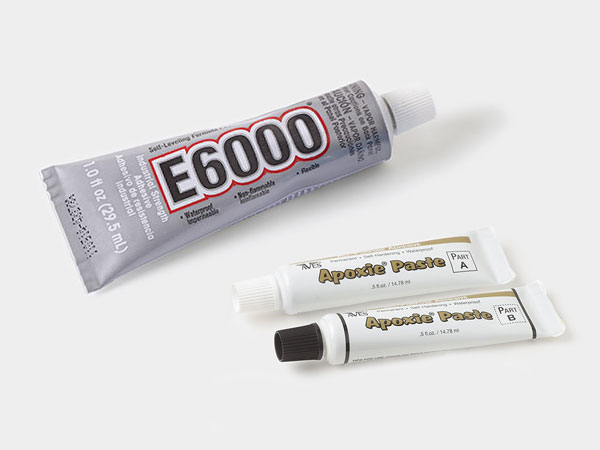
Using an awl, place a dab of adhesive on the thread ends.
Don't glob up the thread needle with adhesive, particularly at the needle's base where the fibers are thick.
Twirl the thread ends with your fingers.
Let dry for a stiffened pointy silk thread needle.
If while you're creating your design the thread needle becomes soft, there is no need to "needle up" again. Just rewet it to make it stiff or snip off the used needle and make another one a few inches lower on the existing thread.
Make a few needles at a time for future projects or other hand knotting projects you may have on your beading table. This method requires some drying time--as little as an hour. If you make the thread needles ahead they are then available when you want them.
Shop for Your Materials Here:

Copyright Permissions
All works of authorship (articles, videos, tutorials and other creative works) are from the Fire Mountain Gems and Beads® Collection, and permission to copy is granted for non-commercial educational purposes only. All other reproduction requires written permission. For more information, please email copyrightpermission@firemtn.com.