Cold Connections
by Tammy Honaman, Author, Jewelry-Making Expert and Educator,
Exclusively for Fire Mountain Gems and Beads®

Designing jewelry with cold connections presents a lot of exciting avenues to explore—wire and metal tabs, rivets, eyelets, wire-wrapping and staples, to name a few. Depending on the material you are working with, cold connections might prove to be an essential technique to employ, as the heat of a torch is not compatible with everything. Leather and paper are good examples of when heat is not the best option. Rather than being limited though, I embrace the cold-connection options and enjoy pulling out all of my favorite cold-connection tools and supplies.
Here is what comes off the shelf:
Rivets and Brads - Rivets and brads, as well as wire formed into rivets and brads, are great for joining materials together.
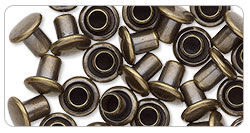
Eyelets and Grommets - Grommets, heavy-wall crimp tubes and eyelets themselves work well for joining metal together, as well as for leaving a clean opening in a design.


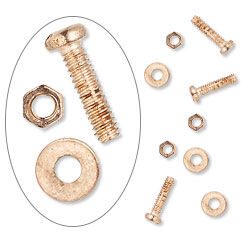
Micro-Hardware - Amazingly tiny but mighty and finely engineered screws, washers and nuts in brass and in silver and copper finishes.

Metal sheet - Sterling silver, copper, bronze, brass and nickel silver in 26, 24 and 22 gauge and Lillypilly metal sheets with great patina.
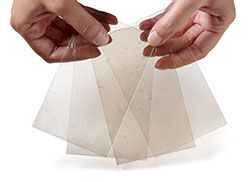
Mica Sheets and Ephemera - Vintage paper, photos and stamped or decorated paper bring a personal touch to a design; mica can be used as a design element or to protect the paper and photos.

Here is what I pull out of the toolbox:
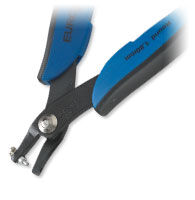
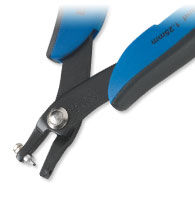
Hole Punches - These guys are essential when making holes in the materials to be joined as they create holes which allow the passage of the hardware: eyelets, rivets or micro-hardware.
An alternative to a hole punch would be a rotary drill and drill bits.
The key to successful riveting is to eliminate gaps between the hardware and the material. Gaps will allow the hardware to splay into the spaces rather than holding the layers together. Proper-sized holes will help prevent gaps.
Design Tip: When working with leather, I tend to use a smaller hole punch size than the hardware's diameter as the leather will give and stretch a little. The smaller hole limits the room the hardware has to move in, therefore keeping it in place and creating a better riveted connection.
EUROTOOL® Hole Punch Pliers


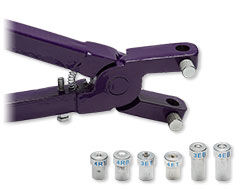
Rivets and Eyelet Tools - These handy devices make it very easy to use eyelets and rives to join layers of materials together.

Jeweler's Saw, Saw Blades and a Bench Pin - When cutting out tabs or prongs, creating openings in a piece of metal to accommodate a cabochon or crystal, or when cutting out metal for any part of your design, a jeweler's saw and saw blade will get the job done, and without the need for a lot of filing afterward. Using a bench pin clamped to your bench is essential when sawing shapes from the metal sheet.
Tip: The blades prefer a little beeswax as they pass through the metal.


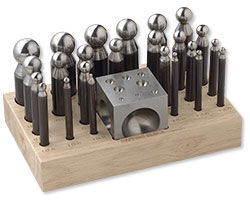
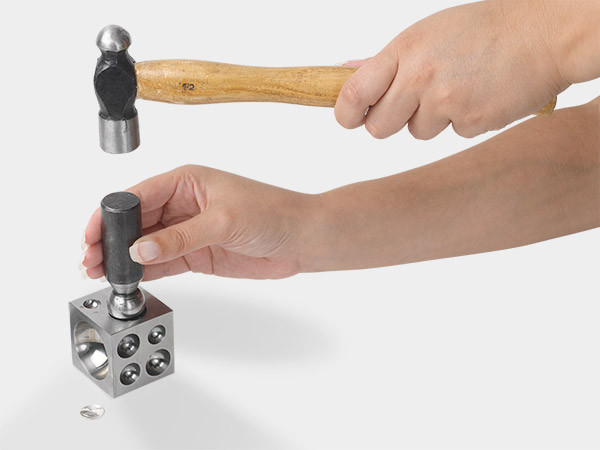
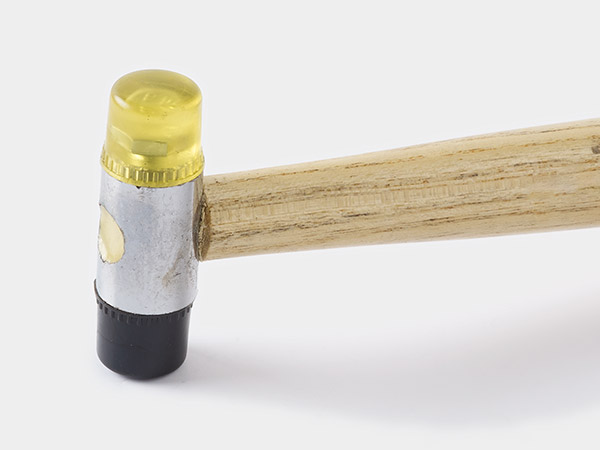
Dapping Punches, Dapping Blocks and a Rawhide or Nylon Mallet - these tools are great for creating interest in a design and offering dimension to otherwise flat metal sheet. These tools are also great for creating domes settings.

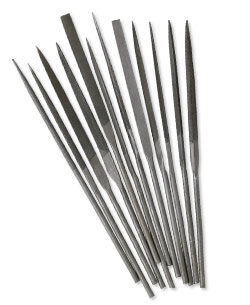
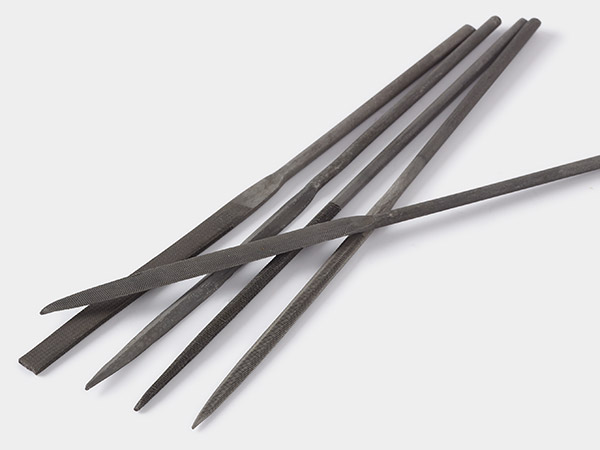
Jeweler's Files, Polishing Pads and Papers - When using a saw or punching holes, it's always a good idea to file and polish the edges as well as inside the openings. Jewelry should not have any sharp edges or points as it could catch on clothing or even scratch the wearer; and when riveting or inserting hardware through and opening, it's best done it the opening is clear and free of any tough edges. Without taking the time for this step, you could wind up with less than preferred results.
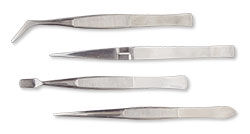
A few tools to keep handy, just in case--pliers and tweezers, scissors, beading awl and bench block.
A few additional things to keep in mind when planning a design that is assembled with cold connections:
- When working enameled metal components into a design, micro hardware is a great way to go for securing the assembly. These beauties do not require any force or impact so will not damage the enameled surface.
- Be sure to pre-drill your components so the opening can accommodate the hardware after enameling and then be sure to keep the opening clean while enameling.
- Most hardware has a limit on the depth it will fit into. Be sure to keep the length of your hardware in mind as you create your layered design.
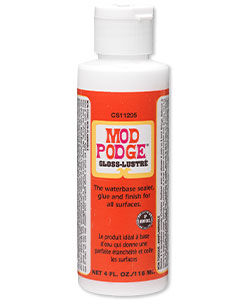
- When working with paper elements or photos, be sure to apply a layer of Mod Podge®, resin or similar material, covering both sides and the edges to create a waterproof surface.
Shop for Your Materials Here:

Have a question regarding this project? Email Customer Service.
Copyright Permissions
All works of authorship (articles, videos, tutorials and other creative works) are from the Fire Mountain Gems and Beads® Collection, and permission to copy is granted for non-commercial educational purposes only. All other reproduction requires written permission. For more information, please email copyrightpermission@firemtn.com.