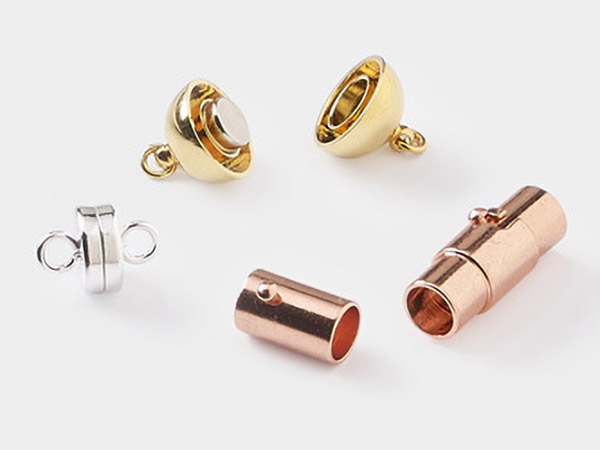
How to Use Magnetic Barrel Clasps
Follow along with jewelry designer Rose to learn three techniques for using barrel magnetic clasps when finishing jewelry.

Instructions
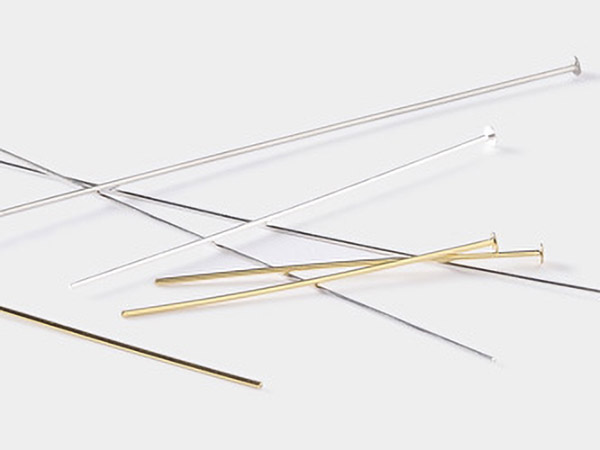
Using a Headpin
After finishing your design with crimps and an Accu-Guard™ wire protector:
String one half of the magnetic clasp, big hole first, onto a headpin.
Use pliers to bend the straight end of the wire to a 90-degree angle approximately 1/8 inch from the clasp.
Note: It's important to keep hold of the clasp while using the pliers or the magnet will stick to them.
Insert a pair of round-nose pliers into the bend of the wire. Bring the wire around the top mandrel of the pliers. Pull the pliers out and insert the bottom mandrel on the pliers. Bring the wire around the mandrel, forming a loop.
Wrap the wire around the stem, just below the loop, approximately three times. Trim excess wire then use pliers to press the end flush with the wraps.
Pass a jumpring through the wrapped loop on the clasp and the Accu-Guard on one end of the beaded strand, then close. Repeat to attach a second jumpring creating double jumprings, for added security.
Repeat Steps 1 - 4 to attach the second half of the clasp to the opposite end of the strand.
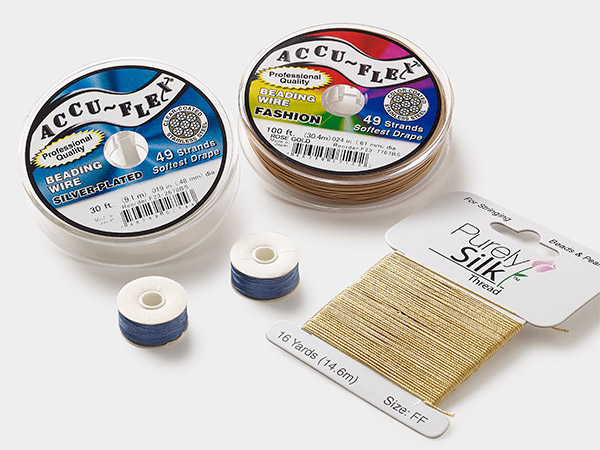
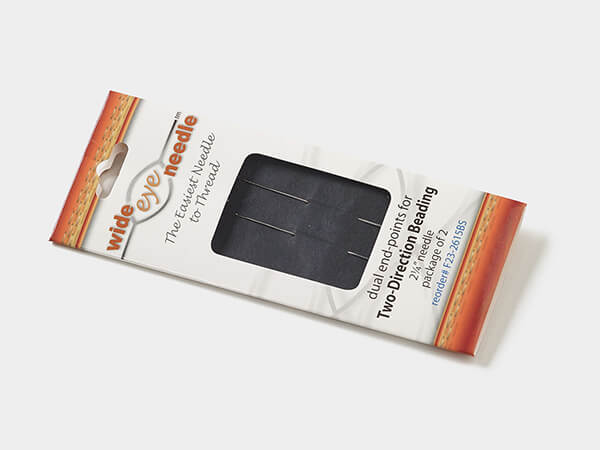
Needle and Thread
String one half of the magnetic clasp, small hole first, and one seed bead. Pass the needle back through the big hole, securing the seed bead inside the hole.
Continue through a couple of the previous beads in the pattern then tie a surgeon's knot.
Apply a small amount of E6000® Fray Lock™ to the knot.
String the desired pattern then repeat Step 1 to attach the second half of the claps and trim excess thread.
Leather Cord
Mix Devcon® 5 Minute® Epoxy according to manufacturer's instructions.
Position the magnetic clasp so the small holes match up. Apply a epoxy to the inside of the large hole of each half of the clasp then insert one end of the cord into each portion.
Tip: It's important not to overfill the holes of the clasp so they don't overflow when inserting the cord.
Use a wipe or acetone to remove excess adhesive.
Shop for Your Materials Here:
Copyright Permissions
All works of authorship (articles, videos, tutorials and other creative works) are from the Fire Mountain Gems and Beads® Collection, and permission to copy is granted for non-commercial educational purposes only. All other reproduction requires written permission. For more information, please email copyrightpermission@firemtn.com.