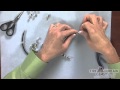
Video Tutorial - Crimp Ends with Cording
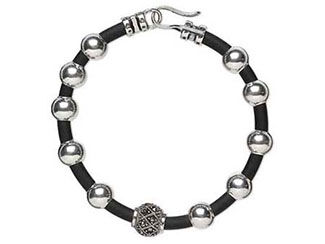
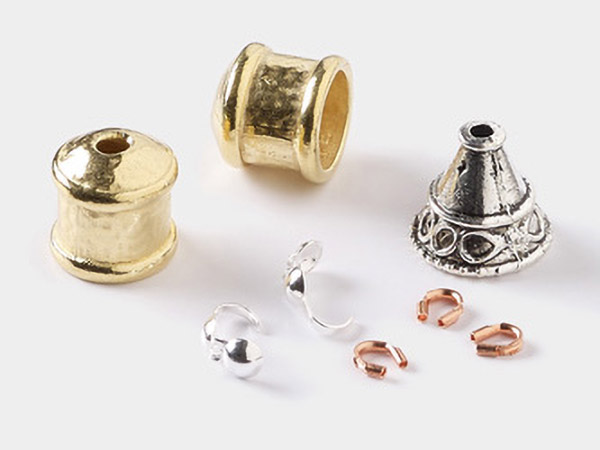
String your design onto cording of your choice then secure them in place with crimp ends using a pair of chain-nose pliers. You can choose ends with loops then add your own favorite clasp or choose ends where one has a loop and one has a hook for a ready-made clasp. Just string, crimp and go!
by Tammy Honaman, Author, Jewelry-Making Expert and Educator, Exclusively for Fire Mountain Gems and Beads®
Instructions
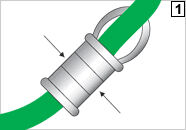
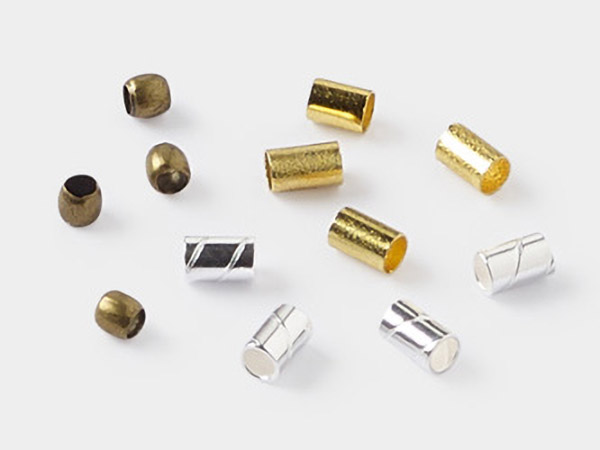
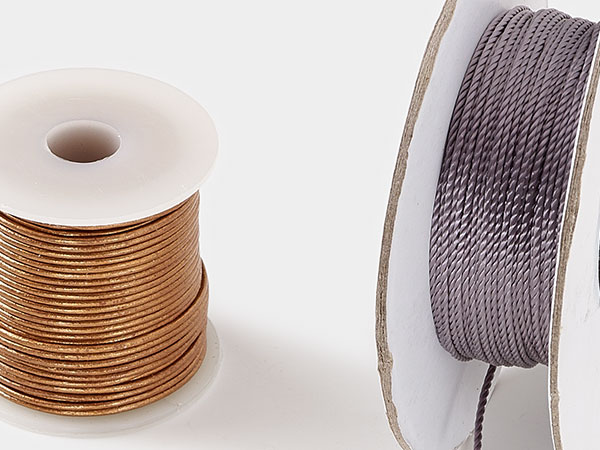
Cut the cord of your choice to the desired length. Place a crimp end on one end of the cording--position the loop or hook so it is facing the correct way, taking into account the curve of the cording. Using a pair of chain-nose pliers, compress the center section of the crimp tube. Pull on the cording to assure the crimp is secure. If there is any movement, realign the cording and crimp then compress more firmly.
Add and position the second crimp end to the other end of the length of cording. Compress the center section with chain-nose pliers. Test to make sure it is secure. If necessary, realign and compress more firmly.
Shop for Your Materials Here:

Have a question regarding this project? Email Customer Service.
Copyright Permissions
All works of authorship (articles, videos, tutorials and other creative works) are from the Fire Mountain Gems and Beads® Collection, and permission to copy is granted for non-commercial educational purposes only. All other reproduction requires written permission. For more information, please email copyrightpermission@firemtn.com.