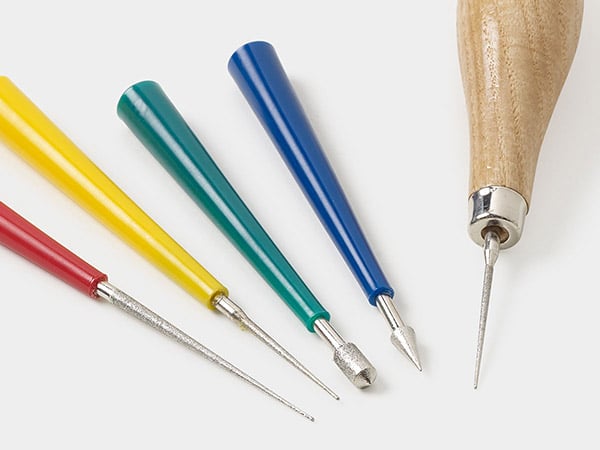
How to Use Bead and Pearl Reamers

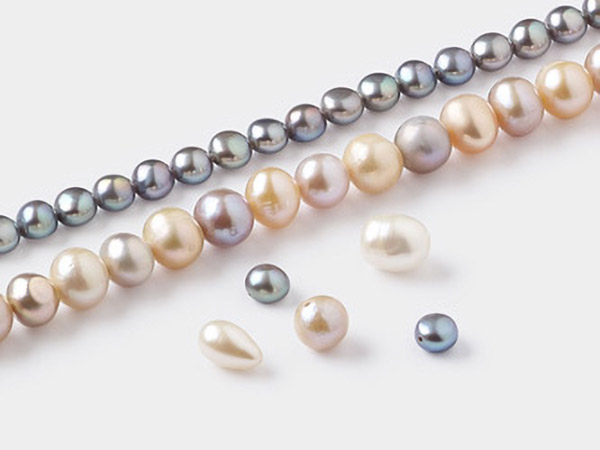
Have you ever bought a beautiful strand of beads only to find out, upon attempting to string them, that the holes just don't match up or are too small? Bead and Pearl reamers are must-have tools for any beader, as they will fix those beads with a less-than-perfect hole.
Always use eye protection when using bead and pearl reamers. Use water as a lubricant to protect beads from cracking or chipping from the heat caused by the friction of using these tools.

Instructions
Pearl Reaming Instructions
Dip your reamer in a bowl of water. The water helps to remove the dusty pearl material as well as contain the material so that you don't breathe it in.
Insert the reamer into the hole of the pearl and move it back and forth with a slight twisting motion. The drill shape of the reamer will remove the pearl material from the hole as you enlarge it.
Work until the hole is as large as you need for the stringing material you're working with.
Bead Reaming Instructions
If you've selected a reamer that has removable tips, choose the tip that is right for the bead you are working with (review the manufacturer's directions for using the reamer) and insert it into the top of the reamer. Tighten the collet to secure the reamer in the handle.
Dip your reamer in a bowl of water. The water helps to remove the gemstone material as well as contain the material so that you don't breathe it in.
Insert the reamer into the hole of the bead and move it back and forth with a slight twisting motion. The drill shape of the reamer will remove the pearl material from the hole as you enlarge it.
Work until the hole is as large as you need for the stringing material you're working with.
Shop for Your Materials Here:


Copyright Permissions
All works of authorship (articles, videos, tutorials and other creative works) are from the Fire Mountain Gems and Beads® Collection, and permission to copy is granted for non-commercial educational purposes only. All other reproduction requires written permission. For more information, please email copyrightpermission@firemtn.com.