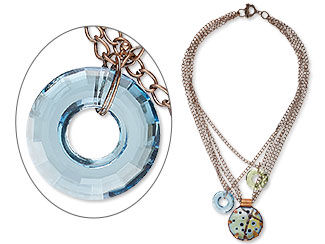
Enamels in Jewelry-Making
by Tammy Honaman, Author, Jewelry-Making Expert and Educator,
Exclusively for Fire Mountain Gems and Beads®

The origin of enameling can be traced to ancient times when vitreous (made from glass) enamels were used on and in metalwork. This practice reportedly enabled the artist to use glass in place of rare gemstones--for example, cobalt glass in place of lapis lazuli and a reddish/brown color for garnets. Modern day vitreous enamels can still be found in these original colors along with many others, expanding the artist's palette.
Enamels are fine particles of glass applied to metal to add color. Enamels are typically applied by dry sifting the particles onto the surface or by wet packing the enamels into channels or depressions in the metal. Once applied, enamels are heated until they soften and flow; the heat source used is a kiln or torch. The mineral composition of each enamel effects how the glass reacts in the heat and how it reacts on the metal.
The enamels by Thompson Enamels are manufactured for use on metal, and best if used on fine silver and copper. Understanding how each enamel color and type reacts to the heat, and to other colors, is best done through testing so you are aware of what to expect when you apply the enamels to your final design.
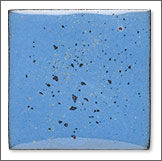
80-mesh enamels are the industry standard--this number refers to the size of the screening the enamels are sifted through. 80-mesh is a screen with 80 holes per linear inch. Depending on your design, you can work with the 80-mesh as is, or you can wash or sift out the finer particles. Some enamellists will sift and save the finer particles for other enameling applications, like painting.
In the Studio
Safety needs to be addressed before, during and after working with enamels.
- The area where you will be working with enamels should have good ventilation
- Don't eat or drink anything where you will be doing the enameling (particulates could wind up in these items and then inadvertently be ingested)
- When sifting the enamels, wear a dust mask
- Fire enamels in a well ventilated area so you exhaust any fumes, especially those caused from metal oxides that may be present in the enamels
- Change your clothes after you have completed your enamel work for the day. Be aware of removing your shirt over your face, as some enamel particles may still be present.
- Wear natural fiber clothing when firing in your studio. Should there be an accidental fire, natural fibers will not stick to you like manmade fabrics would.
- Work in as clean an area as possible
- Clean throughout the enameling process so you do not add particles of something to something else--e.g., introducing firescale to your enamel jars, or blue enamel into your white enamel, etc
- Clean up your worktable when you are finished enameling and before moving into a new design project
Cleaning the Metal
The surface of the metal needs to be clean before applying enamels.
When working on copper, Penny Brite® is a great, eco-friendly cleanser for all your copper cleaning needs. Rub the Penny Brite onto the surface of the copper, rinse in clean water until the water "sheets" off of the metal then dry the copper. After the copper is cleaned, hold by the edges and avoid touching the area to be enameled. Dirt or oils from your skin could interfere with proper fusing.
When working with fine silver, cleaning the surface with a mixture of clear, non-sudsing ammonia diluted with a bit of water is recommended.

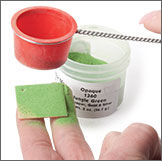
Cleaning the Enamels
You do not need to clean enamels for each application. When dry sifting opaques onto copper, I do not clean the enamels by washing them and rather work straight from the container. When wet packing transparents on silver, I do clean my enamels. Let your design and your testing guide your decision-making.
Applying the Enamels
Dry sifting and wet packing enamels are the two methods for adding enamel to your metal. Within each method there are different techniques you can use to make your designs unique. View "Creating a Sgraffito Design with Dry Sifted Enamel," for instructions on designing with sgraffito.
Dry Sifting Basics
Place a stack of coated paper (recycled magazine or catalog pages) onto your worksurface, below where you will be sifting the enamel. Pour an enamel color into the sifter so it is about 1/3 full. Tap the sifter so enamel begins to fall onto the surface of the metal--work in a circular pattern starting with the outside edge, working in toward the center. Ensure any openings in the metal are clear of enamels--using a fine-tipped tool to poke through the openings, if needed. Carefully move the enamel-coated piece to a trivet.
When dry sifting onto a curved surface, mix a batch of holding agent using a 50/50 ratio of holding agent to water; use a paintbrush to apply a light coating of the mixture to the metal surface then dry sift the enamel over the holding agent. Ensure any openings are free of enamels, using a fine-tipped tool if needed. Carefully move the enamel-coated piece to a trivet then allow to dry; you will know the enamel is dry when it looks like dry sand.
Follow guidelines for "Firing Enamels" to achieve the look you prefer for your finished design.
Wet Packing Enamels on Silver
Use a spatula to move a portion of the washed enamels to a palette. Pour in a little water. If applying to a curved surface, add in a bit of Klyr-Fire. Then, using a paintbrush or spatula, move the enamel into place on the cleaned metal.
Don't apply a layer of enamel that is too thick. Your net result will be better if applied in thinner layers rather than thick layers--thick layers will possibly cause bubbles to form during the firing process.
Using a paintbrush, move the enamels around into the design you are working toward. Clean up any stray enamel then allow the enamel and metal to dry. Enamels will be dry when they look lighter in color and like sand. Depending on your design you will either need to use a trivet or a kiln shelf to support your metal design.
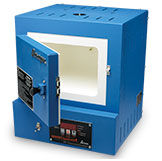
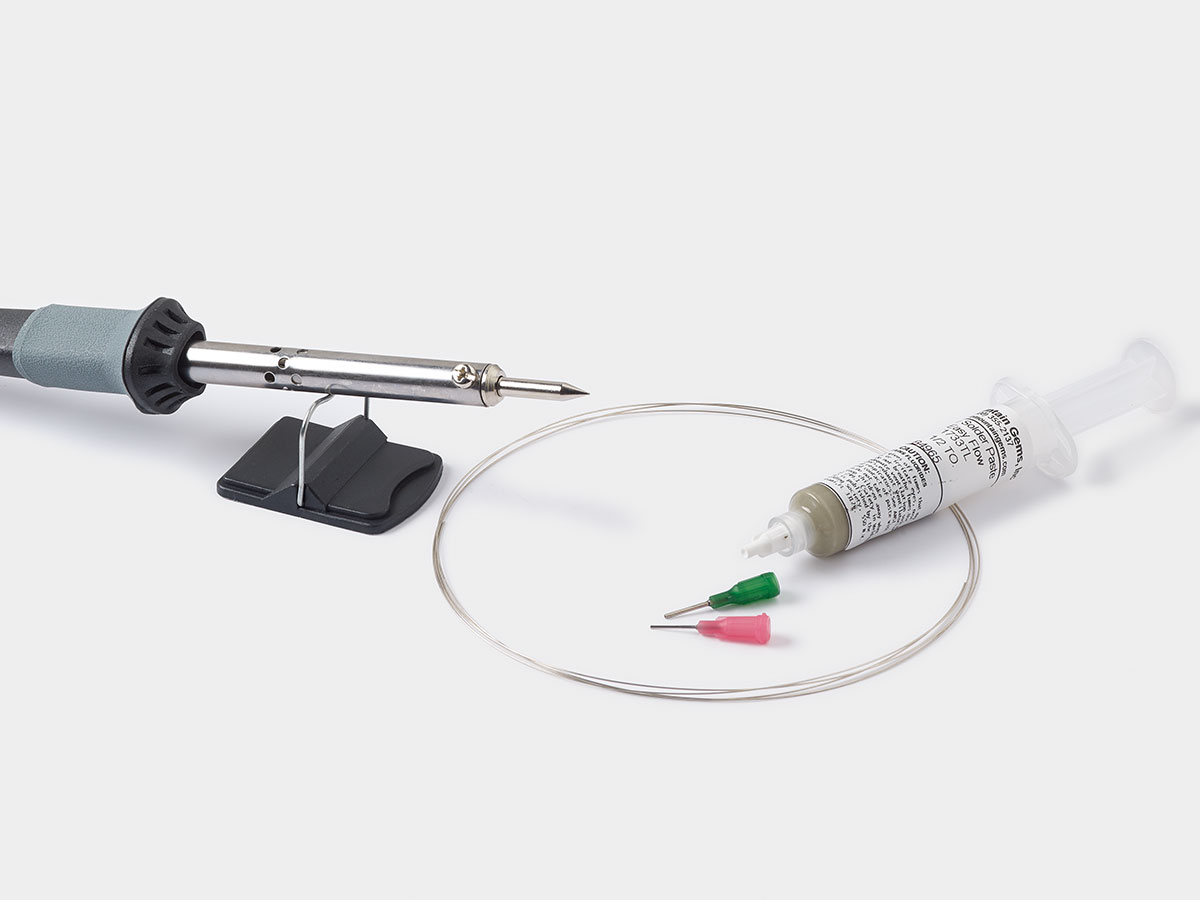
Firing Enamels
I like to use a torch for convenience and speed. I don't have to leave my work area to fire and it is done much more quickly than using a kiln. This method yields a different look--a little more organic--which I also like in some pieces. You can also control the flow of the enamel and alterations done during the firing process, like swirling colors. All of this can be done in the kiln but I have found it to be easier when using a torch.

A kiln yields a beautiful and more controlled surface as well as provides better enameling for larger pieces.
When using a kiln for enameling, the target temperature is in the area of 1500 degrees Fahrenheit. When torch firing, the temperature needed is the same but the goal is to do the fusing quickly, and since you are working in an open-air environment, it is recommended to use a torch with a higher temperature rating--more like 2300 degrees Fahrenheit.
There are 4 stages that enamel will progress through when heated: sugar; orange peel; full fuse; over fired. These words describe what the enamel looks like at each stage.
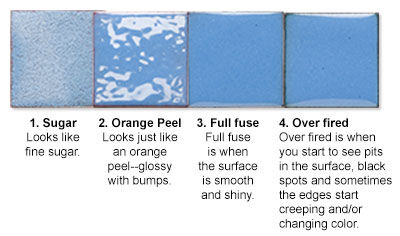
Each stage is obtained by controlling the heat. All have their place and it is advisable to become familiar with each so you understand what they look like, how they can work to your advantage and how to avoid them if they are not what you are looking for.
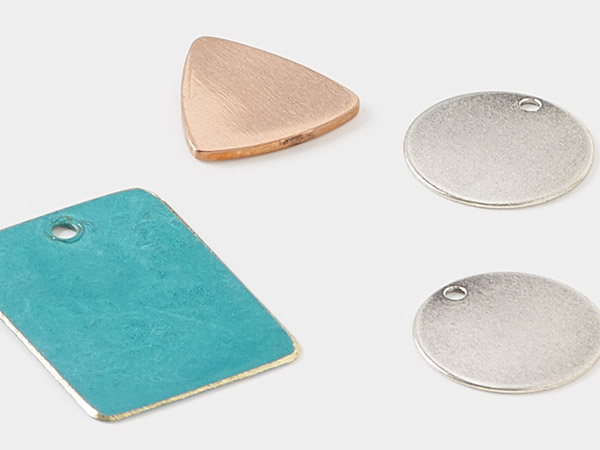
When enameling on metal, depending on the thickness and the technique you are working in, it is advisable to enamel both sides of the piece. This will help distribute the stress evenly and help lessen warping, which might occur as the metal and enamel expand and contract. These enamel layers are called counter enamel (the under or back side) and top coat (the layer that is facing forward).
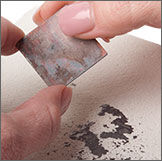
When firing on copper, firescale will form on the surface wherever there isn't enamel. Firescale is an oxide that is created when the metal is subjected to high heat. As the metal cools, most of the firescale will flake off; any remaining firescale should be brushed off and the metal cleaned again.
Tip: When cleaning firescale from your metal, be sure to clean it off in a separate area from your enameling area, or be sure to clean your worksurface in between activities. Having firescalein your work may be your choice, but if it isn't, be aware that it is very obvious when it occurs.
If needed, after you are done enameling, use the alundum stones to remove any excess enamel from the surface of the metal.
Once your enameled piece is complete, use in a design of your choice.
Create unique designs with enameling, a great addition to any jewelry maker's repertoire.
Shop for Your Materials Here:


Have a question regarding this project? Email Customer Service.
Copyright Permissions
All works of authorship (articles, videos, tutorials and other creative works) are from the Fire Mountain Gems and Beads® Collection, and permission to copy is granted for non-commercial educational purposes only. All other reproduction requires written permission. For more information, please email copyrightpermission@firemtn.com.