The Differences Between Soft and Hard Soldering
by Tammy Honaman, Author, Jewelry-Making Expert and Educator, Exclusively for Fire Mountain Gems and Beads®

Soldering, according to dictionary.com, is "anything that joins or unites." Soldering in the jewelry-making world lives up to this definition. The "how" and "what is used for soldering" is where I get excited, as it leads to tools, materials and techniques. There are two standard types of soldering used in the jewelry-making field: soft soldering and hard soldering. Each has its own tools and intricacies.
Safety
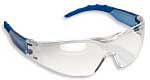
Regardless of which style of soldering you choose, safety needs to be addressed. While soldering, safety glasses should be worn at all times. Consider wearing glasses rated for use with a torch when soldering, as this will help protect your vision long term. Wearing an apron should be considered, as it will protect your clothes and help prevent accidental burns. Good ventilation to extract any fumes and odors is essential, and having a fire extinguisher nearby is a good idea—just in case.
Next, good lighting and a stable worktable are necessary. When soldering, ensure you are working on a large, heatproof surface. I line my work surface with large ceramic tiles and then place the appropriate work surface for the task on top of the tiles.
Soft Soldering
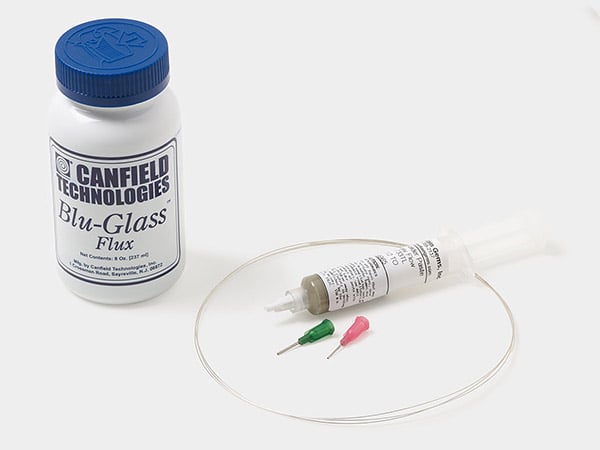
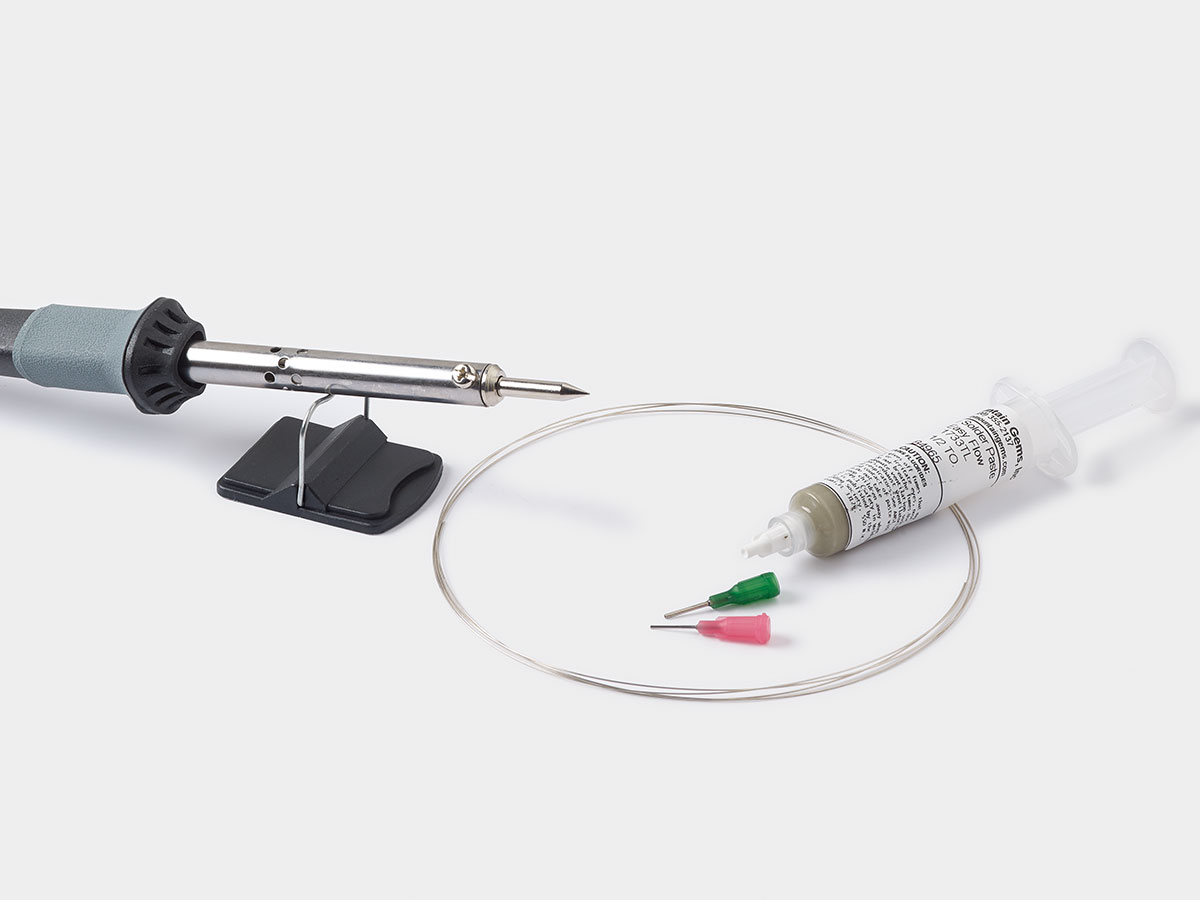
Soft soldering, also known as stained glass style, requires the following: a soldering iron, solder, flux, a suitable work surface, materials to apply the solder to, the items to be joined or accented with silver-colored solder and a cleaning agent.
Soldering Irons

Soldering irons used for soft soldering can be electric or gas powered and heat to a range of temperatures from 600-1100 degrees Fahrenheit. The higher the temperature rating and wattage of the iron, the longer the temperature stays optimum for melting solder, and the more easily and smoothly the solder flows.
Note: Soldering irons used for electronics tend to have a lower temperature range and lower wattage—these do not work well with the solder used in soft soldering.
Most soldering irons have different tip sizes and styles that are chosen depending on the type of work being done or the overall look desired. I prefer to use a wider tip when joining two pieces of glass together, as the bead of solder is wide enough to affect the width of the join. I choose a thinner tip when adding a bead of solder around a single piece of glass or other item or when joining a jump ring or other finding to my solder work.

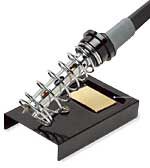
Soldering Station
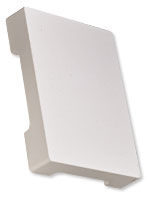
I often use the back side of a heatproof ceiling tile that is placed on top of a large ceramic tile. These surfaces provide a safe work area, protect the actual surface of your workbench and give flexibility to your work area.
Place a soldering iron stand on your heatproof surface, then place a damp sponge and sal ammoniac block nearby. The sponge will clean debris from the tip; the sal ammoniac block will also help clean and will aid in re-tinning the soldering iron tip while working on a design.
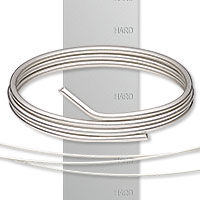
The heated soldering iron is used to melt the solder. Solder used for soft soldering is often available in a thick wire form that is wound on a spool. The most common solders used for soft soldering work are 60/40 or 50/50. These numbers are based on the percentages of tin and lead used to make the solder. Lead-free solder is made using a combination of metals, typically with a high concentration of tin and smaller amounts of silver and copper. Lead-free solder has a higher melting point than 60/40 and 50/50. It is safe to use in items that will be used for food service or that will be worn and creates a strong soldered joint. The one downside to lead-free solder that I have found is that it does not take a chemical patina well. Lead-free and 60/40 solder are typically used when working with the copper foil method of soldering.
Please Note:
- Rosin core solder is not recommended for use when working in the soft soldering method of soldering. It is made for use in the electronics field and will produce a less than ideal bead of solder and a weak joint.
- None of the solders containing tin should be used when repairing or working with precious metals. Tin is not compatible with any precious metal and will cause adverse effects.
Copper Foil
Copper foil is an adhesive-backed copper tape used to surround the item being soldered. The items you select to be soldered together or accented with solder can be anything that is heatproof. Glass and crystal are ideal options.

When choosing copper foil, select the widest foil possible for your design—one that fits the dimensions and thickness of the items being soldered. The foil is wrapped around the item, and the sides of the foil are folded and burnished along the top and bottom faces of the item. Allow for as much overlap as your design can permit, as this will create the best level of strength in your soldered joint. Flux is applied to the copper foil using a disposable flux brush.
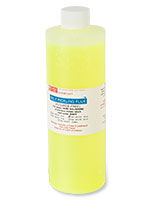
Flux
Flux is used as a cleaning agent, dissolving oxides on the surface of the metal to be soldered, as well as a barrier, preventing oxides from forming on the surface of the solder as it is heated. Flux is found in liquid and paste form. Users with any chemical sensitivities should use the paste form.

Once you have finished soldering and the solder has cooled, flux should be cleaned from the surface. Baking soda is a great material to use for cleaning, as it is nonabrasive yet works well at removing the flux residue left behind. Follow cleaning with a good polish using automotive wax. The wax will clean the solder further as well as create a high shine.
Basic Soldering Steps
This step-by-step procedure for soft and hard soldering is a basic overview for those new to soldering and a good review for those who are trying it again.
Tools
- Soldering iron (soft soldering) or torch (hard soldering)
- Soldering station
- Solder
- Material to be soldered
- Flux
- Cleaning agent
Safety Equipment and Workspace
- Safety glasses
- Apron
- Good ventilation
- Good lighting
- Stable work table
- Large heatproof surface
Basic Soldering Step-by-Step: Tinning Copper Foil Method with Solder Iron
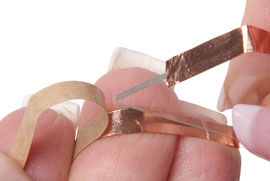
Measure a length of foil to fit around the perimeter of a piece of glass, allowing a little overlap. Make an impression, remove the foil then trim at the impression.
Peel a little of the paper backing from the foil then center the glass piece on the sticky side of the foil. Continue to peel the backing away and wrap the glass neatly, keeping it centered as you go.
Note: If you do not keep the foil even on both sides, the copper will show through the glass from the other side. You can use this as a design element if you'd like.
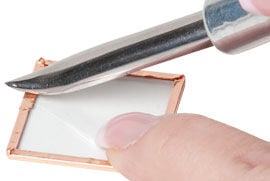
Neatly press the foil against the glass. Using a burnisher, smooth the foil so it is pressed securely onto the glass as well as smooth.
"Season" the soldering iron by placing the end of the solder on one side of the tip of the soldering iron.
Wipe the solder off the tip with a damp sponge.
Repeat Steps #2 and #3 for the other side of the tip.
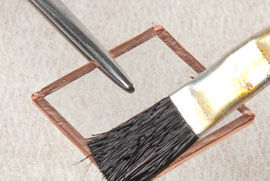
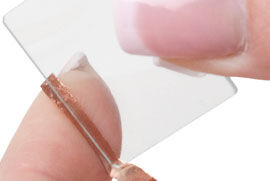
Brush the copper on the slide with flux to help the solder flow smoothly.
Holding the solder tip just above the copper, place the end of the solder against the tip of the iron until the solder begins to melt.
Pull the solder away from the iron tip.
The solder flows between the tip and the copper.
Without touching the copper with the tip, "pull" the solder across the copper. Applying this layer of solder is called "tinning."
Add a ring to the slide—place a silver jump ring in the tweezers and place it on the edge of the slide. Use sterling silver, fine silver, copper, brass or karat gold jump rings for best results. Do not solder plated metals.
Apply flux to the area, including where the ring will be attached to the slide.
Repeat steps #6 through #9.
Allow the assembly to cool.
Wash with warm water and soap before using in a design.
Hard Soldering
Soldering precious metals together, often referred to as hard soldering, makes use of a similar list of tools as those used for soft soldering. You will need a torch, solder, flux, a suitable work surface, the materials being soldered together and a cleaning agent. To understand what those terms mean, and for other soldering definitions, please review the Hard Soldering Glossary.
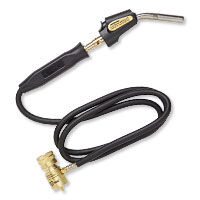
Torches
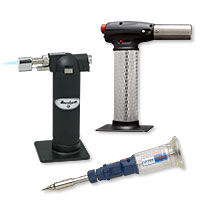
Oxygen can either be drawn into the torch from the atmosphere through the flow of the fuel or combined with the fuel through the torch's configuration, drawing in pure oxygen and fuel from individual tanks, each with its own regulator and adjustments on the torch itself. Each type of torch is made for use with a specific fuel, and often the choice of fuel is a personal one or dictated by what is most readily available. The temperature range achieved is based on the type of torch as well as the fuel used; the temperatures are from around 1400 degrees Fahrenheit to 5000 degrees Fahrenheit. Torches have either one tip/nozzle or the ability to change the tips to create a different size flame.
By changing the amount of oxygen, you alter the flame's temperature as well as the type of flame. Different types of flames are used to create different results when soldering and heating your metal. A reducing flame—bushy without a point and deep blue in color—is great for annealing but not as hot as a neutral flame. A neutral flame—sharp point and medium blue—is ideal for soldering, as the hottest point is 1/2 to 3/4 inches in front of the cone. An oxidizing flame—thin pointy cone and pale lavender—has no advantage when soldering but can be used for prepping surfaces.
To see how different types of torches serve different jewelry-making needs, watch A Guide to Torches for Jewelry Making and Metalsmithing video with Patti.
Soldering Station
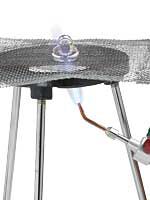
When soldering, there are a few surfaces to consider for supporting your piece: a fire block, charcoal block and ceramic board. A fire brick allows you to pin pieces into the surface for stability. Charcoal blocks are intended to create a reducing atmosphere which will reflect the heat back toward the piece you are soldering. A ceramic board will hold the heat and distribute it evenly across the design being soldered. Another great work surface to have available is a piece of steel mesh on a tripod. This combination will allow you to heat a piece from all sides. This is ideal when soldering a bezel as well as other applications where reaching all areas is beneficial.
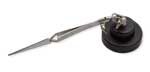
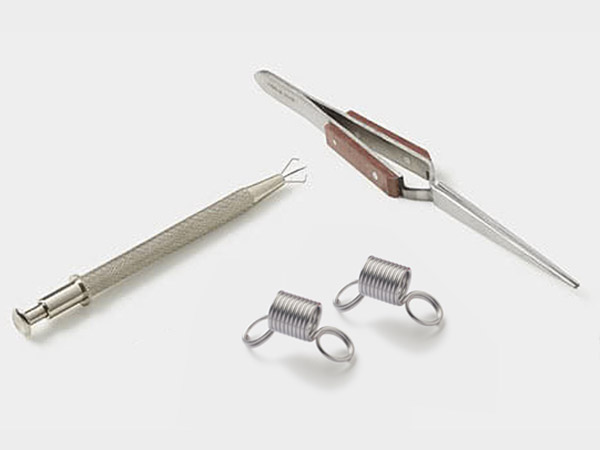
A few tools that have become essential to me are: a third hand with tweezers—that extra hand I always need; fiberglass-grip tweezers for holding things that are hot; and titanium solder picks to help with solder placement.
Solder
Solder, a metal alloy of silver and copper or silver and zinc, is used to join two pieces of metal together. Solder is heated until it flows and then allowed to cool. Once cooled, the join is permanent (if done properly). Use silver solder when soldering copper, brass, sterling silver or silver-filled metals.
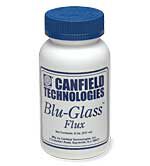
Flux
Flux is included in most paste solders but otherwise needs to be introduced into the soldering equation. Flux is a chemical compound applied to the surface of the metal and the solder before applying heat. Flux works as an oxide inhibitor, absorbing oxygen as the metal is heated. As the heating process occurs and the metal reaches the correct temperature, solder is brought into the metal being joined through capillary action, ultimately joining the metal seam. If oxides (tarnish) form during the soldering process, the solder will not flow properly, and the seam will not be joined.
Cleaning
Grease and dirt, like tarnish, will prevent flux and solder from flowing. To remove dirt and grease, soak your metal pieces in a pickle bath then wash with a good de-greasing liquid detergent.
Solder is rated based on its melting point; the melting point is affected by the percentages of metal used in the alloy that makes up the solder. "Hard" solder has a high percentage of silver (average 80%) and a high melting point (about 1365 degrees Fahrenheit); "easy" has a lower percentage of silver (average 60%) and a higher percentage of copper (or zinc) and therefore a lower melting point (about 1240 degrees Fahrenheit). The benefit of different melting points makes it possible to solder a design multiple times without each previous join opening up when you solder another seam on the piece. If you will only be soldering one join, easy is typically used.
Solder is available in sheet, wire and paste form. Sheet and wire work the same and personal preference usually dictates choice; solder paste has flux included and is ideal for production work or quick fixes, like soldering a jump ring closed.
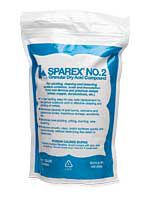
Once the soldering is complete, the piece needs to be cleaned of oxidation and flux residue. Pickle will take care of this task. Pickle is a strong chemical bath that works well when warm. A mini crock-pot is an ideal vessel for holding the pickle as it is unaffected by the acid solution, it can be safely heated and has a lid to keep the pickle from evaporating too quickly. A warm pickle solution should clean metal in 1 to 2 minutes; however, the longer you leave it in the pickling solution the more firescale will be removed. When discarding used pickle, pour the solution into a large container and add baking soda to neutralize it. Allow the bubbling that will occur to slow down before disposing of the solution. Used pickling solution contains heavy metals that can contaminate the water supply so prior to dumping or disposing of the pickle, check with your local authorities as each city has its own local rules.
Tips: Over time, copper ions will be collected in used pickle. Once pickle has reached its saturation point, it should be discarded. If you push the pickle too far, you could inadvertently plate a silver design with copper. To avoid this from happening, change your pickle solution when it gets too blue.
You can also inadvertently plate silver with copper by adding steel to the pot. The steel creates the "charge" needed to transfer the copper ions to the other metal in the solution. To avoid this, always use copper or wooden tongs when moving items into and out of the pickle solution.

Use tweezers, tongs or pliers to place the two pieces of metal to be joined onto your soldering station.
If it is not included in the paste solder, apply flux to the metal. Flux keeps the metal clean and prevents the solder from moving before it melts.
Place solder onto the metal. Non-stick solder picks help position the solder.
Use the torch to heat the metal. Do not heat solder directly with the torch—the solder will flow toward the heat. Use the torch to lead the solder into the joint. Heat until the solder begins to run. Then remove heat.
Use tweezers, tongs or pliers to place hot metal into pickle for about 1 to 2 minutes.
Use tweezers, tongs or pliers to remove metal from pickle and wash with soap and water.
Polish.
Shop for Your Materials Here:
Have a question regarding this project? Email Customer Service.
Copyright Permissions
All works of authorship (articles, videos, tutorials and other creative works) are from the Fire Mountain Gems and Beads® Collection, and permission to copy is granted for non-commercial educational purposes only. All other reproduction requires written permission. For more information, please email copyrightpermission@firemtn.com.