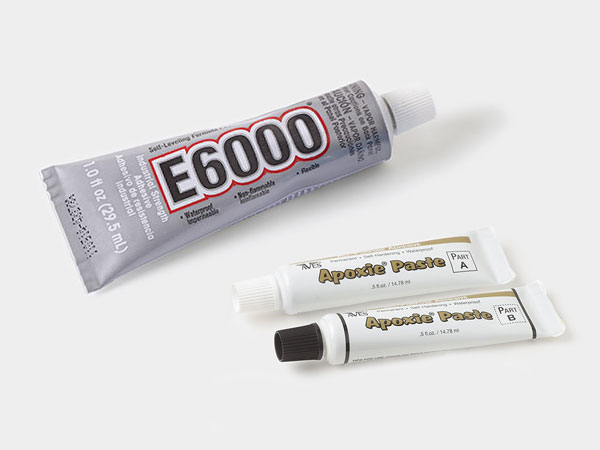
How to Make Faux Dichroic Jewelry Components Using Apoxie® Sculpt

This project, led by award-winning mixed media artist Lisa Pavelka, walks you through the steps to create a jewelry component from Apoxie® Sculpt jewelry clay adhesive with a faux dichroic glass look.
Instructions
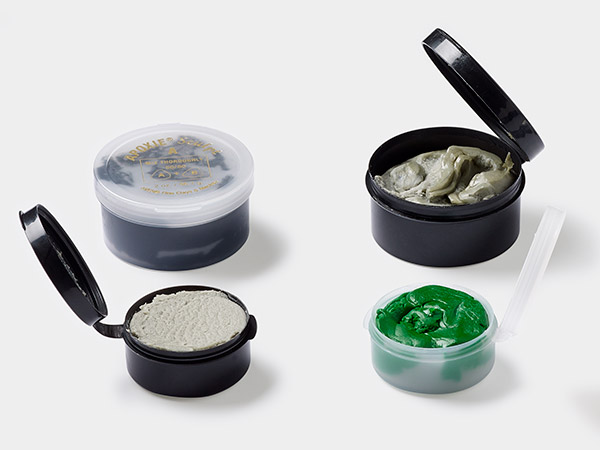
Mix equal parts of the Apoxie Sculpt for two minutes or until it's thoroughly blended. A marbling will be apparent when first blending; continue to blend until all marbling is gone and you have one solid color.
Tip: It's recommended to use disposable gloves when mixing epoxy glues.
Flatten the Apoxie slightly by hand and place it on a Teflon® sheet. Place the red set of acrylic slats (approximately 1-1/2mm thick) on either side of the Apoxie. Apply a releasing agent to the surface then place a second sheet of Teflon over the Apoxie. Use a roller to roll the Apoxie flat.
Remove the Teflon sheet then remove any remaining releasing agent residue from the flattened Apoxie.
Place the copper sheet from the Expressions Craft Foils set by Lisa Pavelka over the Apoxie, color side up. Use a piece of scrap paper to firmly burnish the surface of the foil for approximately 5 - 10 seconds. (The heat of the friction will cause the foil to adhere to the Apoxie.)
In one swift motion, rip the foil off the Apoxie pulling directly away from you while holding the Teflon sheet with the other hand. If small areas of copper remain on the sheet, place the sheet back over the Apoxie lined up with the exposed areas on the Apoxie and re-burnish the surface. Quickly rip the foil off again in a different direction to release the small areas of foil.
Place the large rose leaf embossing cutter over the Apoxie then press the edges into the Apoxie. Press the plunger down to emboss the clay. Remove the cutter from the clay; the foil will act as a release agent. Use a clay blade to loosen excess clay.
Place a piece of tape over the Apoxie then gently burnish the surface. Rip the tape off the Apoxie to remove excess foil from the surface of the Apoxie, leaving foil in the veins of the clay.
Place the pearlidescent sheet of foil and reburnish the surface of the clay creating an abalone effect.
Tip: If desired, apply a small grit sand paper to the surface of the Apoxie to create texture.
Use the leaf cutter to clean up the outline of the leaf. Do not press the plunger. If desired shape the leaf for a natural look.
Allow Apoxie to cure according to manufacturer's instructions. The piece will harden in approximately 2 - 3 hours, but needs approximately 24 hours to fully cure. File any rough edges smooth.
Optional:
- Use Magic-Glos to create a glass-like surface over the foil
- Drill a hole to create a pendant
- Embellish with crystals or add drops to the opposite end of the pendant
Shop for Your Materials Here:
Copyright Permissions
All works of authorship (articles, videos, tutorials and other creative works) are from the Fire Mountain Gems and Beads® Collection, and permission to copy is granted for non-commercial educational purposes only. All other reproduction requires written permission. For more information, please email copyrightpermission@firemtn.com.