Video Tutorial - How to Add Photographic Images to Apoxie®

Presented by Lisa Pavelka, Award-Winning Artist, Author and Educator
Instructions
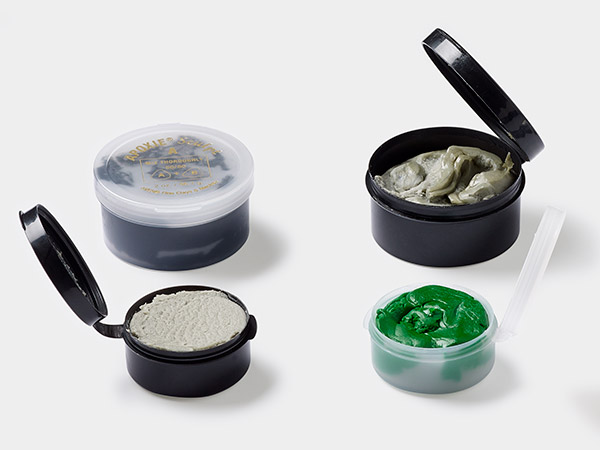
Mix together a small amount of white 2-part Apoxie® Sculpt epoxy clay. Place the clay onto a non-stick Teflon® non-stick paper and roll thin (approximately 1mm thick).
Cut out an image from a sheet of waterslide transfers by Lisa Pavelka and wet the back using water. Ensure the back of the image gets submerged completely in the water, then set the image aside for approximately 30-60 seconds.
Use a paper towel or your hands to wipe as much of the water from the image as possible, then carefully slide one end of the image off of the backing paper slightly. Press that end of the image onto the clay then continue to slide the backing out from the image while pressing the image onto the clay. This will ensure no air bubbles form under the image.
Note: Do not pull the image off of the paper backing. The translucent film is delicate and will curl up and may tear.
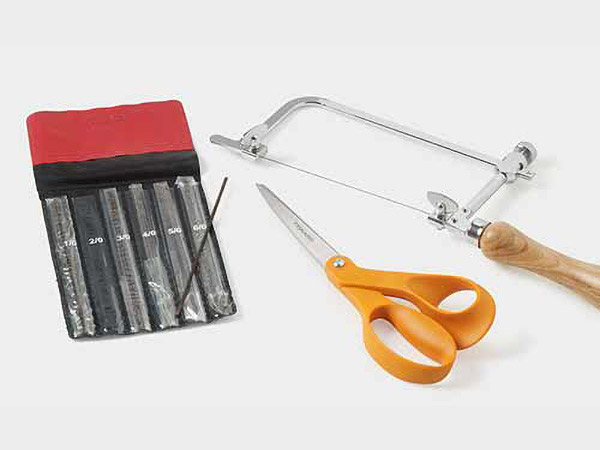
Trim the edges of the clay flush with the edge of the image using a clay cutting blade.
Optional:
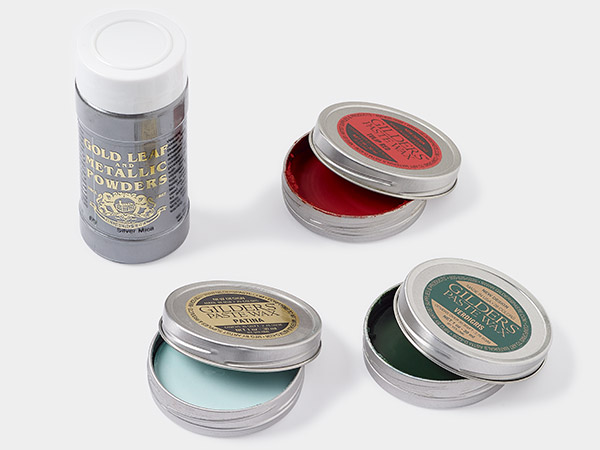
Before applying the waterslide image to the clay, create an iridescent background by placing a piece of pearlescent foil onto the clay then burnishing using the flat part of your fingers, or a scrap paper, for approximately 5-10 seconds. Quickly rip the foil from the clay.
Molded Border
Mix a small amount of black Apoxie Sculpt epoxy clay and roll it out very thin on a sheet of Teflon non-stick paper. Apply craft foil to one side.
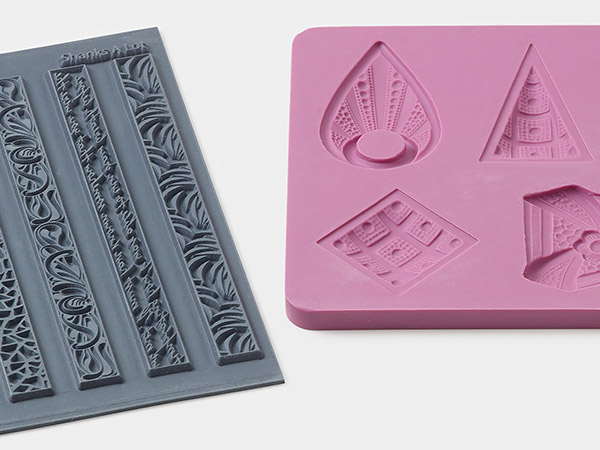
Use a very small amount of silicon automotive spray and apply to the foil side of the clay. Press the clay strip into a border mold, foil side down.
Work with leftover black epoxy clay or mix more as needed and form into a snake. Place the snake onto the back of the foil strip and, working from the middle out, press the snake into the mold stretching the foil strip. If any clay is sticking up out of the mold, use a clay blade to trim it flush to the top of the mold, starting from the center and working to each side.
Note: When trimming the top of the clay in the mold, be careful not to cut your thumb, as the cutting edge of the clay blade is sharp.
Carefully remove the clay from the mold, using a flicking motion to ensure the clay does not stick or stretch. If needed, smooth the edges by running your fingers along each side.
Create a border for your image by placing the mold strip onto the edge of the image then work it around each edge, pressing the clays together. Allow the clay to set for approximately 2 - 3 hours.
If desired, create a pendant from your clay image by gluing a bail to the back.
Shop for Your Materials Here:
Copyright Permissions
All works of authorship (articles, videos, tutorials and other creative works) are from the Fire Mountain Gems and Beads® Collection, and permission to copy is granted for non-commercial educational purposes only. All other reproduction requires written permission. For more information, please email copyrightpermission@firemtn.com.