How to Use the Miracle Mount™ System
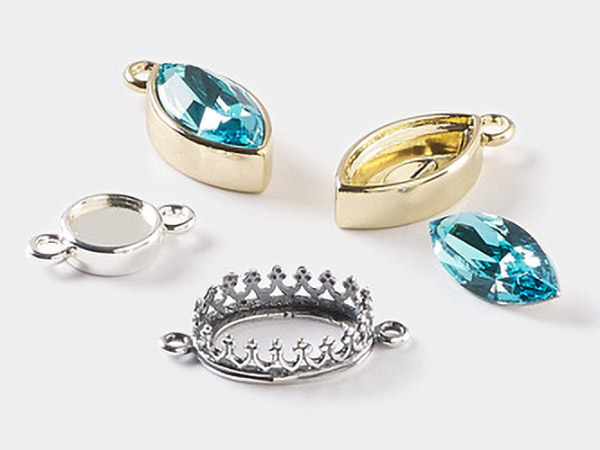
Created exclusively for Fire Mountain Gems and Beads, the Miracle Mount offers endless design possibilities using crystal fancy stones. Watch this video to see how simple using Miracle Mounts are.

Instructions
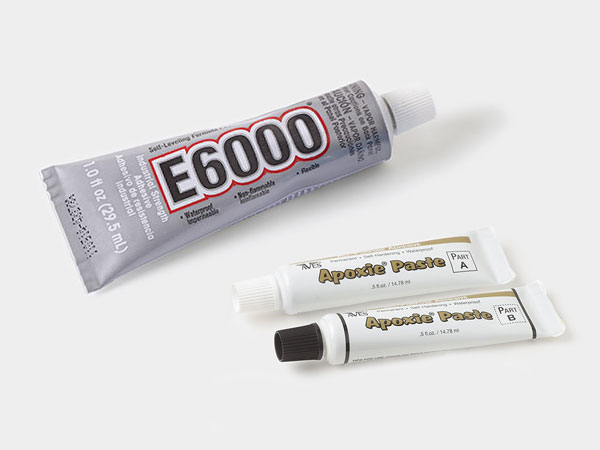
Apply 2-part epoxy around the inner edge of the back side of the Miracle Mount setting, then insert a fancy stone embellishment into the center.
Place the edges of the back side of the setting between two small pieces of scrap clay to allow stone to lay flat while the epoxy cures.
Apply epoxy to the four holes on the back side of the setting. Place the four corresponding positioning posts, on the front side of the setting, into the holes.
Set the Miracle Mount aside to dry/cure for approximately 5-15 minutes.
Determine the desired hanging orientation for the pendant. Tip: It may be helpful to create a sketch of the desired orientation of the loop and tile pegs to use as a reference when gluing.
Place the setting on a piece of scrap clay so the edge is visible then glue the pegs into the slots along the edge in the desired pattern. Allow each side to dry before rotating the setting to the next set of slots along the edge.
Note: It is important to verifty the orientation of the round loop on each peg before placing the loop, square loop side, into the slot.
Shop for Your Materials Here:


Have a question regarding this project? Email Customer Service.
Copyright Permissions
The pieces featured in the Gallery of Designs are copyrighted designs and are provided for inspiration only. We encourage you to substitute different colors, products and techniques to make the design your own.
All works of authorship (articles, videos, tutorials and other creative works) are from the Fire Mountain Gems and Beads® Collection, and permission to copy is granted for non-commercial educational purposes only. All other reproduction requires written permission. For more information, please email copyrightpermission@firemtn.com.