How to Solder a Jump Ring with Solder Paste
Soldering jump rings closed helps create a secure connection in jewelry. It's easier to solder than you may think. Follow along with Chris as he walks you through the tools and steps needed for this handy skill.
Note: It's important to secure loose hair and clothing and use proper safety equipment when soldering.
Instructions
Use pliers to open the jump ring, exposing the ends. Clean the surface of the seam, using a fine grit (1200 - 2000 grit) sandpaper to clean the ends and surrounding area. This removes excess oil and dirt ensuring a proper bond.
Once the seam is clean and smooth, use pliers to close the jump ring, creating a nice, tight, top-to-bottom seam.
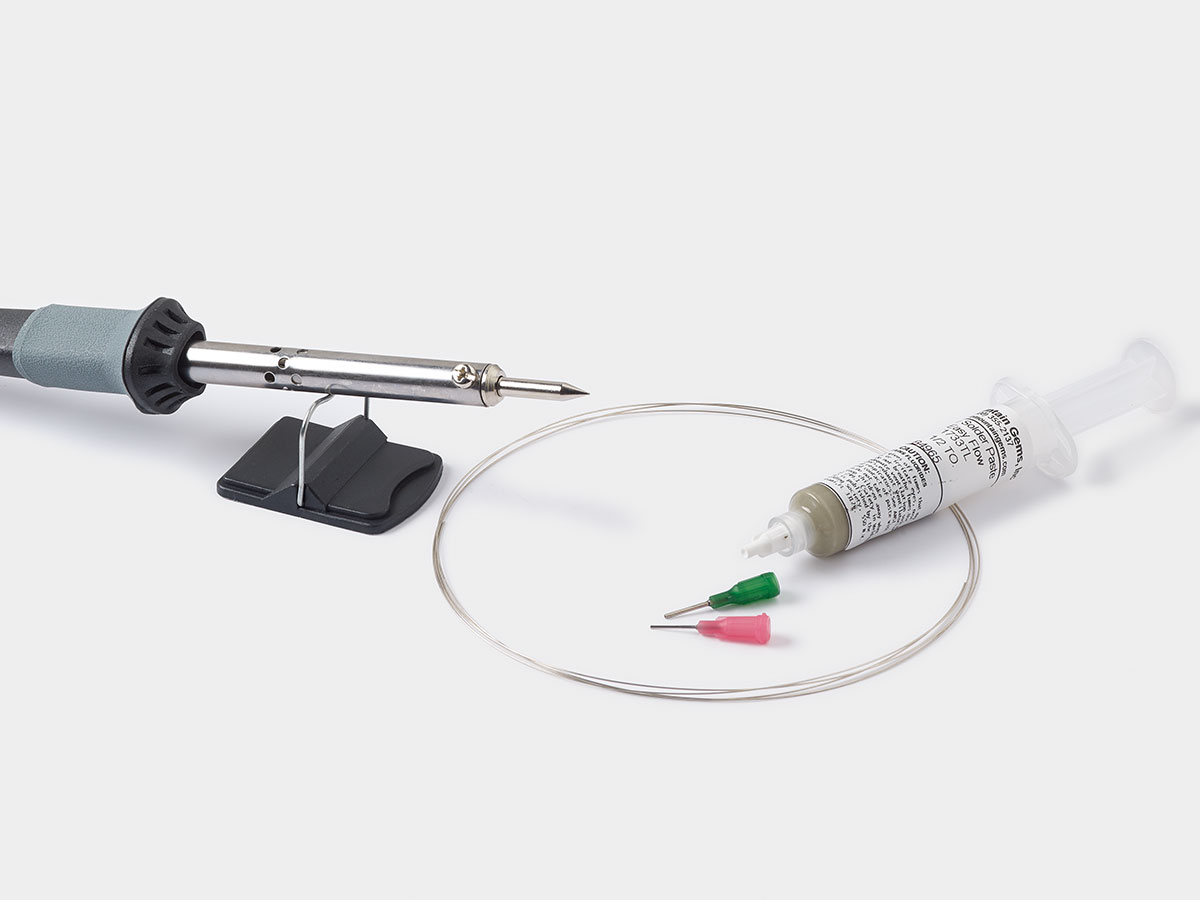
Apply a very small bead of solder paste over the seam of the jump ring.
Tip: Solder paste is infused with flux so there's no need to apply flux prior to soldering.
Use a butane torch to heat the solder paste, burning of the binder and allowing the solder to flow between the ends of the seam.
Use tweezers to flip the jump ring over and apply heat to the opposite side of the jump ring. This will cause the solder to flow up and fill the entire seam.
Place the jump ring in the bowl of water to quench.
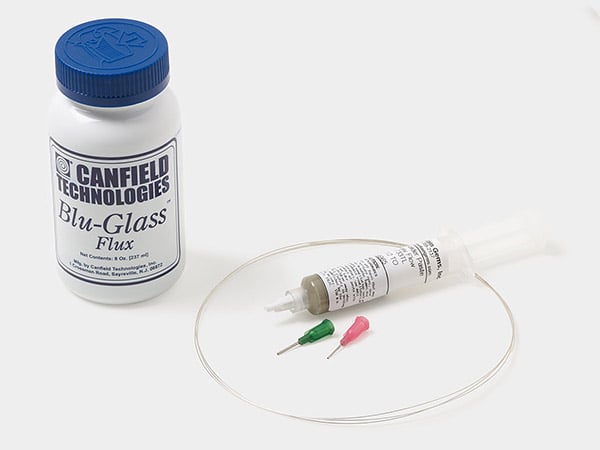
Use a Moonshine® polishing cloth, or pickle solution to remove excess flux.
Shop for Your Materials Here:
Have a question regarding this project? Email Customer Service.
Copyright Permissions
All works of authorship (articles, videos, tutorials and other creative works) are from the Fire Mountain Gems and Beads® Collection, and permission to copy is granted for non-commercial educational purposes only. All other reproduction requires written permission. For more information, please email copyrightpermission@firemtn.com.