Torch-Fired Enameling for Jewelry
by Tammy Honaman, Author, Jewelry-Making Expert and Educator,
Exclusively for Fire Mountain Gems and Beads®

Torch-firing enamels onto metal gets my brain going in a million directions as there are so many ways to take this art--torch-fired enamel beads, metal blanks and head pins, to name a few. If you haven't tried your hand at this technique yet, these are also a great place to start.
The benefits to torch-firing enamel that I have found and appreciate include convenience, expediency and greater control. I can torch enamel right at my studio table (rather than working where my kiln is located), the metal heats up quickly and the enamels flow right away. I can easily see the enamels reaching each stage so I have greater ability to stop when I've reached the stage I like, and I can make decorations in the enamels more readily right there in front of me. Kiln-firing enamels has its benefits too, but these are the reasons I'm drawn to the torch.
Whether kiln-firing or torch-firing, the same rules apply when enameling on metal and the results are equally beautiful, so the decision on which way to go is mostly a personal choice.
Before you begin enameling, the metal needs to be prepped. Prepping includes all the metalworking and cleaning.
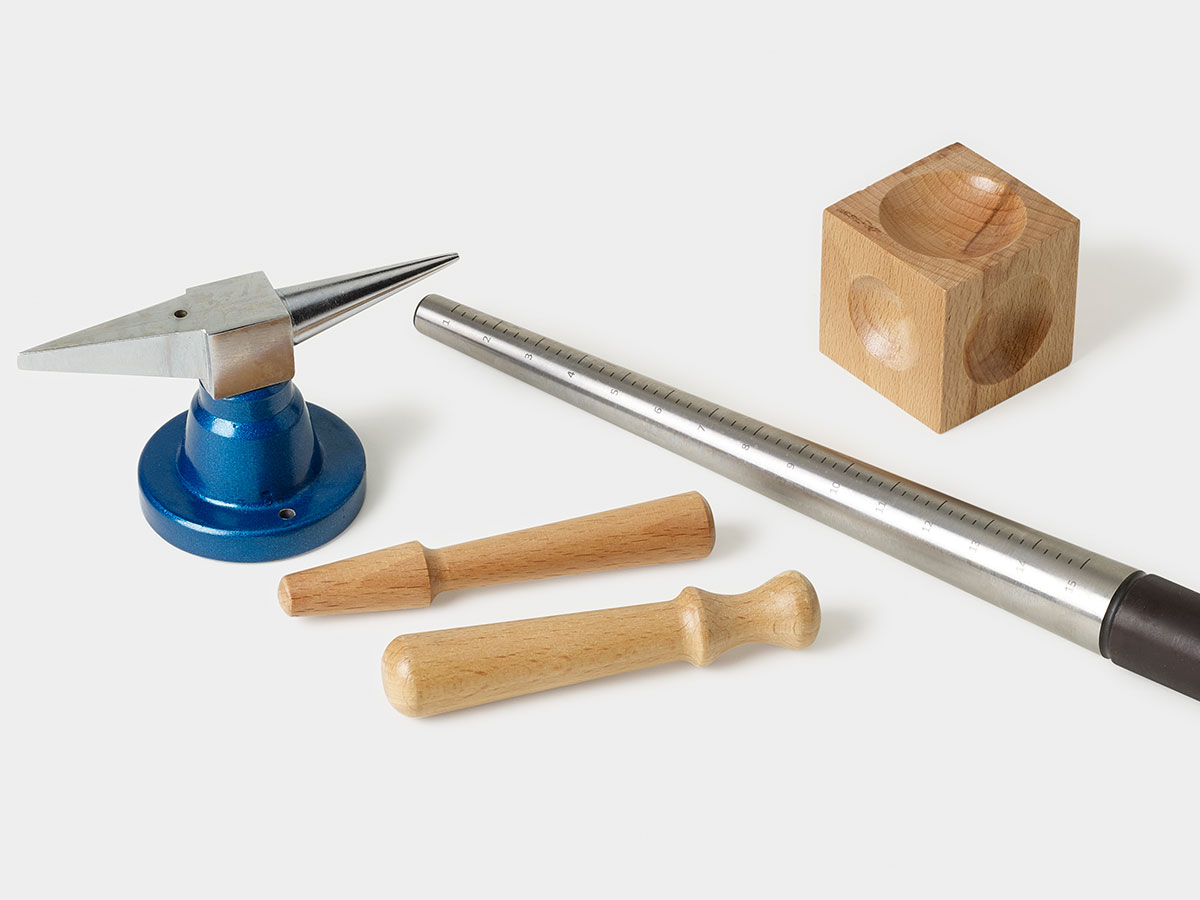
- Metalworking includes sawing, piercing, shaping, texturing and punching or drilling holes.
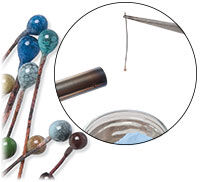
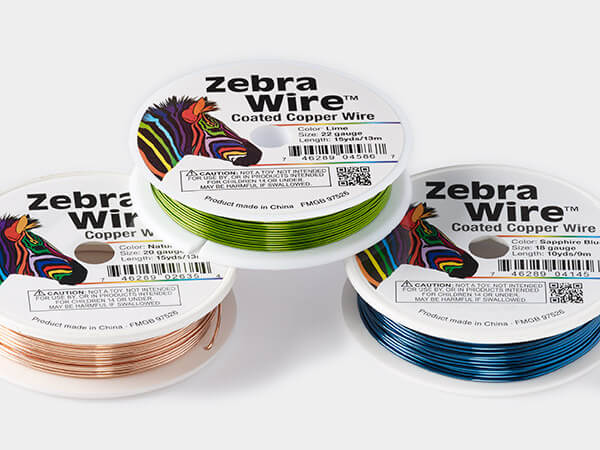
- If you want to create enamel-tipped head pins, cut lengths of copper Zebra Wire™ in the gauge and length that suits your design then form the ball tip by applying heat to one end of the wire.
- Cleaning (fine silver or copper) can be done by dunking the pieces into a warm bath of pickle held in a pickle pot. Alternatively, silver can be cleaned with a 50/50 solution of ammonia and water, and copper can be cleaned by rubbing the surface with Penny Brite®, an environmentally safe and very effective cleaner.
Once clean, it's important to make sure you have your firing area set up properly and you have addressed all points of safety.
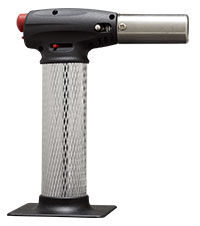
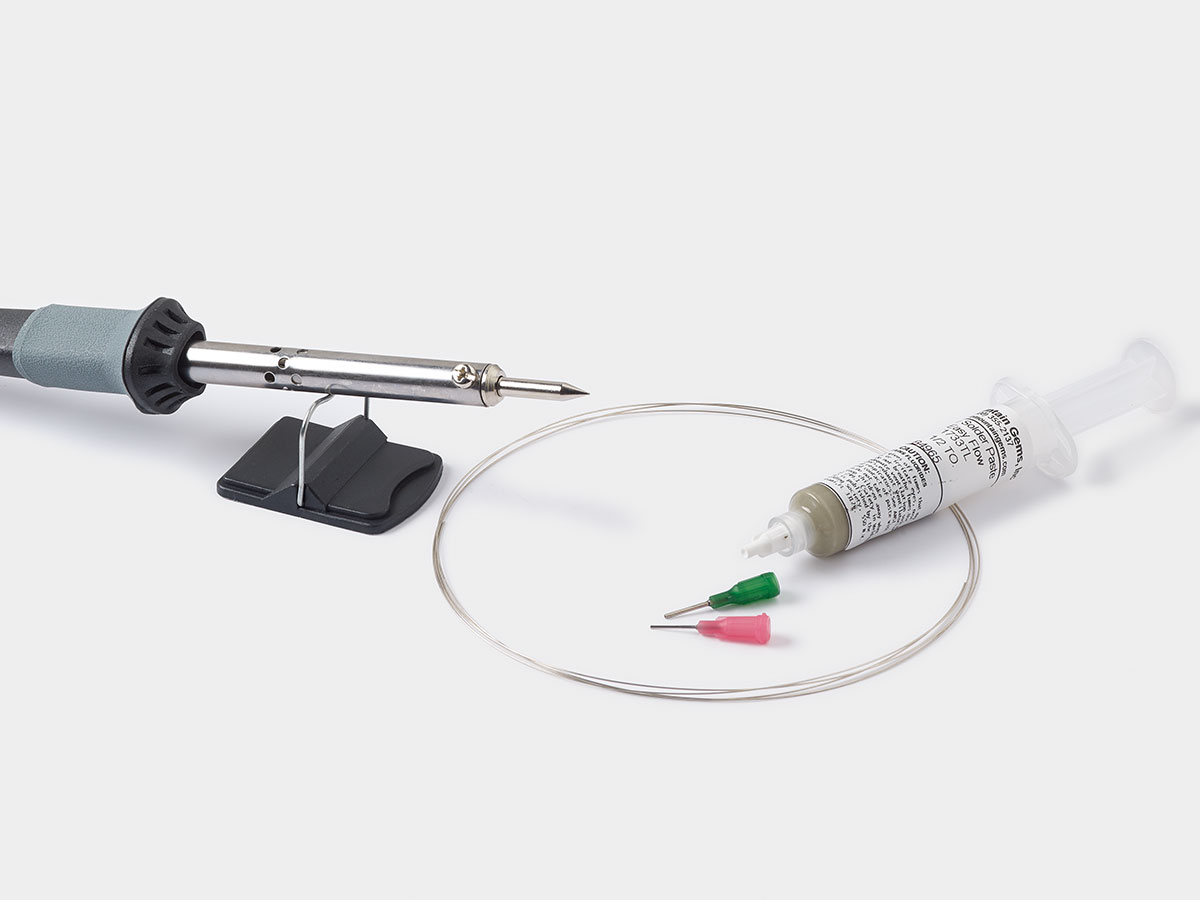
The torch you used can be either one you till with butane or one you attach to a fuel canister.

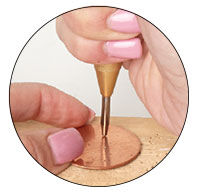
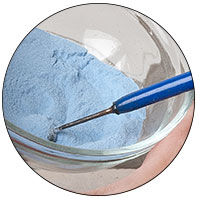
Enamels can be applied by dry sifting onto the metal or by dunking or dipping your metal into the enamels.
With a dust mask and safety glasses on, the metal prepped, the enamels in reach, the tools of your choice on hand and the firing area set up, it's time to start enameling and adding color to your world and your designs.
Shop for Your Materials Here:

Have a question regarding this project? Email Customer Service.
Copyright Permissions
All works of authorship (articles, videos, tutorials and other creative works) are from the Fire Mountain Gems and Beads® Collection, and permission to copy is granted for non-commercial educational purposes only. All other reproduction requires written permission. For more information, please email copyrightpermission@firemtn.com.