How to Use the Artistic Wire® CONETASTIC™ Mandrel
Instructions
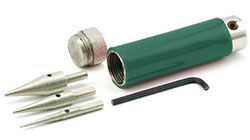
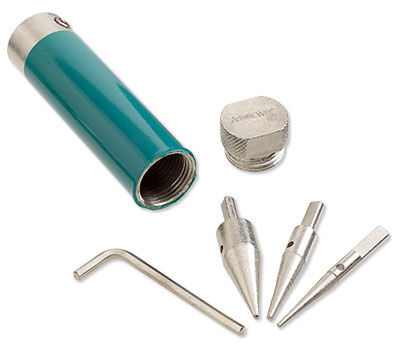
Remove the mandrels and the allen wrench from the handle by unscrewing the base. Select size of mandrel to be used. Replace mandrels into base and close with screw cap.
Note: The base has parallel flat portions for mounting the tool onto a vise.
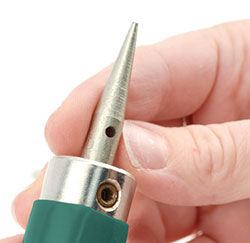
Insert chosen mandrel in the hole of the handle. Line up the flat side below the hole with the allen screw. This aligns the flat area on the shaft of the mandrel with the allen screw to assure no slippage of the mandrel and handle.
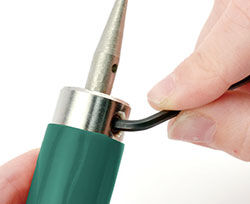
Tighten the allen screw with the wrench onto the flat portion of the shaft inserted into the holder.
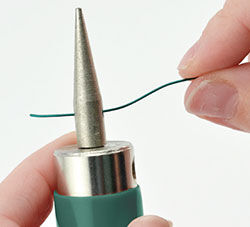
Insert one end of wire into the hole at the base of the cone mandrel. It's best to deposit the wire onto the mandrel before cutting the wire. General rule of thumb is about 18'' (45cm) of wire for the medium mandrel using 18 ga (1.0mm wire). You will need more wire for smaller gauges and less wire for larger gauges. Conestastic is made for 12 - 26 ga (2.1 - 0.41mm) single wires.

Bend the end of the wire to anchor it and hold this anchor point with a thumb or other finger.
Note: Many people hold things differently. Try holding the wire with your non-dominant hand and wrapping with your dominant hand. Switch these positions to find your best method.

This step, similar to Step 5, depends on personal preference. Try wrapping the wire around the mandrel with your dominant hand, or turn the mandrel and guide the wire onto the mandrel with your dominant hand. Switch these positions to find the method that you prefer.
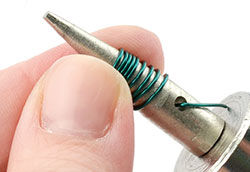
Work the wire up the cone mandrel, making sure the wire wraps side-by-side. Tighten your grip on the wire to create the best side-by-side wraps. Change the methods mentioned before to see if one creates tighter wraps for you.
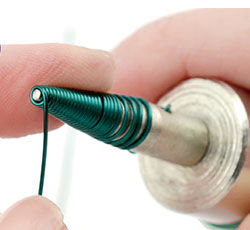
Take the wire to the very end of the mandrel, using caution when you release the wire as some unwinding will occur from the temper of the wire.
Use a flush-cutter to snip the wire at the top of the cone, making sure the flat side of the flush-cutter is facing the cone. This will put the flush cut onto the end of the wire on the newly made cone.
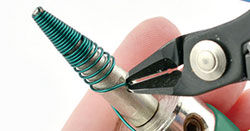
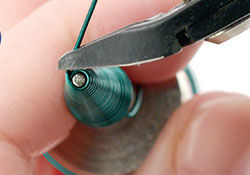
Cut the wire at the base to allow the cone to be free. Use this same cutting to adjust the length of the cone and trim the desired end with the at side of the flush-cutter against the wire end (as shown above in Step 9).
Have a question regarding this project? Email Customer Service.
Copyright Permissions
All works of authorship (articles, videos, tutorials and other creative works) are from the Fire Mountain Gems and Beads® Collection, and permission to copy is granted for non-commercial educational purposes only. All other reproduction requires written permission. For more information, please email copyrightpermission@firemtn.com.