Secrets to a Wrapped Loop
Learn how to make the perfect wrapped loop for creating secure and professional drops or connections in jewelry designs. Expert jewelry maker Tammy Honaman walks you through the steps of this basic jewelry-making technique.
Instructions
Wrapped loops provide a secure connection and are a great way to connect things together.
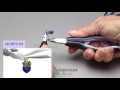
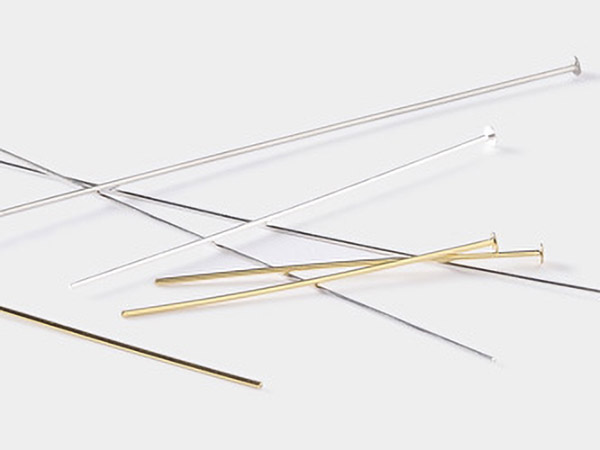
String a bead onto a headpin. Finish with a bead cap if desired.
Using a pair of chain-nose pliers, fold the wire over one jaw away from you, forming a 90-degree angle. Rotate the pliers to grip the top portion of the wire, snug against the corner. Bend the wire over the top jaw of the pliers creating most of the loop.
Tip: Leave some space between the bend in the wire and the bead or bead cap for the wire wrap. Leave more or less space depending on the desired length of the wrap.
Rotate the pliers again so that they are inside the loop, horizontal to the straight part of the wire. Continue to bend the wire around the jaw of the pliers, closing the loop.
Note: The end of the wire should be sticking out roughly horizontal with the design.
Hold the loop using chain-nose pliers then, using flat-nose pliers, tightly wrap the wire around the straight part of the headpin until the distance between the loop and the bead or bead cap is filled.
Use flush-cutters with the flush side against the wrap to trim the excess wire. Use chain-nose pliers to neaten up and tuck in the end of the wire.
Shop for Your Materials Here:


Have a question regarding this project? Email Customer Service.
Copyright Permissions
All works of authorship (articles, videos, tutorials and other creative works) are from the Fire Mountain Gems and Beads® Collection, and permission to copy is granted for non-commercial educational purposes only. All other reproduction requires written permission. For more information, please email copyrightpermission@firemtn.com.