Video Tutorial - Secrets to Using a Bead Knotting Tool

Create pearl knotted jewelry easily with the help of a bead knotting tool called The Bead Knotter™. Author and Jewelry-Making Expert and Educator Tammy Honaman demonstrates how to knot between beads with the use of this jewelry-making tool.
Instructions
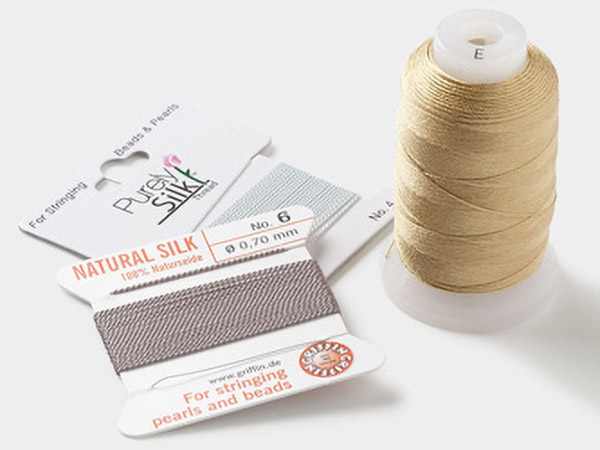
Cut the desired length of thread.
String one needle onto the thread then fold the thread in half. Tie the ends of the thread together leaving approximately 1-1/2 inch tails.
String two beads and the loop of one half of a clasp onto the thread. Slide all three components down to the knot then thread the needle back through the first bead closest to the clasp. Leave approximately 1 inch of working room between the two beads.
Working away from the clasp, make an overhand knot by placing the working thread between the two beads creating a loop then pass the second bead through the loop. Tighten the knot down to the first bead.
Tip: Tweezers can be used to help tighten the knot closer to the bead.
Thread the needle back through the second bead then slide the bead down to the knot resting on the first bead. Tie an overhand knot just past the second bead using the working thread and the tail thread. Tighten the knot down to the second bead.
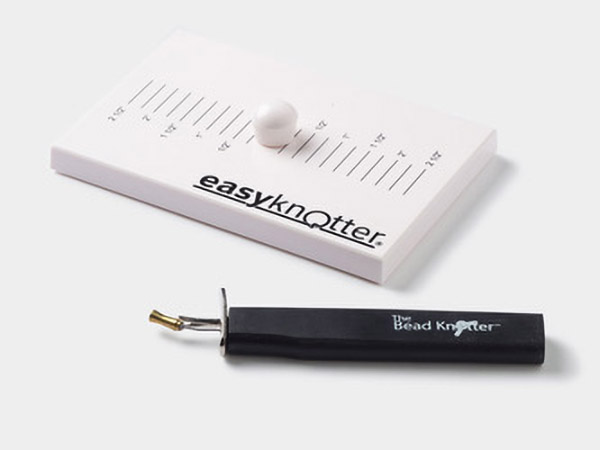
String one bead onto the thread. Tie an overhand knot by forming a loop in the working thread just past the beads then pass the beads and clasp through the loop; do not tighten the knot yet. Insert the awl of The Bead Knotter™ into the loop of the overhand knot then tighten so the knot rests snug against the next bead. Place the working thread in the fork of The Bead Knotter then pull to further tighten the knot against the bead and lift the tool, releasing the thread.
Repeat until the design is the desired length.
String on the second half of the clasp then pass the working thread back through the last bead strung. Slide the last bead and clasp down the thread to rest snug against each other. Tie a half-hitch knot between the last and second to last bead then tighten.
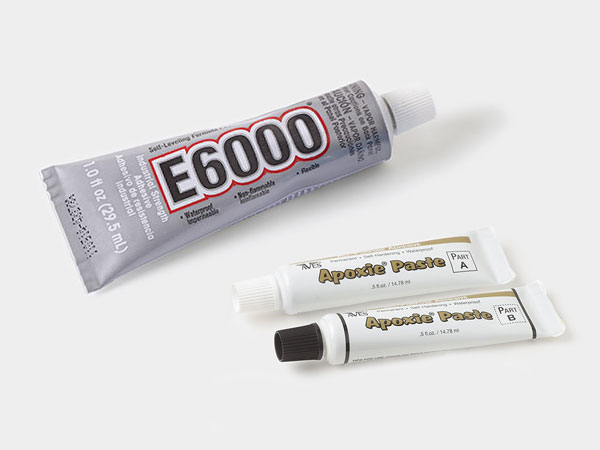
Apply a small amount of G-S Hypo Cement to the thread between the first and second bead. Repeat to apply adhesive between the last and second to last bead.
Trim the remaining tails of thread once the adhesive has cured.
Shop for Your Materials Here:
Have a question regarding this tutorial? Email Customer Service.
Copyright Permissions
All works of authorship (articles, videos, tutorials and other creative works) are from the Fire Mountain Gems and Beads® Collection, and permission to copy is granted for non-commercial educational purposes only. All other reproduction requires written permission. For more information, please email copyrightpermission@firemtn.com.