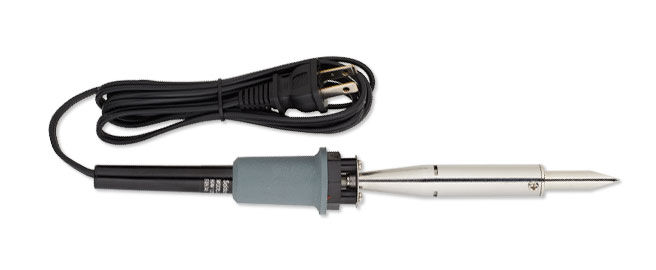
Soldering Iron Owner's Manual
Warnings:
- Work only in a dry area that is free from flammable materials
- Arrange a secure resting place for the soldering iron stand. Be sure the hot tip does not contact a flammable surface, your body, or the power cord.
- Do not attempt to touch the tip of a hot soldering iron or remove solder from its surface with your hands.
- Do not use the soldering iron continuously for more than 1 hour. Otherwise, the soldering iron might be damaged.
- Store the soldering iron in a dry, secure place where children cannot reach it.
Instructions
Clean the surface you want to solder to ensure good bonding. Use a wire brush or fine sandpaper to remove paint or rust. Use alcohol or Cleaner/Degreaser to remove oil.
Be sure the screw that holds the soldering iron tip is secure. When necessary, use a Phillips screwdriver to tighten it.
Plug the soldering iron power cord into an AC outlet.
For better solder connections and longer tip life, tin (cover) the soldering iron tip with a coating of solder every time you use it. When the tip gets hot, carefully apply a light coating of new solder to the tip. (If you apply too much solder, wipe the tip with a damp sponge to remove the excess.)
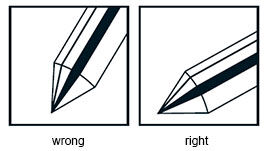
Heat the parts you're soldering before applying the solder. To do this quickly, hold the tapered surface of the tip firmly against the parts (not its point). When both parts are hot, apply a little solder. The melted solder should flow evenly, coating all surfaces. If the parts have not been well-heated, the solder joint creates a poor electrical connection.
Pull back the roll of solder, then remove the soldering iron.
Unplug the soldering iron.
Warning: This product contains, and when used for soldering and similar applications produces, chemicals known to the State of California to cause cancer and birth defects (or other reproductive harm).
Have a question regarding this tutorial? Email Customer Service.
Copyright Permissions
All works of authorship (articles, videos, tutorials and other creative works) are from the Fire Mountain Gems and Beads® Collection, and permission to copy is granted for non-commercial educational purposes only. All other reproduction requires written permission. For more information, please email copyrightpermission@firemtn.com.