How to Use the Beadalon Ring Weaver Tool
The Beadalon® brand ring weaver, designed by international designer, teacher and presenter Kleshna, makes it a cinch to weave intricate rings using thread, cord, wire or other stringing materials.
Always use safety glasses when working with wire and wire tools. Intended for adult use only.
Instructions
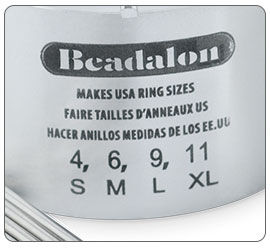
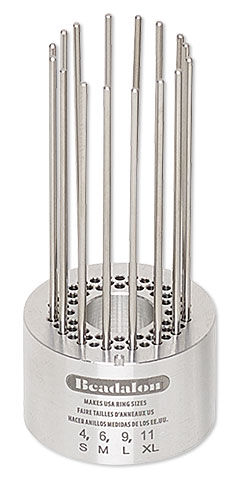
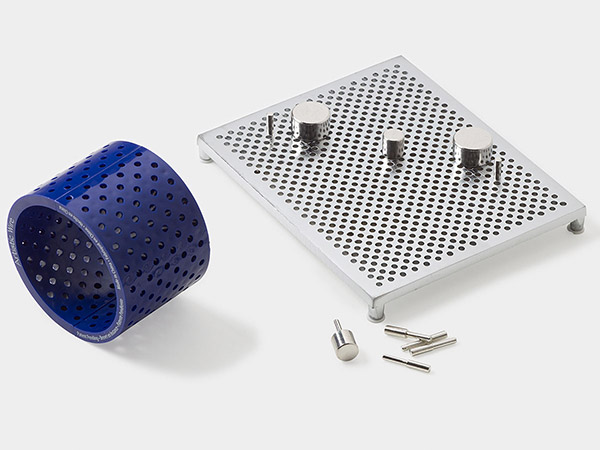
Choose the size ring you want to make. The sizes are based on the placement of the holes inside the base of the Ring Weaver Tool. The holes are staggered on the diagonal so the outermost holes will yield a size 11 ring, the next row toward the center will make a size 9 ring and so on. These sizes are approximate and will be influenced by the size of your weaving material. The sizes are based loosely on a .018 in (0.46 mm) diameter wire or thread (or 24 gauge Artistic Wire).

On the underside of the tool, drop the knurled (textured) side of the peg into the hole that corresponds to the size ring that you are making. Make sure it drops all the way to the level of the knurls.
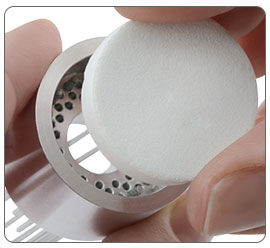
Insert 16 pegs in the holes around the circle making sure to stay in the holes corresponding to the size of ring that you are making. Once all of the pegs are in place, push the foam insert into the bottom of the tool to hold the pegs in place.
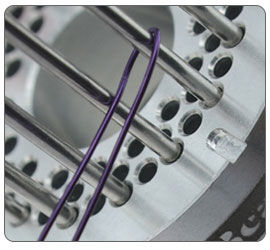
Cut a piece of 24 gauge Artistic Wire approximately 39 in (1 m) long. (Adding a few inches or subtracting a few inches will make a taller or shorter ring). Bend the wire in half, and place the bend over the peg just behind the notch in the tool.
Tip: Use two colors of wire by twisting the ends together. Use two colors of Beadalon Bead Stringing Wire by crimping the wires together. Use two colors of textile material by tying the ends together.
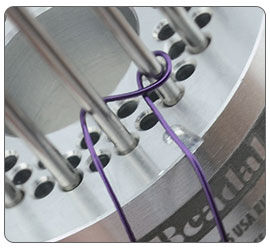
Start with the wire on the right. Bring it over the left wire then up, over and behind the next peg to the left. Pull the wire so it curves around the warp peg as shown.

Place the left wire under the right wire, then using the new left wire bring it up, over and behind the next peg, pulling it through to the front to curve around the peg.

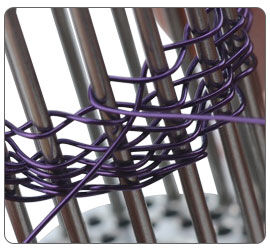
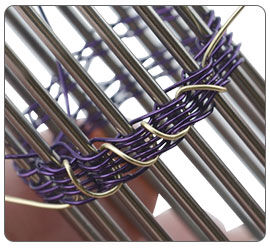
To avoid a wiggly or uneven weave, pay careful attention to be sure over-wires and under-wires follow a consistent pattern and even tension around each warp pin. Continue working clockwise, weaving by moving the left wire under the right wire, then using the new left wire to go up, over and around the next peg to the left. Weave the wires around until you are back at the beginning of the notch.
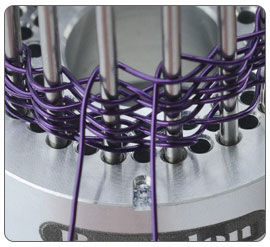
Continue weaving around the pegs until your ring is the width you want. The wire on the ring should look similar to the photo; go just past the notch mark so that the ring has approximately equal rounds of weft.
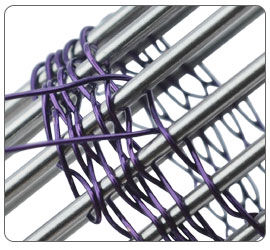
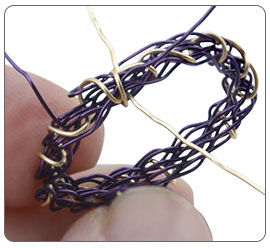
Carefully pull the woven wire into the center of the pegs. Be sure not to pull it all the way off, or the weave will unravel.
Bend the wires around the last peg as shown. The top wire comes to the front around the peg, the bottom wire will wrap around to the back of the peg.
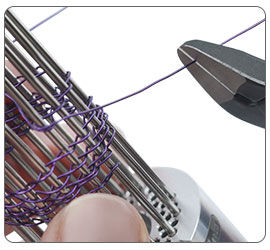
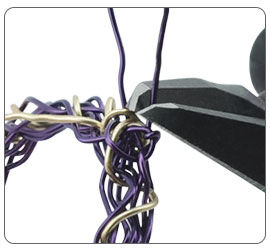
Snip the two ends of the wire leaving about a 1 in (2.54 cm) tail on each. These ends will be woven in later on.
Use a 7 in (17.7 cm) piece of wire. Push it down through the two newly formed loops, down against the peg, making sure it runs inside all the wire intersections, and through the bottom loop. You may need to pull the end of the wire with Chain Nose Pliers. This is called "replacing the warp pegs".
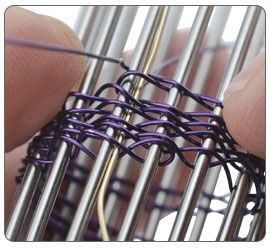
Pull the short end of the wire up and over to the left, and the long end down to the right over the wires, compressing the weave as shown.
Continue re-warping by weaving the wire down and over, up and through the spaces next to the pins. If you want to add beads on the outside of the wrap, string the beads onto the wire before pushing the wire down along the warp peg.

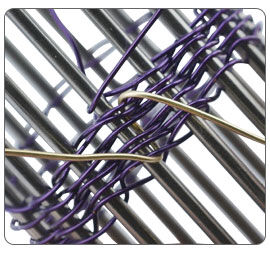
You can continue re-warping on the tool, or, because this ring is made from Artistic Wire, NOT STRINGING WIRES OR TEXTILES, it can be pulled off of the tool in this step for easier re-warping. If you pull off a ring made from a material other than wrapping wire, it will fall apart.
When you have woven through all of the warp spaces, take an extra wrap on the first space and pull it tightly.
Weave the remaining ends into the ring, snip off the excess and tuck in the ends.
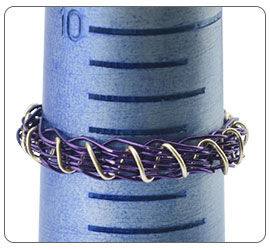
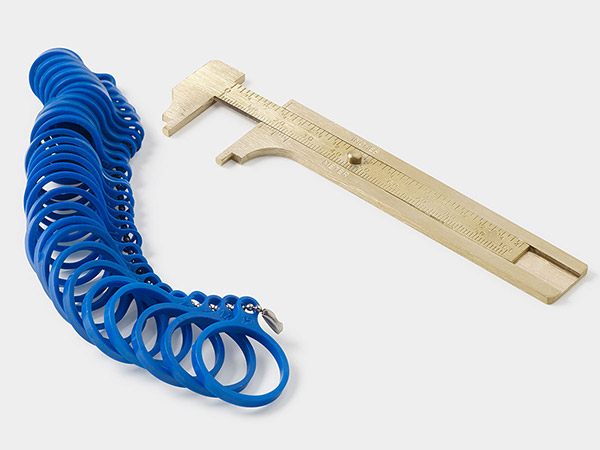
Use a ring mandrel to check and adjust the fit if necessary.
Shop for Your Materials Here:


Have a question regarding this project? Email Customer Service.
Copyright Permissions
All works of authorship (articles, videos, tutorials and other creative works) are from the Fire Mountain Gems and Beads® Collection, and permission to copy is granted for non-commercial educational purposes only. All other reproduction requires written permission. For more information, please email copyrightpermission@firemtn.com.