Getting Started with Basic Silversmithing

By Lyn Punkari, Design Idea K11R
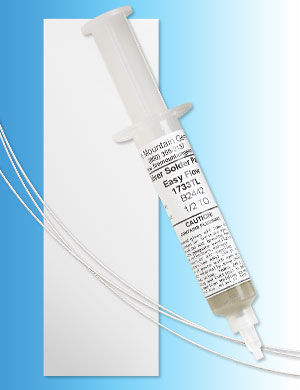
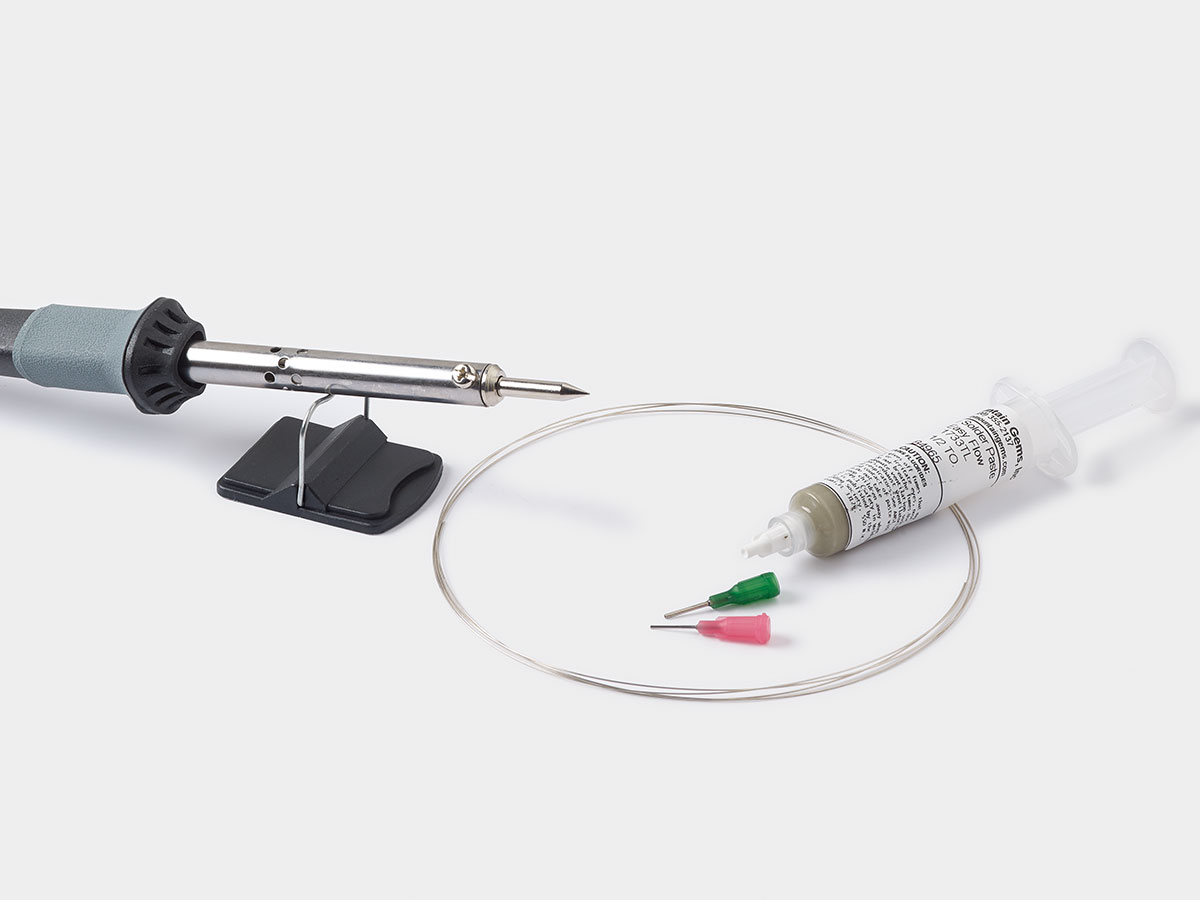
1. Soldering Wire, Soldering Sheet or Soldering Paste
Solder is used to join two pieces of metal together. Sheet solder is cut into small sections and laid, with flux, between the metal pieces to be joined. Soldering wire is melted by torch directly off the roll into the flux. Soldering wire can be trickier to master than using soldering sheet. Paste solder has flux included and is ideal for production work or quick fixes, such as soldering a jump ring closed.
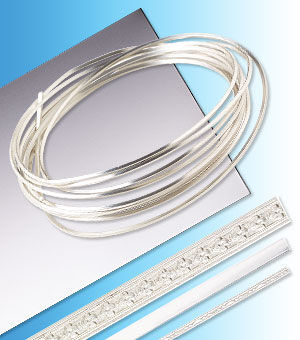
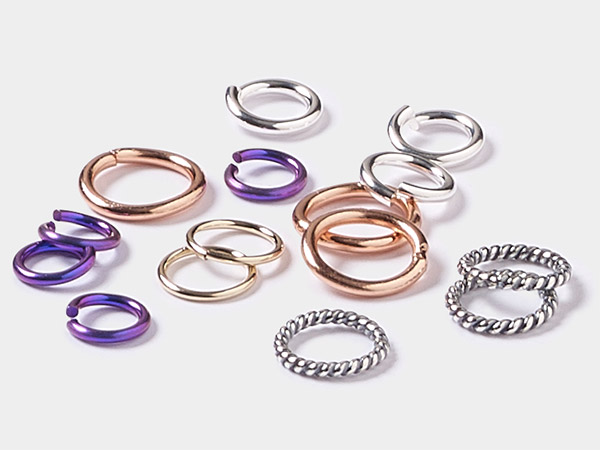
2. Sterling Silver Wire, Bezel Strips or Metal Sheet
With the right tools, you can create one-of-a-kind components for your jewelry designs. With bezel strips and sheet metal, you can create your own custom cabochon bezel settings. Have fun crafting unique metal punched designs using sheet metal. Or use sterling silver wire to create distinctive loops, rings and more.
3. Flush Cutters
Flush cutters are a necessity for making clean cuts on metal sheet and wire. Their flat cutting edges and sharp blades will give you the clean, professional finish you desire.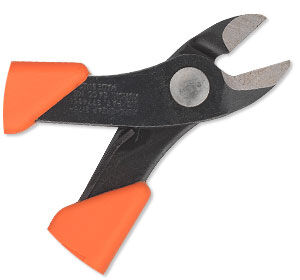
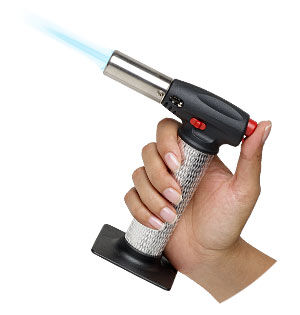
4. Torch
The essential silversmithing tool is the torch. A torch is needed for soldering metal, jewelry repair, firing certain metal clays and small enameling projects. A torch can also be used to heat metal evenly, enabling it to be softer and more malleable, as well as for creating textured patina on your metal designs.
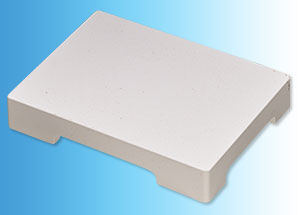
5. Soldering Block
Prevent burns on your jewelry workbench as you solder with a soldering block. A soldering block will also provide a stable workspace for your most delicate silversmithing projects. Some soldering blocks also reflect the heat back onto the workspace, increasing efficiency.
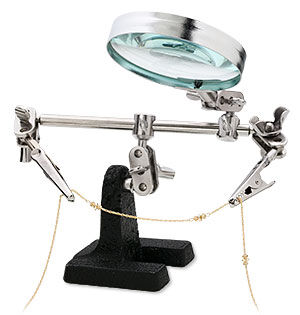
6. Third Hand
This 'handy' tool is for all those situations that require one or two more steady hands. Soldering, intricate wire work, texturing and shaping all become easier with the support of a third hand. Not only that, a third hand can support a jewelry piece at just the right angle for completing delicate work.
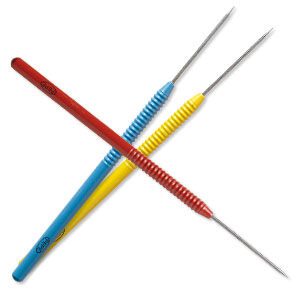
7. Soldering Picks
Use soldering picks to position solder as you work. They can also be used to pick up minute components, to stir and apply flux and to remove excess solder. Non-stick titanium tips prevent solder from adhering to the picks.
8. Metal Files
File the ends of cut metal before soldering to make sure the gap is as flush as possible for a seamless join. You will need metal files to file down excess solder after soldering. Metal files can also be used to shape and refine components as well as to add texture.

9. Ring Mandrel
Having a solid steel ring mandrel is helpful for hammering metal into a ring after soldering. Because of their tapered shape, ring mandrels provide a measure to create rings of varying shapes as well as a secure support for adding finishing touches to the final piece.
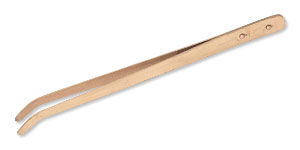
10. Copper Tongs
Use copper tongs for retrieving pieces out of your pickle solution. Copper is the ideal material because stainless steel and other metals that contain iron will cause a reaction in the pickling solution.
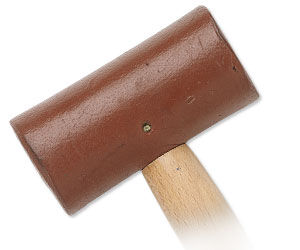
11. Rawhide Mallet
Hammer metal without leaving marks on it with a rawhide mallet. A rawhide mallet can also be used to flatten wire, soften the edges on your metal pieces and add texture to flat designs without leaving scratches.
12. Flux
Flux allows solder to flow to the exact areas you want to solder and protects metal from fire scale. It includes components that remove oxides, grease and other contaminants, creating a clean and chemically reactive surface for soldering.
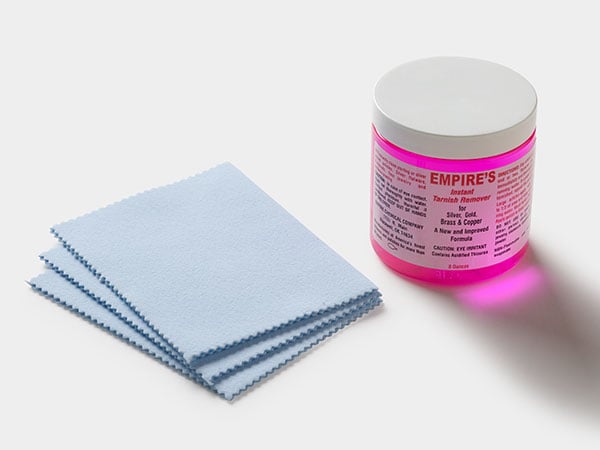
13. Polishing Cloth
Finally, you’re going to want to polish your piece. We recommend Moonshine® or Sunshine® polishing cloths Get amazing results with only a few seconds of polishing, thanks to its specially made fabric with micro cleansing agents.

Shop for Your Materials Here:
Have a question regarding this project? Email Customer Service.
Copyright Permissions
All works of authorship (articles, videos, tutorials and other creative works) are from the Fire Mountain Gems and Beads® Collection, and permission to copy is granted for non-commercial educational purposes only. All other reproduction requires written permission. For more information, please email copyrightpermission@firemtn.com.