Sabrina Frey Bead Mosaic™ - FAQs and Pro Tips
Starter Kits
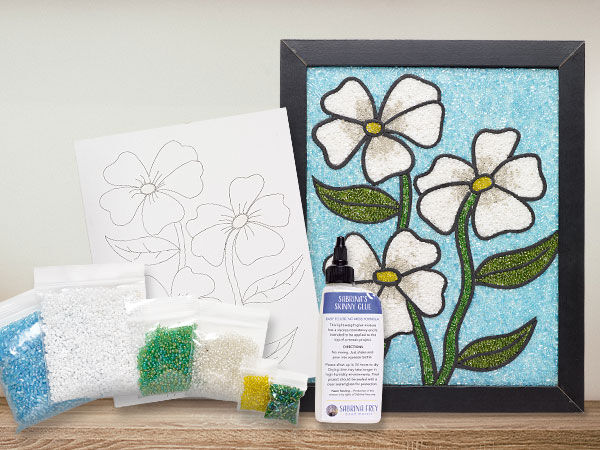
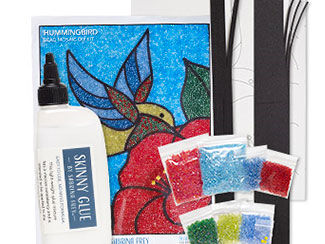
Do I have to use the beads in the kit?
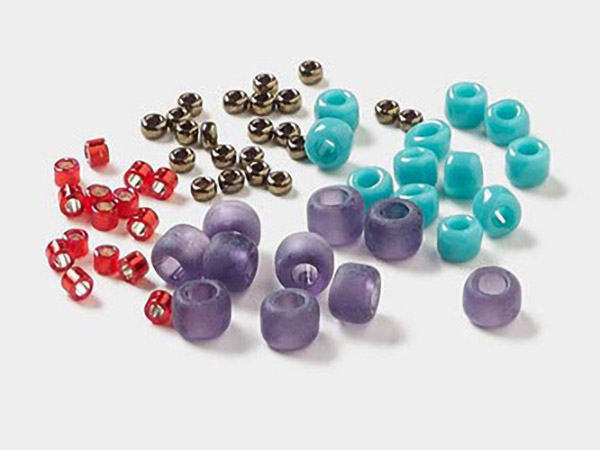
No, you can add your own beads to these fantastic kits! Any color, finish, shape or style of seed beads can be used. They don’t have to be perfectly uniform -- variation adds to the look and texture of the piece. Glass and gemstone beads are recommended over plastic beads. Pearl beads can be tricky because they are round and don’t offer much surface area for gluing. Other beads and stones with a flat surface, such as flat-back rhinestones and cabochons, are great for accent beads.
What other tools do I need that are not included in the kit?
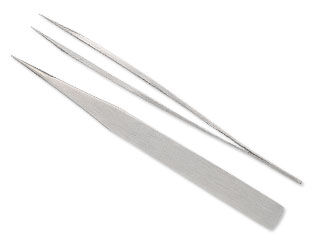
- Tweezers – needle nose (many beads contain metal and can magnetize tweezers).
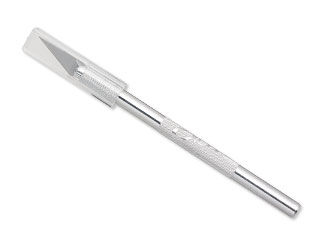
- Hobby knife (a.k.a. Exacto knife) – to cut Art Edge™ products.
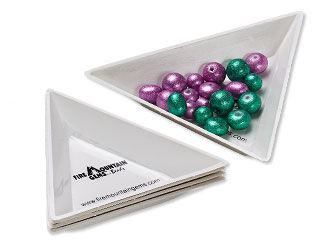
- Bead sorting trays
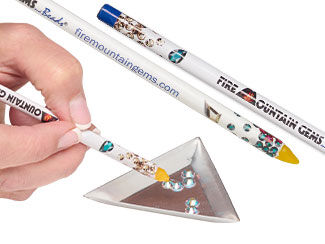
- Flat Back Positioner
- Optional: Aleene's Tacky Glue
Is the glue applied first or after the beads have been laid out?
This is the best part about Skinny Glue™! It is applied after the beads are placed, so you can take your time arranging everything. In some kits, accent beads can be glued first using any full-strength PVA white glue (as it works well with Skinny Glue). Such as Aleene’s Tacky Glue.
What is the backer board made of?
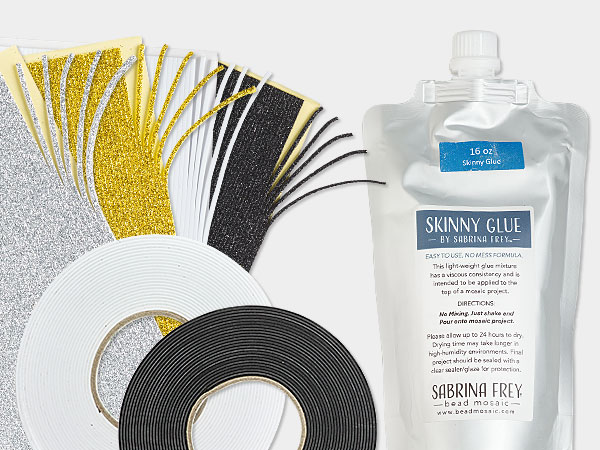
An MDF backer board is included in all starter kits. It’s designed to withstand light cutting with a hobby knife without damage and should not warp as long as you don’t overapply the Skinny Glue™ (remember, you still want to see the beads when it’s applied). Be sure there are no “gaps” in the Art Edge™ strips as the glue can leak out and soak the side and back of the board which are not laminated and may cause warping. Blank backer boards are also sold separately for creating your own designs. It’s best to use pencil on them and avoid markers.
Can I apply more than two coats of glue?
Yes, but two coats are recommended for optimal results and touch-ups.
How can I display my finished bead mosaic?
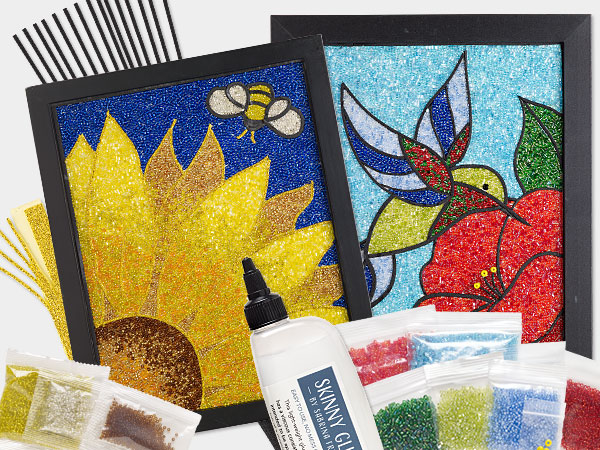
You don’t need to put them behind glass! Simply frame them and allow others to touch the design. The Art Edge™ border lets you frame the piece without hiding any of your beadwork. Kits come in standard sizes (8x10 inches or 6x6 inches) for easy framing.
How can I clean my finished bead mosaic?
Use a clean, dry paintbrush to gently dust the piece. Avoid fabric, as it can snag on the beads. A paintbrush with loose bristles will dust everything off effectively.
Can I use a fan or heat to cure the Skinny Glue™ faster?
No, air drying at room temperature in an air-conditioned space is recommended. Avoid moving the piece until the glue is completely dry.
Skinny Glue™
Is Skinny Glue toxic?
No, the formula is non-toxic and safe to touch, but please do not ingest.
Does the glue dry transparent or cloudy?
Skinny Glue dries transparent. If it appears cloudy, it’s not fully dry yet. The glue provides even coverage and dries clear underneath the beads, leaving no residue or visible glue. It also dries clear on Art Edge™ pieces, so it's fine if some glue touches the edges.
How long does it take Skinny Glue to cure?
The recommended drying time is 24 hours in an air-conditioned room. Humid environments may extend drying time. It’s recommended to apply two coats, with the second coat applied after any touch-ups.
Can I refill the Skinny Glue in my starter kit?
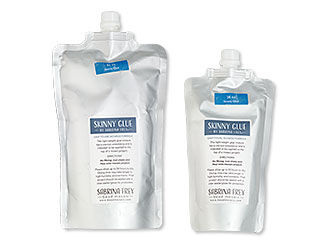
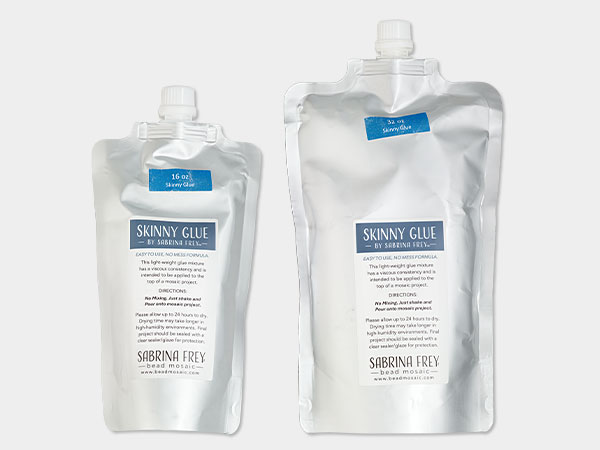
Yes! Fire Mountain Gems and Beads offers Sabrina’s Skinny Glue™ in 16oz and 32oz sizes, perfect for refilling your starter kit bottle.
How much Skinny Glue should I use?
A good rule of thumb is to make sure the beads are still visible under the glue. The glue can be applied over the entire piece, and it’s not necessary to completely "fill" the cells with glue. The kits include more than enough glue, so it’s expected that you’ll have some leftover.
Sabrina’s Pro Tips:
- When applying Skinny Glue, hold the bottle about 1 inch above the beads.
- If the glue appears foggy, it’s not fully cured yet.
- Kit projects are sized 8x10 inches or 6x6 inches for easy framing.
- You can hang your finished piece without a frame if you prefer.
- It’s perfectly fine to invite people to touch your finished piece!
- Skinny Glue on the Art Edge™ strips will dry clear, so no need to worry.
- You can paint the white Art Edge™ strips—Sharpie® markers work best for this.
- Avoid stretching the foam when placing it on the board, as this can create gaps.
- Butt the Art Edges™ together where they meet to prevent glue from seeping out.
- You can paint the backer board with acrylic paint to add a background color.
- You can always customize any kit by substituting different colors of beads and more!
Customer Testimonials:
“Taking the bead mosaic class was one of the most calming and fulfilling experiences I’ve ever had. As someone who always loved working with my hands, I was intrigued by the idea of creating art through beadwork. From the start, I was hooked. The process of carefully placing the beads provided in the kit onto the canvas, and watching the design come to life piece by piece, brought me a sense of peace I wasn’t expecting.
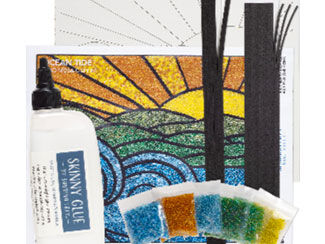
The class became my personal retreat from the chaos of everyday life. As I focused on the colors, textures, and patterns, I found a new level of mindfulness. The repetitive, rhythmic motion of the beading turned into a form of meditation, and by the end of the class, I felt a deep sense of serenity. It was like I had created a beautiful work of art, not just on the canvas but within myself. I chose the “Ocean Tide” kit because I have always been drawn to water and the sunrise on the mosaic reminds me that each day is a new day.
This class has not only taught me a new skill but also showed me the therapeutic power of art. It’s been a transformative experience, and I’m grateful for the calmness it’s brought into my life.”
-Melissa, Digital Sales
"I was so excited to participate in the Mosaic Bead class! As a Jewelry Designer, this was a whole different experience using seed beads. I felt the freedom to create without trying to be "perfect." The kit was easy to do and follow and very relaxing as I didn't have to put too much thought process into it.
I made the flower mosaic and chose it because of the colors of beads the kit had. Which was also nice that the kit already comes with the beads. Again, no thinking involved! But I do have to confess, the jewelry designer in me started to come out as I was completing my project. My mind began racing in all the other ways and things I could do with this mosaic and wanted to embellish it even more with rhinestones and gems!”
Participating in this class wanted me to get all my gal pals together for a girl's craft night!"
-Elaine, Jewelry Designer
“This project was such a fun, creative experience! As a graphic designer, I am always looking to try something new that lets me think outside the proverbial box and stretch my creative wings, and this kit offered all of that. While it gave me a blueprint and clear directions to start my project, the kit also gave me all the freedom to experiment and modify however I saw fit to really make it my own.
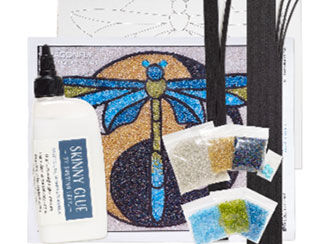
All the designs were beautiful, but I was immediately drawn to the dragonfly. Between the asymmetry and balance, the beautiful colors and just how awesome dragonflies are, I couldn’t pass it up! I played around with the colors to get the effect that I wanted in each part of the design, which really scratched that creative itch! It was so satisfying as each part of the dragonfly and the light and dark halves of the background came together. I have to be honest, though. I felt so accomplished when I was done! The hardest part was waiting for the gluing process to be finished so I could show it off to my friends and family. I can’t wait to do this again, because now I have all kinds of ideas of how else I can experiment with these kits. Time to go shopping for my own bead stash, I think!”
-Becca, Graphic Designer
“The process of laying down the art edge to filling in the beads was very therapeutic and calming. I was able to focus on creating the mosaic and forget my stresses and worries for a time. I enjoyed the tactile aspect of the kits, from pouring the beads, to leveling them with my fingers, and even grabbing stray beads with the tweezers. When it was completed, I felt a sense of accomplishment and enjoyed seeing it all come together.
I chose the dolphin kit mainly because I love animals and enjoy drawing and learning about them. It was fun bringing them to life through colorful seed beads and during the process, I had many more ideas for future animals I could create with this new art form.”
-Nicole, Graphic Designer
"I recently completed the hummingbird Sabrina Frey bead mosaic kit, and I have to say, even though I’ve never considered myself a particularly creative person, I absolutely loved it! The process was surprisingly simple to follow, which made it easy for me to dive right in. What truly amazed me was how stress-relieving it was—I found myself completely lost in the creation, letting go of the day’s worries and focusing on the vibrant beads coming together into a beautiful design. It became this peaceful, meditative experience where I could just relax, enjoy and express myself without any pressure. The combination of creativity and calm was exactly what I needed. This art form has become a go-to for unwinding, and I can’t wait to try another kit!"
-Susanne, Copywriter
Shop for Your Materials Here:
Have a question regarding this project? Email Customer Service.
Copyright Permissions
All works of authorship (articles, videos, tutorials and other creative works) are from the Fire Mountain Gems and Beads® Collection, and permission to copy is granted for non-commercial educational purposes only. All other reproduction requires written permission. For more information, please email copyrightpermission@firemtn.com.

