“Hope” Awareness Ribbon Bead Mosaic with Seed Beads, Gemstone Chips and Crystal Passions® Beads

Design Idea RG2A
Hope
-- Designer --
Patti, Jewelry Designer, Exclusively for Fire Mountain Gems and Beads®
To learn more about Patti Miller, read her jewelry artist success story here.
: : : Materials : : :
Click here to view a full list of materials used in this design.Please take the creative opportunity to select the products of your choice for this design, offered here at Fire Mountain Gems and Beads. Some materials may not be available or listed.
- Sorting tray, aluminum, 3-1/4 x 3-1/4 x 3-1/4 inch triangle
- Cabochon, cat's eye glass (fiber optic glass), pink, 12mm calibrated round, quality grade
- Pearl powder rose, Crystal Passions® 3mm round 5810
- Rose quartz, calibrated round cab natural 20mm
- Wire, ParaWire™, gold-finished and silver-plated copper, round, 20 gauge
- Wire, Zebra Wire™, color-coated copper, pink, round, 18 gauge
- Beading awl, steel and plastic, red, 2-4mm with 5-3/4 x 3 x 3/4 inch case
- Scoop, stainless steel, 6 x 1/2 inches with one pointed end and one curved end
- Malaysia "jade", round bead 15.5-16 inch 4mm
- Cupchain, glass rhinestone and silver-plated brass, clear, 2mm round
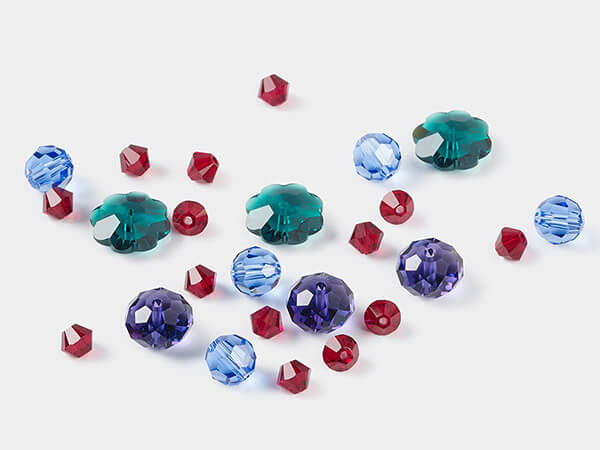
- Bead mix, acrylic, mixed colors, 10x10mm flower
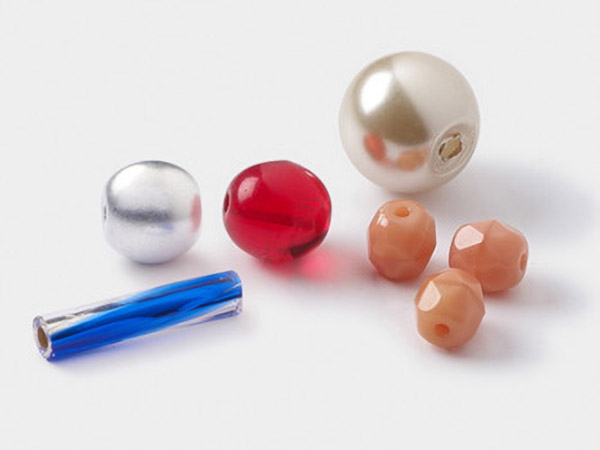
- Bead, sea "opal" (glass), translucent to semitranslucent, 4mm round
- Bead cap, Czech pressed glass, amethyst purple AB, 10x3mm flower, fits 8-10mm bead
- Hobby knife, Excel™, plastic / aluminum / steel, clear, 5-3/4 x 1/4 inches with double honed blade and 2 x 1/2 inch cap
- Rose quartz, undrilled inlay chip natural mini
- Jump ring, anodized aluminum, pink, 5mm round, 3.4mm inside diameter, 20 gauge
- Component, acrylic, translucent frosted fuchsia, 11x7mm flower
- Component, acrylic, translucent frosted yellow, 11x7mm flower
- Component, acrylic, translucent frosted pink, 11x7mm flower
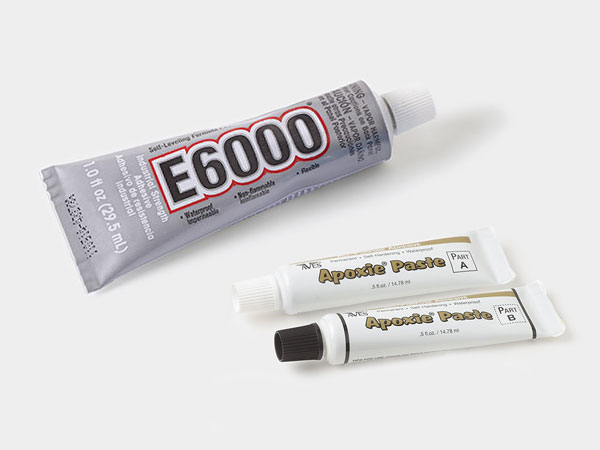
- Adhesive, Aleene's® Original Tacky Glue®
- Chaton rose foil back, Crystal Passions® 12mm rivoli 1122
- Chaton crystal vitrail light foil back, Crystal Passions® 14mm rivoli 1122
- Chaton rose foil back, Crystal Passions® 14mm rivoli 1122
- Bead, mother-of-pearl shell (dyed / coated), red, 10mm flat round
- Adhesive, Quick Hold®, clear.
- Bead, Preciosa, Czech pressed glass, opaque California violet, 5x2mm forget-me-not flower
- Bead, Preciosa, Czech pressed glass, opaque glittery amber, 5x2mm forget-me-not flower
- Adhesive strip, Art Edge™, EVA foam, white, 5mm
- Adhesive strip, Art Edge™, EVA foam, black, 2mm
- Adhesive strip, Art Edge™, EVA foam, silver glitter, 2mm
- Adhesive, Skinny Glue™, glue
- Supply, Sabrina Frey™, medium-density fiberboard, 10x8 inches
- Rhodonite, round bead natural 15.5-16 inch 3mm
- Bead, gold-finished "pewter" (zinc-based alloy), 8x6mm double-sided heart with flower design
- Bead, gold-finished "pewter" (zinc-based alloy), 10x6mm double-sided butterfly
- Bead, gold-finished "pewter" (zinc-based alloy), 7x7mm double-sided flat flower
- Bead, gold-finished "pewter" (zinc-based alloy), 9x9mm double-sided flat flower
- Strawberry quartz, undrilled tumble polished inlay chip natural mini
- Bead, glass, opaque matte iris, 11x6.5mm top-drilled leaf
- Flat back fuchsia foil back, Crystal Passions® hotfix rhinestone 10x8.5mm heart 2808HF
- Spacer, glass rhinestone and antique silver-finished "pewter" (zinc-based alloy), pink, 8x8mm single-sided 2-strand flower, fits up to 5mm bead
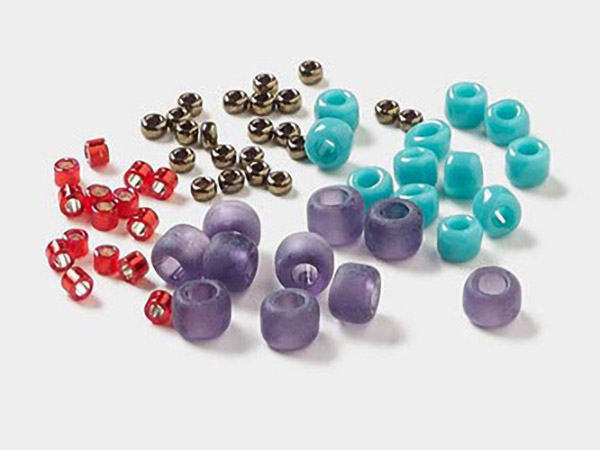
- Seed bead, Miyuki, glass, #15 rocaille, opaque matte black, (RR-401F)
- Seed bead, Delica®, glass, #15 round, translucent matte rainbow pink mist (DBS-0868)
- Seed bead, Miyuki, glass, #15 rocaille, opaque galvanized pink blush, (RR-1067)
- Pearl pearlescent white, Crystal Passions® 3mm round 5810
- Seed bead, Delica®, glass, #15 round, translucent rainbow pink mist (DBS-1243)
- Component, epoxy and gold-finished copper, purple, 15mm center-drilled single-sided flower
- Component, epoxy and gold-finished copper, pink, 19mm center-drilled single-sided flower
- Cabochon crystal cream pearl, Crystal Passions® 7.07-7.27mm hotfix SS34 2080/4
- Chaton crystal lavender DeLite, Crystal Passions® 6.14-6.32mm round SS29 1088
- Flat back fuchsia foil back, Crystal Passions® hotfix rhinestone 3.6mm heart 2808
- Flat back crystal AB foil back, Preciosa MAXIMA Czech crystal hotfix rhinestone 8.41-8.67mm chaton rose round SS40
- Bead, mother-of-pearl shell (dyed), light purple, 29x28mm-31x30mm carved flat flower, 0.6-0.8mm hole, Mohs hardness 3-1/2
Instructions
Mosaic Instructions
Lay a section of Art Edge™ 5mm white EA foam adhesive strip, still attached to the roll, on a self-healing mat. Measure 8 inches and cut each end at a 45-degree angle with a sharp craft knife. Make sure that the strip measures 8 inches from sharp tip to sharp tip.
Peel the backing off the foam. Lay it corner-to-corner along the outside short edge of a Sabrina Frey™ 10x8-inch medium-density fiberboard. Make sure the points on the foam meet the points of the corners of the board and taper inward.
Repeat for the other three sides of the board (one 8-inch and two 10-inch).
Inset an 8-inch strip of Art Edge™ 2mm silver glitter EVA foam adhesive strip inside the white foam you attached in Step 1. Cut both ends to match the 45-degree angles in the white foam, using a sharp craft knife.
Repeat for the other three sides of the board (one 8-inch and two 10-inch).
With a pencil, hand draw the outline of the letters “H,” “P,” and “E” as well as an awareness ribbon to take the place of the “O” in HOPE. Be sure to erase any extra marks.
Place the end of an Art Edge™ 2mm black EVA foam adhesive strip onto a corner of one letter and follow to the end of that curve, then cut it off at a 45-degree angle. Cut the end of the strip of foam off at the opposite 45-degree angle, then lay it on the board over the letter outline, butted up against the angle just laid, then follow any curves (if applicable) and keep making neat angles until the letter is fully formed in foam.
Repeat for the other letters.
Lay a length of 2mm clear glass rhinestone and silver-plated cupchain on top of the penciled curves used to make the awareness ribbon, starting at the end of one curve. Use fine flush-cutting pliers to cut the strip where the curve ends. Continue to do this until you’ve cut all the lengths of cupchain needed to complete the ribbon. Remember that the ribbon that opens to the right will be open on one end and will flair outward, ending just at or above where the opposite end of the ribbon ends.
Use a thin trail of Quick Hold® clear adhesive to glue down each section of cupchain, one at a time. Do this in one-inch-segments using a toothpick. As the adhesive dries very quickly, immediately clean up any glue that spills.
Use Aleene’s® Original Tacky Glue® for all gluing in this step. Start gluing down the larger elements in a pattern you desire inside the awareness ribbon.
For small rivolis, glue two 5mm 20-gauge pink anodized aluminum jump rings one on top of another. Let dry the glue dry, then glue the small rivoli on top of the jump rings, point down. Then place it on the canvas.
For larger rivolis and enameled metal flowers, create a closed spiral with a 6-8mm center hole using Zebra Wire™ 18-gauge pink color-coated copper wire. The spiral should be slightly smaller than the width of your element. Glue the element to the spiral base, then place it on the canvas.
Fill in most of the ribbon with pretty elements, then as they leave the end of the cupchain ribbon, let them gradually spread out.
Don’t worry about any small spaces between elements in the ribbon. You will fill them with seed beads later.
Let all the glue dry fully.
Use a black medium-point permanent marker to fill in the area inside the H, P and E. Let the ink dry.
Use a bead scoop to fill in the letters with Miyuki #15 opaque matte black rocaille seed beads. It should be a tight single layer. Have a pair of tweezers and a very fine awl ready to redirect any beads that bounce out of place.
Use a bead scoop to fill in the top edge of the board (up against the foam) with strawberry quartz undrilled mini chip beads. They should be one tight layer, so take your time and move them so they pack in well. The area of chip beads should be about 3/4 inch wide. Make the beading slightly thinner at the bottom edge in order to be able to create an ombre effect with the seed beads you will add in Step 10.
Starting along the bottom edge of the strawberry quartz undrilled mini chip beads, fill in the blank space on the board with Miyuki #15 opaque galvanized pink blush rocaille seed beads, using a bead scoop. Work slowly and carefully, adding a small amount of beads at a time. Have a pair of tweezers and a very fine awl ready to redirect any beads that bounce out of place.
Work until you’ve filled in the board, excluding the path of the components coming out of the ribbon. This ribbon path should end about 30 percent in from the left side of the board. It should not come all the way down to the bottom on the right. You want the ribbon to look like it’s exploding with light, which will require a different shade of pink seed beads.
Fill the bottom edge of the board—the part where the beads you placed in Step 10 did not come down to the bottom—with rose quartz undrilled mini chip beads. The area of chip beads should be about 3/4 inch wide. Make the beading slightly thinner at the top edge in order to be able to create an ombre effect with the seed beads you will add in Step 12.
In a small container, mix equal amounts of Delica® #15 translucent rainbow pink mist round seed beads and Delica® #15 translucent matte rainbow pink mist round seed beads.
Starting along the top edge of the undrilled chips at the bottom of the board, use a bead scoop to fill in the blank space in the board with the bead mixture. Fill in all the blank spaces in the path of the ribbon, as well as the tiny spaces between the elements making up the ribbon.
Use a small paintbrush to coat the tops of the shiny components with liquid latex. Let it dry before proceeding to Step 14. This will enable those components to keep their glossy surface despite the sealant layers you will add at the end.
Pour 1/4 cup of Skinny Glue™ adhesive into a small open container. Replenish as needed.
Use an eye dropper to pour the Skinny Glue adhesive into one section of beads at a time. Go slowly and wait a full minute between adding each dropperful, as the more flooded the board becomes, the more the seed beads will tend to float.
Tip: Divide the board into quadrants, landmarking where you’ve left off with each dropperful.
The end goal is to make sure the Skinny Glue adhesive is going to seal in all the seed beads and chip beads.
Let it dry for 2 hours. Then examine your work. If any components have shifted, move them back into place or remove them.
Then let the mosaic dry for 24 hours.
Look for gaps in the seed beads. Use tweezers or a fine awl to move beads around or fill in any gaps.
Repeat Step 12.
Use the wide edge of a light pink permanent marker to color the white foam edges. Let the ink dry for 1 hour.
Use tweezers to remove all liquid latex you applied in Optional Step 13.
Protect your work surface, and work in a well-ventilated area. An open garage is perfect.
Place your board in the center of your work surface. The work surface should be protected a minimum of 18 inches in all directions outside of the mosaic.
Shake your triple-thick aerosol spray sealant for a full minute. Holding the can about 12 inches from the board, make several light passes top to bottom, covering the board lightly. Let it dry.
Repeat three times for a total of 4 coats.
Shop for Your Materials Here:
Copyright Permissions
The pieces featured in the Gallery of Designs are copyrighted designs and are provided for inspiration only. We encourage you to substitute different colors, products and techniques to make the design your own.
All works of authorship (articles, videos, tutorials and other creative works) are from the Fire Mountain Gems and Beads® Collection, and permission to copy is granted for non-commercial educational purposes only. All other reproduction requires written permission. For more information, please email copyrightpermission@firemtn.com.