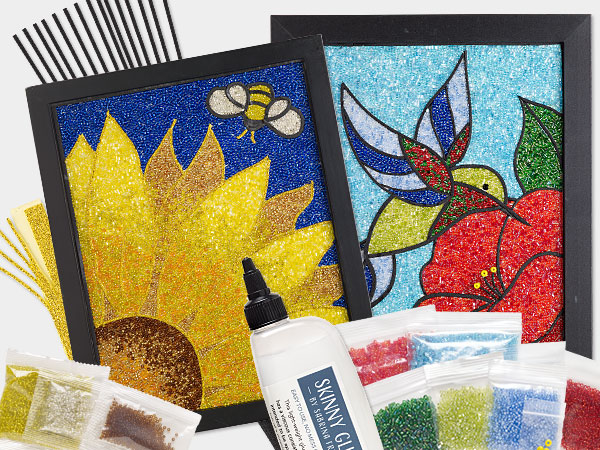
Christmas Ornament Bead Mosaic with Miyuki Rocaille Seed Beads and Dyna-Mites™ Round Seed Beads

Design Idea RG2W
-- Designer --
Patti, Jewelry Designer, Exclusively for Fire Mountain Gems and Beads®
To learn more about Patti Miller, read her jewelry artist success story here.
: : : Materials : : :
Click here to view a full list of materials used in this design.
Please take the creative opportunity to select the products of your choice for this design, offered here at Fire Mountain Gems and Beads. Some materials may not be available or listed.
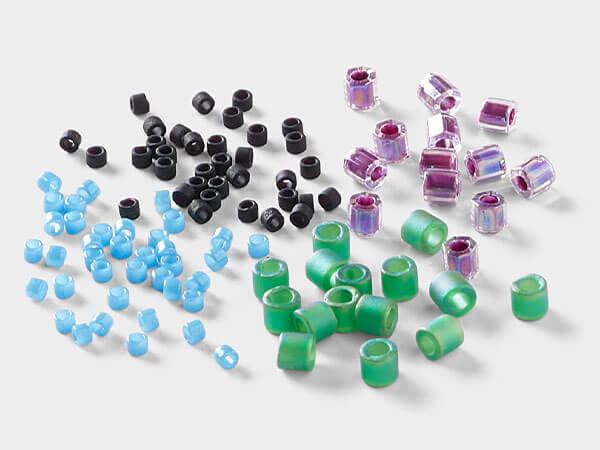
- Seed bead, Dyna-Mites™, glass, #11 round, translucent matte dark green, (23MA 11/0 RR)
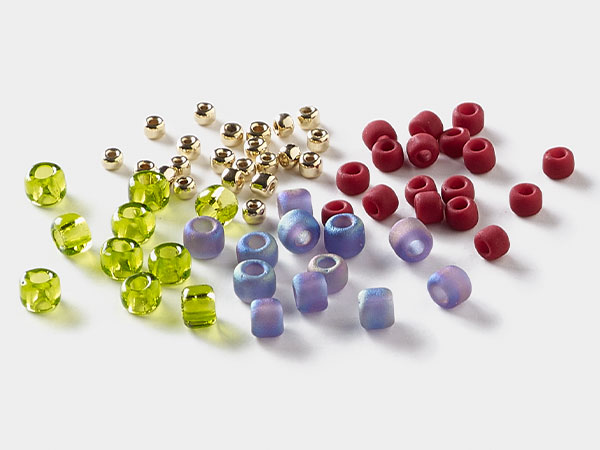
- Seed bead, Miyuki, glass, #15 rocaille, transparent silver-lined ruby red (RR-11)
- Seed bead, Miyuki, glass, #15 rocaille, transparent silver-lined green (RR-16)
- Seed bead, Miyuki, glass, #15 rocaille, opaque galvanized silver, (RR-181)
- Seed bead, Miyuki, glass, #15 rocaille, opaque 24Kt gold-plated light, (RR-193)
- Scoop, stainless steel, 6 x 1/2 inches with one pointed end and one curved end
- Pipette, low-density polyethylene, clear, 5-1/2x1/2 inch, 5ml
- Adhesive strip, Art Edge™, EVA foam, black, 5mm
- Adhesive strip, Art Edge™, EVA foam, gold glitter, 2mm
- Adhesive strip, Art Edge™, EVA foam, silver glitter, 2mm
- Adhesive, Skinny Glue™, glue
- Supply, Sabrina Frey™, medium-density fiberboard, 10x8 inches
- Sorting tray, aluminum, 3-1/4 x 3-1/4 x 3-1/4 inch triangle
Instructions
Lay a strip of 5mm Art Edge™ black EVA foam adhesive strip, still attached to the roll, onto a self-healing mat. Measure eight inches and cut each end at a 45-degree angle with a sharp craft knife, so that the measurement from sharp tip to sharp tip is eight inches.
Peel the backing off the foam. Lay it corner-to-corner along the outside short edge of a Sabrina Frey™ 10x8-inch medium-density fiberboard. Make sure the points of the corners of the foam meet the corners of the board and taper inward.
Repeat for the remaining 8-inch side of the fiberboard and for the 10-inch sides of the fiberboard.
At a distance of 12mm from the 8-inch black foam strip border, inset an 7-inch strip of 2mm Art Edge™ gold glitter EVA foam adhesive strip. Using a sharp craft knife, cut both ends to match the 45-degree angle in the black 5mm foam.
Repeat for the remaining 8-inch side of the fiberboard and for the 10-inch sides of the fiberboard.
At a distance of 14mm from the 7-inch gold-glitter foam strip border, inset a 6-inch strip of 2mm Art Edge™ gold glitter EVA foam adhesive strip. Using a sharp craft knife, cut both ends to match the 45-degree angle in the black 5mm foam.
Repeat for the remaining 8-inch side of the fiberboard and for the 10-inch sides of the fiberboard.
Either drawing freehand or drawing from a printed image, pencil in the outline of the desired pattern. Erase any stray marks so they won’t show through the seed beads. Be sure to keep the lines simple, as they will all be manually outlined in foam.
Use your desired colors of 2mm EVA foam adhesive strip to trace the lines of your penciled design. Cut the foam ends at the appropriate angles on a self-healing or other cutting mat, so the ends blend well together. The push down on the foam so it adheres to the lines drawn on your board.
Use a bead scoop to start filling in one area, one color at a time. Use small amounts and work slowly—seed beads can bounce. You want to spread the beads out, then push them back together to fill as much white space as possible. In the end, it is ideal to have a single layer of seed beads filling up your design space.
Use a pair of fine tweezers or a fine beading awl to move beads around or remove them from unwanted places. A cotton swab pressed against the board can also be a good tool to move larger sections of beads around.
Keep going until the whole board is covered.
Pour a quarter cup of Skinny Glue™ adhesive into a small, open container. Replenish as needed.
Use a medium-sized pipette to pour skinny glue into one section of beads at a time. It’s easiest if you mentally break up the board into quadrants and “land-mark” where you leave off with each dropperful. Wait a minute between each. Go slowly—the more flooded the board becomes, the more your seed beads may float around and need to be fixed and filled in after it dries.
Skinny glue may “pool” on top of the beads for a time. This is normal. If you drop too much glue in an area, just suck it up with a pipette and place it somewhere else. The end goal is to make sure skinny glue is going to secure all the seed beads.
After 2 hours, look to see if anything has shifted. Fix any areas that don’t look the way you want them.
Let it dry for 24 hours.
Look for gaps in the seed beads where beads may have floated. Use tweezers or a fine awl to move beads around or fill in gaps. Remove any beads from wrong areas with tweezers.
Repeat Step 7 to add another coat of adhesive.
Get ready for adding the triple thick glaze that protects your piece. Protect your work surface and work in a well-ventilated area, such as outdoors or in an open garage.
Place your fiberboard in the center of your work surface, which should be protected a minimum of 18 inches in all directions. Trash bags or grocery bags will suffice.
Shake your triple-thick high-gloss aerosol spray sealant (sold at craft or hobby stores) for a full minute. Hold the can about 12 inches from the board and make several light passes top to bottom, covering the board lightly.
Let it dry.
Repeat four times for a total of five coats.
Shop for Your Materials Here:

Copyright Permissions
The pieces featured in the Gallery of Designs are copyrighted designs and are provided for inspiration only. We encourage you to substitute different colors, products and techniques to make the design your own.
All works of authorship (articles, videos, tutorials and other creative works) are from the Fire Mountain Gems and Beads® Collection, and permission to copy is granted for non-commercial educational purposes only. All other reproduction requires written permission. For more information, please email copyrightpermission@firemtn.com.