Stretchy Cord Bracelet
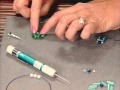
Ready for a fun, easy project sure to put a smile on your face? Let Judy Hendrix guide you through the construction of these delightful elastic cord bracelet, also known as stretchy cord in this how-to video. This easy-to-learn technique works with a huge variety of components, so the possibilities are virtually endless. The only tools needed are a big eye needle and a pair of scissors to cut the cord.
Instructions
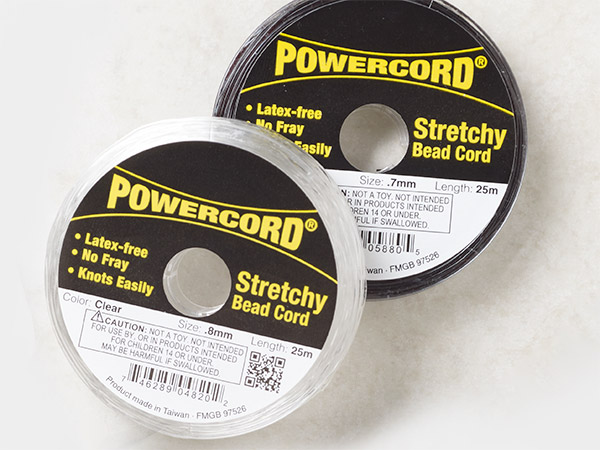
Cut 2 yards of Powercord. Dust the cord lightly with baby powder so the beads slide on easily. String a beading needle on one end of the cord and set aside.
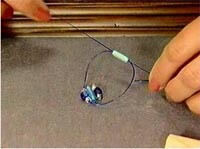
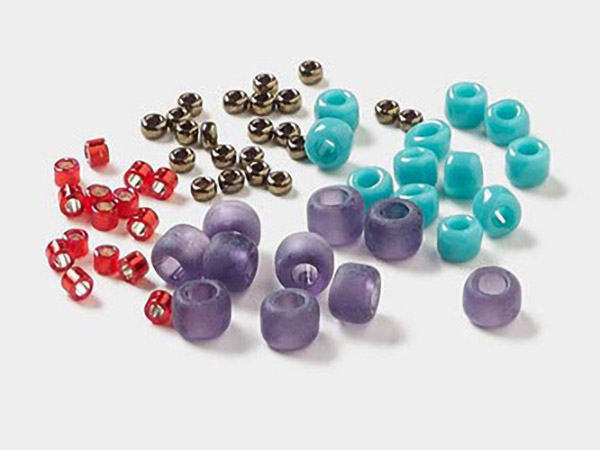
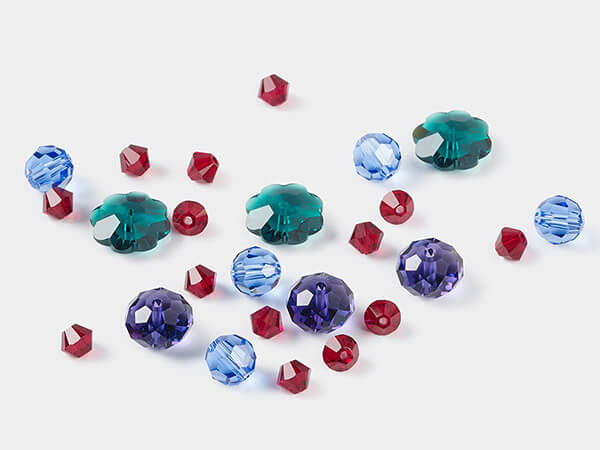
String the following onto the cord, working from the end of cord without the needle: 3mm cube bead, 6mm faceted bead, 3mm cube bead and a tube bead.
Pass the needle through the tube bead strung in Step 2.
Tip: try not to pierce the thread with the needle.
Repeat the pattern in Step 2 - 3, alternating rows. Pull the beads tight by pulling both tails.
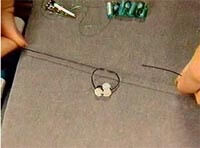
Finish with a Sailor's knot-right over left, right over left and pull snug, but don't cinch down. Turn the knot around and do right over left, right over left from this direction and pull tight. Snug the two knots together, place a drop of glue on the knot and let dry overnight. Cut off the extra cord once the glue is dry.
Shop for Your Materials Here:
Have a question regarding this project? Email Customer Service.
Copyright Permissions
All works of authorship (articles, videos, tutorials and other creative works) are from the Fire Mountain Gems and Beads® Collection, and permission to copy is granted for non-commercial educational purposes only. All other reproduction requires written permission. For more information, please email copyrightpermission@firemtn.com.