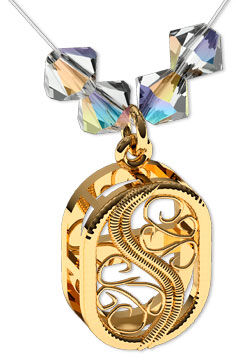
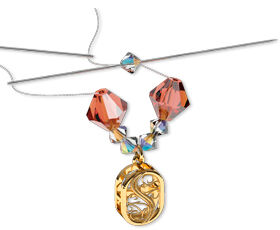
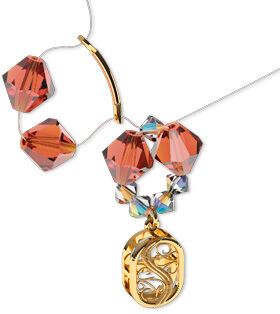
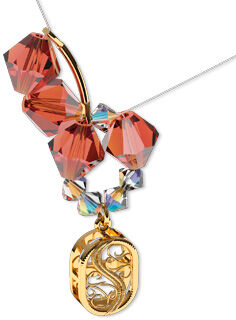
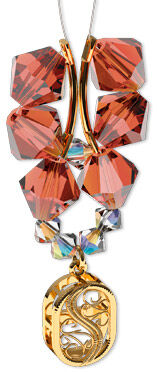
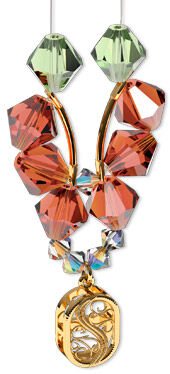
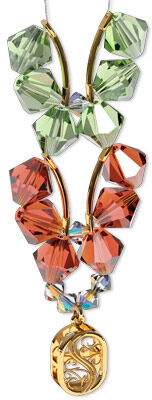
Double-Strand Bracelet with Crystal Passions® Crystals

Design Idea 9213
Butterfly Wings
Design inspired by Dee Dee Simental
-- Designer --
Tim Cronkhite, Exclusively for Fire Mountain Gems and Beads®
To learn more about Tim Cronkhite, read his jewelry artist success story here
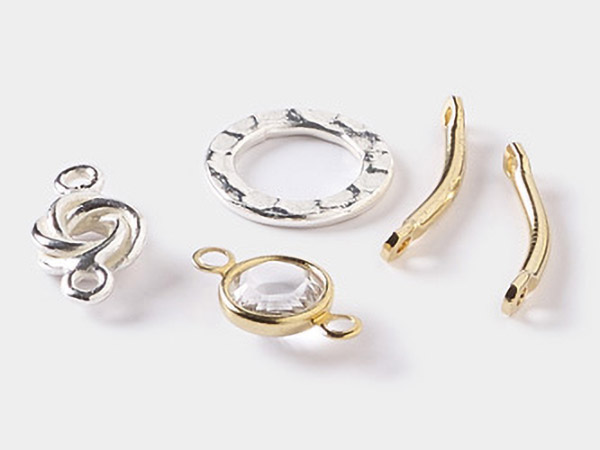
: : : Materials : : :
Please take the creative opportunity to select the products of your choice for this design, offered here at Fire Mountain Gems and Beads.
Instructions
This is a very versatile bracelet that goes just as well with formal or casual wear. Its whimsical butterfly design captures the attention of everyone that sees it.
This project is done using a two-needle technique which allows you to build both sides of the butterflies at the same time.
Note: Each butterfly measures about 1-inch in length.
Using a thread burner or wire nippers, cut 2 yards of Parachute 30-pound cord.
Thread onto each end of the Parachute cord, one size 10 needle.
Note: Using a pair of chain-nose pliers, press on the end of the Parachute cord to flatten it out. This will make it easier to thread a needle onto the end.
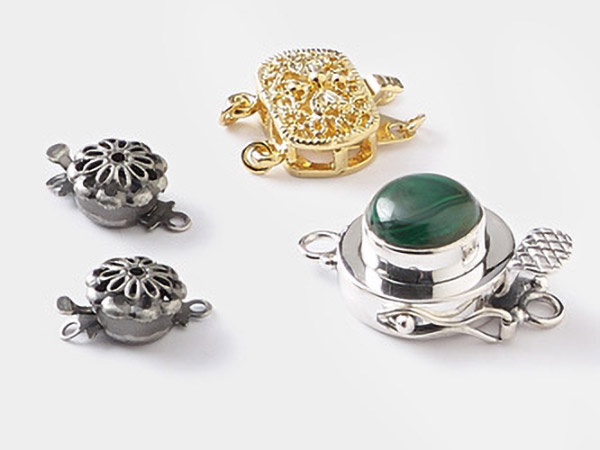
Pass the needle through the loop on one half of the clasp, then slide the clasp to the center of the length of Parachute cord.
Thread onto each needle, two 4mm bicones, passing through the beads in the same direction.
Thread onto each needle one 8mm bicone.
Thread onto one needle, one 4mm bicone bead. Pass the other needle through the same bead but in the opposite direction so the threads criss cross and the bicone sits horizontally between the 8mm bicones.
Thread the needle on the left through the hole on one end of one curved bar, making sure the curve yields to the inside of the bracelet.
Thread onto the same needle two more of the 8mm bicones strung in Step 5.
Pass the thread back through the hole on the other end of the curved bar.
Pull the needle so the beads sit into place.
Repeat Steps 7 - 8 with the other thread.
Thread onto each needle, one 8mm bicone of the second color.
Repeat Steps 6 - 10, alternating colors, until you have reached the desired length you would like your bracelet to be.
Add two 4mm bicones to each side.

Thread the needles in opposite directions through the loop on the second-half of the clasp, crisscrossing the thread.
Thread each needle back through the two 4mm bicones on the respective side and then through the hole on the curved tube bead.
Tie off the thread using a half-hitch knot. Add a drop of G-S Hypo Cement to the knot, to keep it from coming loose. Then, while the glue is still wet, thread through the next 8mm bicone pulling the knot into part of the hole of the bead.
When the glue dries inside the bead you can cut off the excess thread on each side.
Shop for Your Materials Here:


Have a question regarding this project? Email Customer Service.
Copyright Permissions
The pieces featured in the Gallery of Designs are copyrighted designs and are provided for inspiration only. We encourage you to substitute different colors, products and techniques to make the design your own.
All works of authorship (articles, videos, tutorials and other creative works) are from the Fire Mountain Gems and Beads® Collection, and permission to copy is granted for non-commercial educational purposes only. All other reproduction requires written permission. For more information, please email copyrightpermission@firemtn.com.