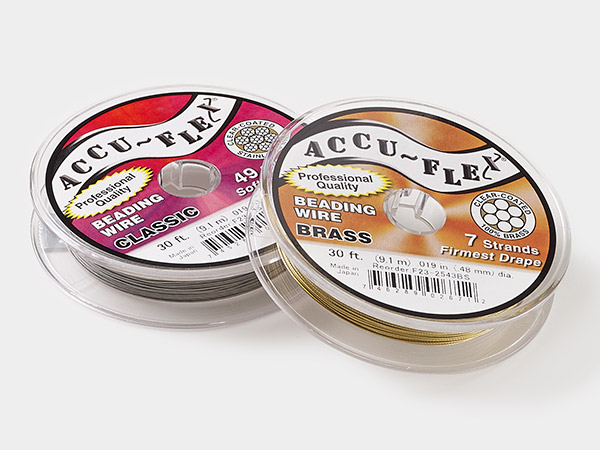
Using Crimp Tubes with Accu-Flex® Professional Quality Beading Wire

By Tammy Honaman, Author, Jewelry-Making Expert and Educator, Exclusively for Fire Mountain Gems and Beads®
Instructions
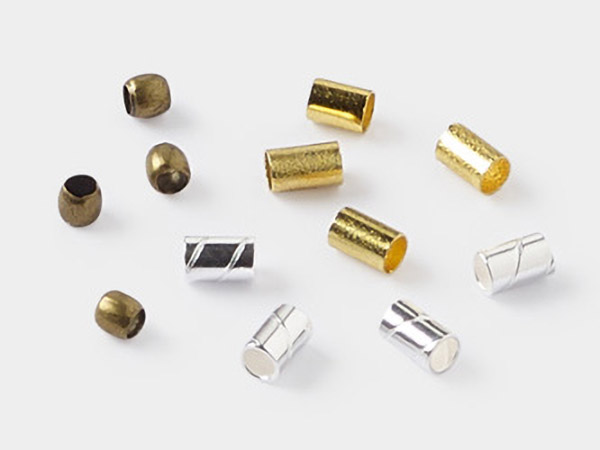
Using flush-cutters, cut a length of Accu-Flex suitable to the size of your project, plus 3-4 inches. Place a crimp tube onto one end of the Accu-Flex.
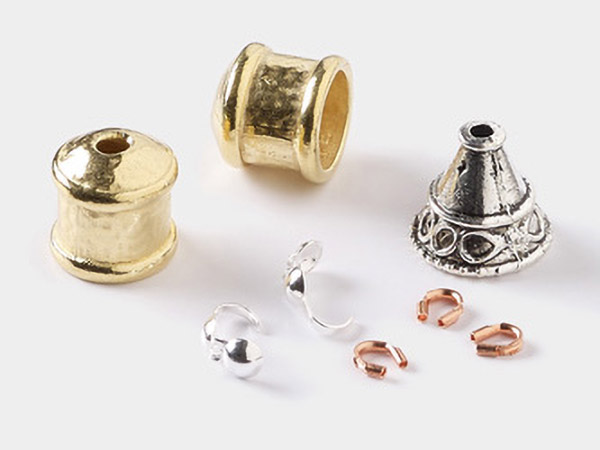
Slip on an Accu-Guard™ wire protector.
This finding will make the transition from the beading wire to the clasp seamless as well as protect the Accu-Flex even more than the coating already does.
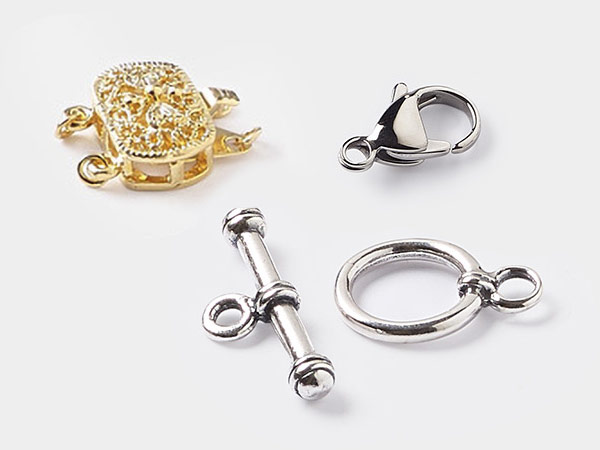
Place the loop of your clasp onto the wire then slide it up into the center of the Accu-Guard to keep it in place. Pull the short end of the Accu-Flex until the distance between the crimp tube and the clasp is only measured by the length of the Accu-Guard.
Using a pair of chain-nose pliers, compress the center section of the crimp tube. Turn the beading wire and crimp tube around then compress the center section from this direction as well, making sure it is secure.
Pull on the Accu-Flex to assure the wire is secured to the clasp. If there is any movement, retighten the arrangement and compress more firmly. Using flush-cutters, trim the excess beading wire.
String on your beads, a crimp tube and an Accu-Guard.
Add the second half of your clasp, securing it in the curve of the Accu-Guard. Pass the Accu-Flex back through the crimp tube. Pull the short end of the wire so the beads are tightened up along the strand, the crimp tube is close to the last bead and there is no gap between the Accu-Guard and the crimp tube. Make sure the strand of beads isn't too taught then compress the center section of the crimp tube.
Test to make sure it is secure--recompress if necessary. Using flush-cutters, trim the excess beading wire.
Shop for Your Materials Here:
Copyright Permissions
All works of authorship (articles, videos, tutorials and other creative works) are from the Fire Mountain Gems and Beads® Collection, and permission to copy is granted for non-commercial educational purposes only. All other reproduction requires written permission. For more information, please email copyrightpermission@firemtn.com.
