Bracelet with Black Agate Gemstone Beads, Leather Cord and Sterling Silver Tube Beads


Design Idea RD3R
Bold Terrain
-- Designer --
Patti, Jewelry Designer, Exclusively for Fire Mountain Gems and Beads®
To learn more about Patti Miller, read her jewelry artist success story here.
: : : Materials : : :
Click here to view a full list of materials used in this design.
Please take the creative opportunity to select the products of your choice for this design, offered here at Fire Mountain Gems and Beads. Some materials may not be available or listed.
- Adhesive, 5 Minute® Epoxy, 2-part epoxy
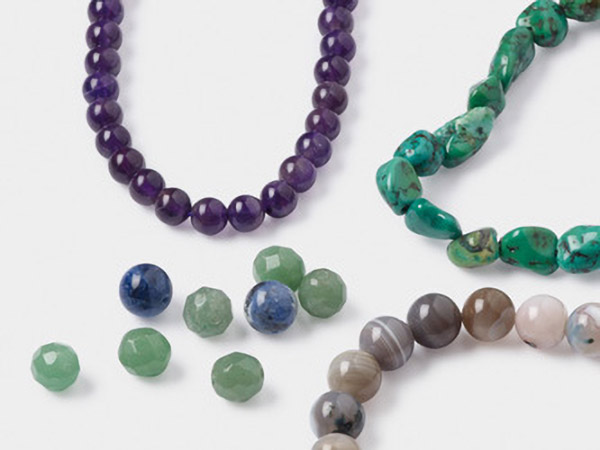
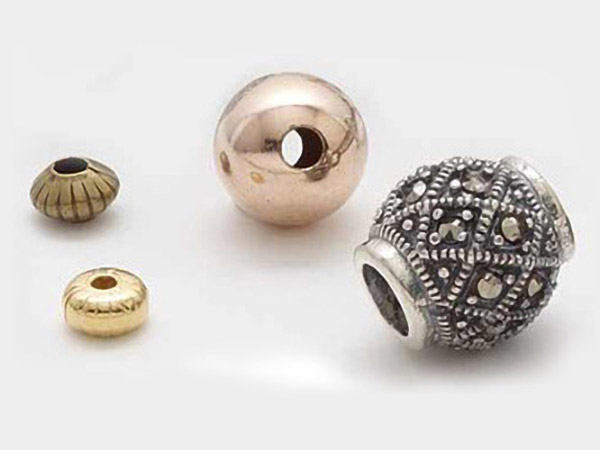
- Bead, black agate (dyed / heated), 3-4mm round, C grade, Mohs hardness 6-1/2 to 7
- Bead, sterling silver, 35x4mm smooth curved round tube
- Beading wire, Accu-Flex®, nylon and stainless steel, clear, 49 strand, 0.024-inch diameter
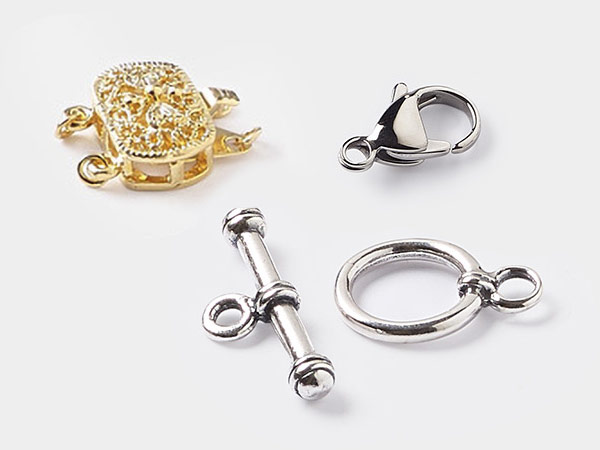
- Clasp, magnetic, stainless steel, 23x20mm rectangle with glue-in ends, 18x4mm inside diameter
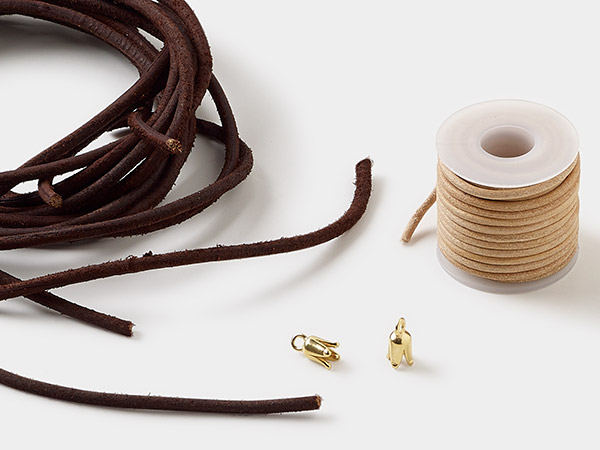
- Cord, leather (dyed), brown, 3mm round
- Cord, leather, black, 8mm flat
- Sterling silver, cut tube crimp, 2mm / 1.3-1.4mm inside diameter
Instructions
Cut the following:
- One 8-inch length of clear 0.024-inch 49-strand Accu-Flex® professional-quality beading wire
- One 8-inch length of brown 3mm round leather cord
- One 8-inch length of black 8mm flat leather cord
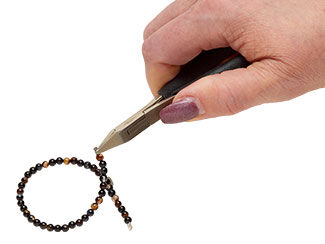
At the end of the 8-inch length of clear Accu-Flex beading wire, crimp one 2x2mm sterling silver crimp tube so it is flat. Then crimp a second 2x2mm crimp tube next to it, so it is flat. This will become the end of the beading wire that will be held by the glue inside the clasp.
String 46 black agate 3-4mm round beads. Apply a small bead stopper to the beading wire, snugly against the beads.
Slide a 35x4mm smooth curved tube bead onto the center of the brown leather cord.
Use a toothpick to mix a dime-sized drop of Devcon 5 Minute® Epoxy. Using the toothpick, cover the inside surfaces of one end of a 23x20mm magnetic clasp with the epoxy generously, but do not fully fill the opening.
Place the clasp on a silicone mat. Arrange the beaded strand, the 8-inch brown leather cord and the 8-inch flat black leather cord so they lay flat.
Slide the two flattened crimp tubes on one one end of the beaded strand into the epoxy-lined clasp. Take care that the crimp tubes are fully hidden within the clasp.
Then slide the end of the flat black leather cord into the center of the clasp, next to the beaded length.
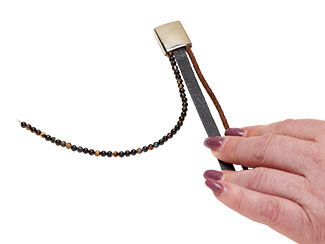
Finally, slide the brown leather cord into the clasp.
Allow it to dry for 15 minutes before moving it. If you can see any glue on the outside of the clasp, quickly use a cotton swab and some rubbing alcohol to remove it before it becomes tacky.
Lay out the bracelet against a ruler. Find the spot in the bracelet that matches the length that you would like to achieve. Add 0.5 inches more than you generally would for a bracelet, to add ease and account for overlap.
Trim both leather cords to the appropriate length.
Remove the bead stopper from the beaded length and thread on two 2x2mm sterling silver crimp beads. This overall length should exactly match the length of the leather cords. If it does not, add or remove beads as necessary, making sure that the end of the beaded length is taken up by two 2x2mm crimp tubes.
Once all three lengths match, crimp the crimp tubes flat and trim the excess Accu-Flex beading wire.
Mix a dime-sized drop of Devcon 5 Minute epoxy with a toothpick, then use the toothpick to apply the epoxy to cover the inside of the second half of the clasp.
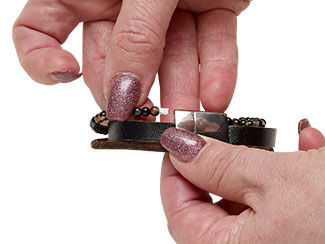
Place the clasp in your non-dominant hand with the opening facing away from your body. Slide in the three lengths as you did on the opposite side, holding them firmly in the clasp with your fingers. Take care that the three strands do not cross or tangle. If any glue is visible on the outside of the clasp, quickly remove it with a cotton swab and some rubbing alcohol before it gets tacky.
Hold the clasp in your hand with the leather and beaded lengths firmly in the end of the clasp for 5 minutes. Do not move any of the lengths for the duration of that time.
Set the bracelet down and allow it to dry for an additional 10 minutes.
Shop for Your Materials Here:
Copyright Permissions
The pieces featured in the Gallery of Designs are copyrighted designs and are provided for inspiration only. We encourage you to substitute different colors, products and techniques to make the design your own.
All works of authorship (articles, videos, tutorials and other creative works) are from the Fire Mountain Gems and Beads® Collection, and permission to copy is granted for non-commercial educational purposes only. All other reproduction requires written permission. For more information, please email copyrightpermission@firemtn.com.