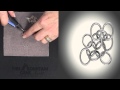
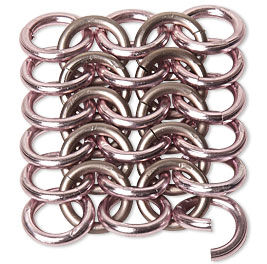
How to Begin a European 4-in-1 Chain
Sue Ripsch, author of “Classic Chain Mail Jewelry,” shows how to create the classic European 4-in-1 chainmaille weave while a helpful zoomed-in 3D animation helps make each step a cinch.
Instructions
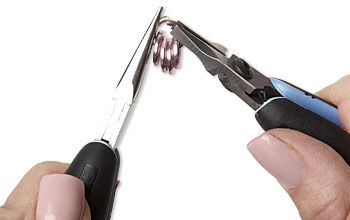
Pass one jump ring through two closed jump rings then close.
Pass one jump ring through the single jump ring then close. Pass a second jump ring through the single jump ring, creating a 2-1-2 chain.
Pass one jump ring through the previous set of double jump rings then attach double jump rings to the previous jump ring, creating a 2-1-2-1-2 chain.
Set the chain on a flat surface then spread the double jump rings so one is on either side of the single jump rings, in the center.
Tip: A pointed tool like an awl will help when separating jump rings.
Pass one jump ring through two more closed jump rings then pass through one jump ring from the bottom and center sets of double jump rings, along one side of the chain. Close the jump ring. Spread the jump rings so one lays on either side of the single jump ring (one next to the bottom jump ring and one next to the center jump ring).
Pass one jump ring through a second jump ring then pass through the center of the two previous center jump rings and up through one jump ring in the top set of double jump rings, on the same side. Close the jump ring, creating a third row.
How to Create a European 4-in-1 Chainmaille Pattern
Instructions
Historically, this pattern was used to create armor and other forms of clothing and accessories. This is due to the fact that the weave allows for movement or stretching from side to side and not top to bottom, and that it is easily adapted to shape and size of a person or animal.
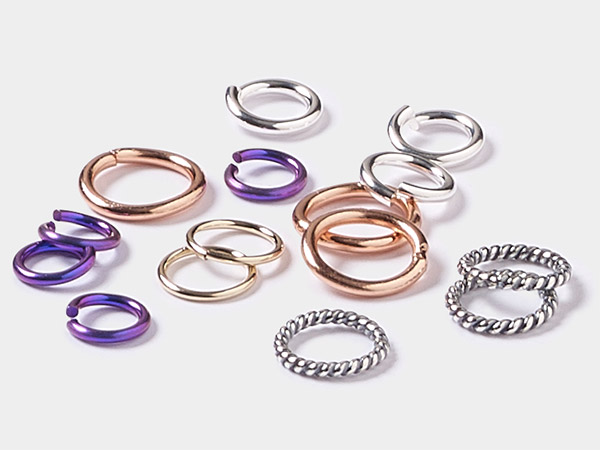
There are many ways to create this chainmaille pattern. I’ve used two different colored rings to help illustrate the method I used.
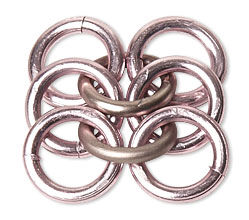
Open one jump ring then thread on four closed jump rings. Close the open jump ring.
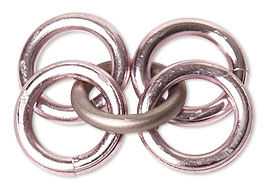
Set the rings so they lie flat and so rings overlap and rest as shown; this is key to the success of this pattern.
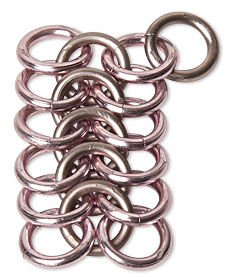
Weave an open ring into the two top rings on the left and right of the center ring, being careful to not disturb their arrangement.
Tip: Place a piece of tape on the established rings to keep them in line.
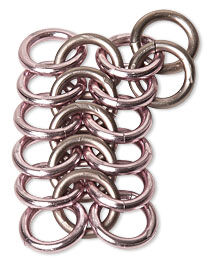
Add two new closed jump rings to the open jump ring then close the jump ring. Set the two new rings into position as seen. If for any reason they do not work into the weave as shown, remove and reposition.

Repeat Step 3 until you have a weave as long as you like.
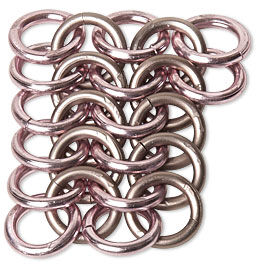
To Widen the Weave
Turn the woven chainmaille 180 degrees. Add one new jump ring to a jump ring at the top along the right side. As shown, this is done on the end where the last ring is on the top of the weave.
Add a ring to the next ring down in the outside row, working from underneath up to the top then through the first ring, making sure the new ring passes through where the first and second overlap.

Repeat to add rings to the entire row.
If adding another row--remove the first ring added in Step 4.
Add one new jump ring to the ring now at the top along the end, as shown.
Add a new jump ring through the second ring in the outside row, working from top to bottom and through the first ring where it is overlapped by the second ring.
Repeat Step 7 to add rings to the entire row; add one ring to the last ring in the previous row so the new ring rests into the weave according to the pattern.
Shop for Your Materials Here:

Copyright Permissions
All works of authorship (articles, videos, tutorials and other creative works) are from the Fire Mountain Gems and Beads® Collection, and permission to copy is granted for non-commercial educational purposes only. All other reproduction requires written permission. For more information, please email copyrightpermission@firemtn.com.