Bracelet with Jeweler's Bronze Sheet, Leather and Cord


Design Idea JA3E
Rugged Edge
-- Designer --
Rose, Jewelry Designer, Exclusively for Fire Mountain Gems and Beads®
To learn more about Rose Wingenbach, read her jewelry artist success story here.
: : : Materials : : :
Click here to view a full list of materials used in this design.
Please take the creative opportunity to select the products of your choice for this design, offered here at Fire Mountain Gems and Beads. Some materials may not be available or listed.
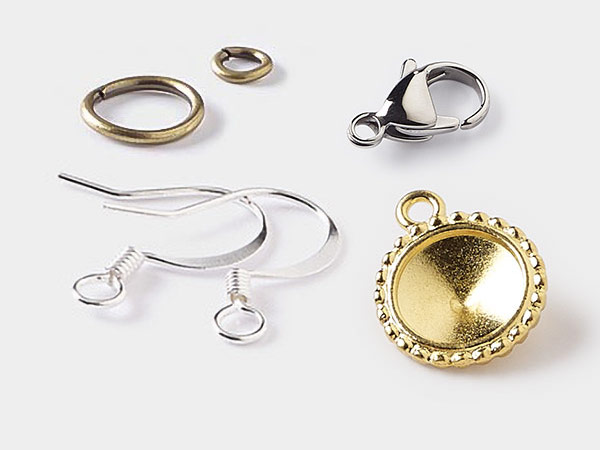
- Clasp, twist-in rivet, antique brass-plated brass, 12x9mm with 7mm flat round and 3mm shank
- Rivet, TierraCast®, antique brass-plated brass, 5x4.5mm with 2.4mm shank and 1.5mm inside diameter, fits up to 2.5mm hole
- Eyelet, black-plated brass, 3.5mm with 3x2.4mm tube and 1.7mm inside diameter, fits 2.5-3.5mm hole
- Thread, C-Lon®, nylon, light blue, 0.5mm diameter
- Thread, C-Lon®, nylon, bubblegum, 0.5mm diameter
- Metal coating, Swellegant!™, bronze
- Cord, Hemptique®, polished bamboo, brown, 1mm diameter, 20-pound test
- Leather scrap mix (natural / dyed), brown tones, mixed shape
- Cord, 3-ply bonded polyester twine, assorted colors, 1mm
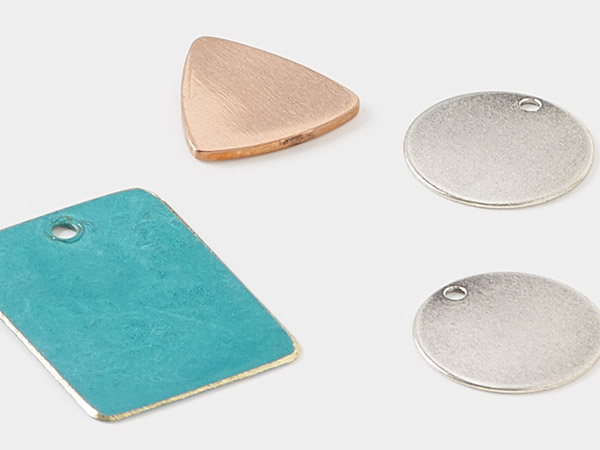
- Sheet, copper and zinc, jeweler's bronze, half-hard, 6x6-inch square, 22 gauge
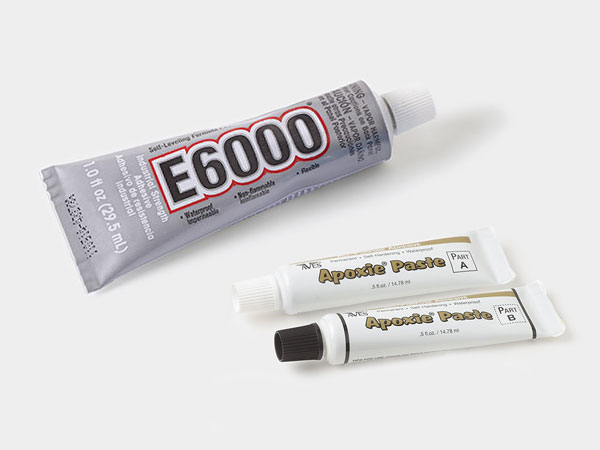
- Adhesive, E6000® Jewelry and Craft Adhesive, clear
Instructions
Cuff Base
Using our downloadable template (provided below), cut a 6-1/2 x 1-7/8 inch rectangle from 22-gauge jeweler's bronze sheet.
Finish and smooth the edges of the metal cuff.
A printable pattern is available here: Bracelet Template (PDF)
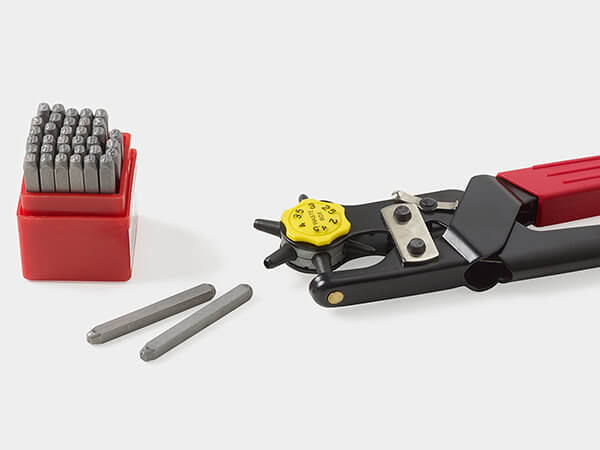
Punch four holes in each short side of the cuff and ten additional holes on each long side, as shown on the template.
Brush Swellegant!™ bronze on one side of the cuff, then set aside to dry.
Leather Overlay
Using the template provided, cut out a 10-1/4 x 1-7/8 inch rectangle from leather.
Cut a 5-1/2 x 1-inch rectangle leather piece, starting approximately 2 inches from the end, as shown on the template.
Punch 19 holes along each side of the cut-out on the leather piece, as shown on the template.
Add an eyelet to each of the holes created in Step 4.
Note: View our ''How to Use the Adaptable Eyelet and Rivet Tool Set'' how-to video and illustrated instructions for additional details.
Cut a 2-foot length of each of the following:
- Brown 1mm Hemptique® cord
- Bubblegum 0.5mm C-Lon® cord
- Light blue 0.5mm C-Lon cord
- Khaki green 1mm twine
Tip: Apply a small amount of adhesive to the ends of the cords, then set aside to dry, to prevent fraying in later steps.
Loosely lace the cords across the cut-out of the leather piece in the design of your choice, leaving tails on both ends.
Assembly
Lay the leather piece over the darkened side of the cuff piece, with an overhang of 2-1/8 inches on one end. Using the holes punched in one short side of the cuff as guides, punch corresponding holes in the leather.
With the larger piece of the rivet being placed through the leather first, apply a rivet to each of the four matched holes.
Repeat with the holes at the opposite end of the cuff.
Being careful to keep the leather taut and the laced cords from being cut by the hole punch or rivets, repeat the technique used in Step 9 to rivet the long sides of the leather overlay to the cuff.
Tighten the laced cords, knot, then glue under the leather overlay. Set aside to dry.
Bend the cuff and leather overlay into the final cuff shape.
Cut two 3mm holes near one end of the leather overlay, then add a twist-in rivet clasp to each.
Cut two corresponding holes at the opposite end of the leather overlay to complete the double clasp
Shop for Your Materials Here:
Have a question regarding this project? Email Customer Service.
Copyright Permissions
All works of authorship (articles, videos, tutorials and other creative works) are from the Fire Mountain Gems and Beads® Collection, and permission to copy is granted for non-commercial educational purposes only. All other reproduction requires written permission. For more information, please email copyrightpermission@firemtn.com.