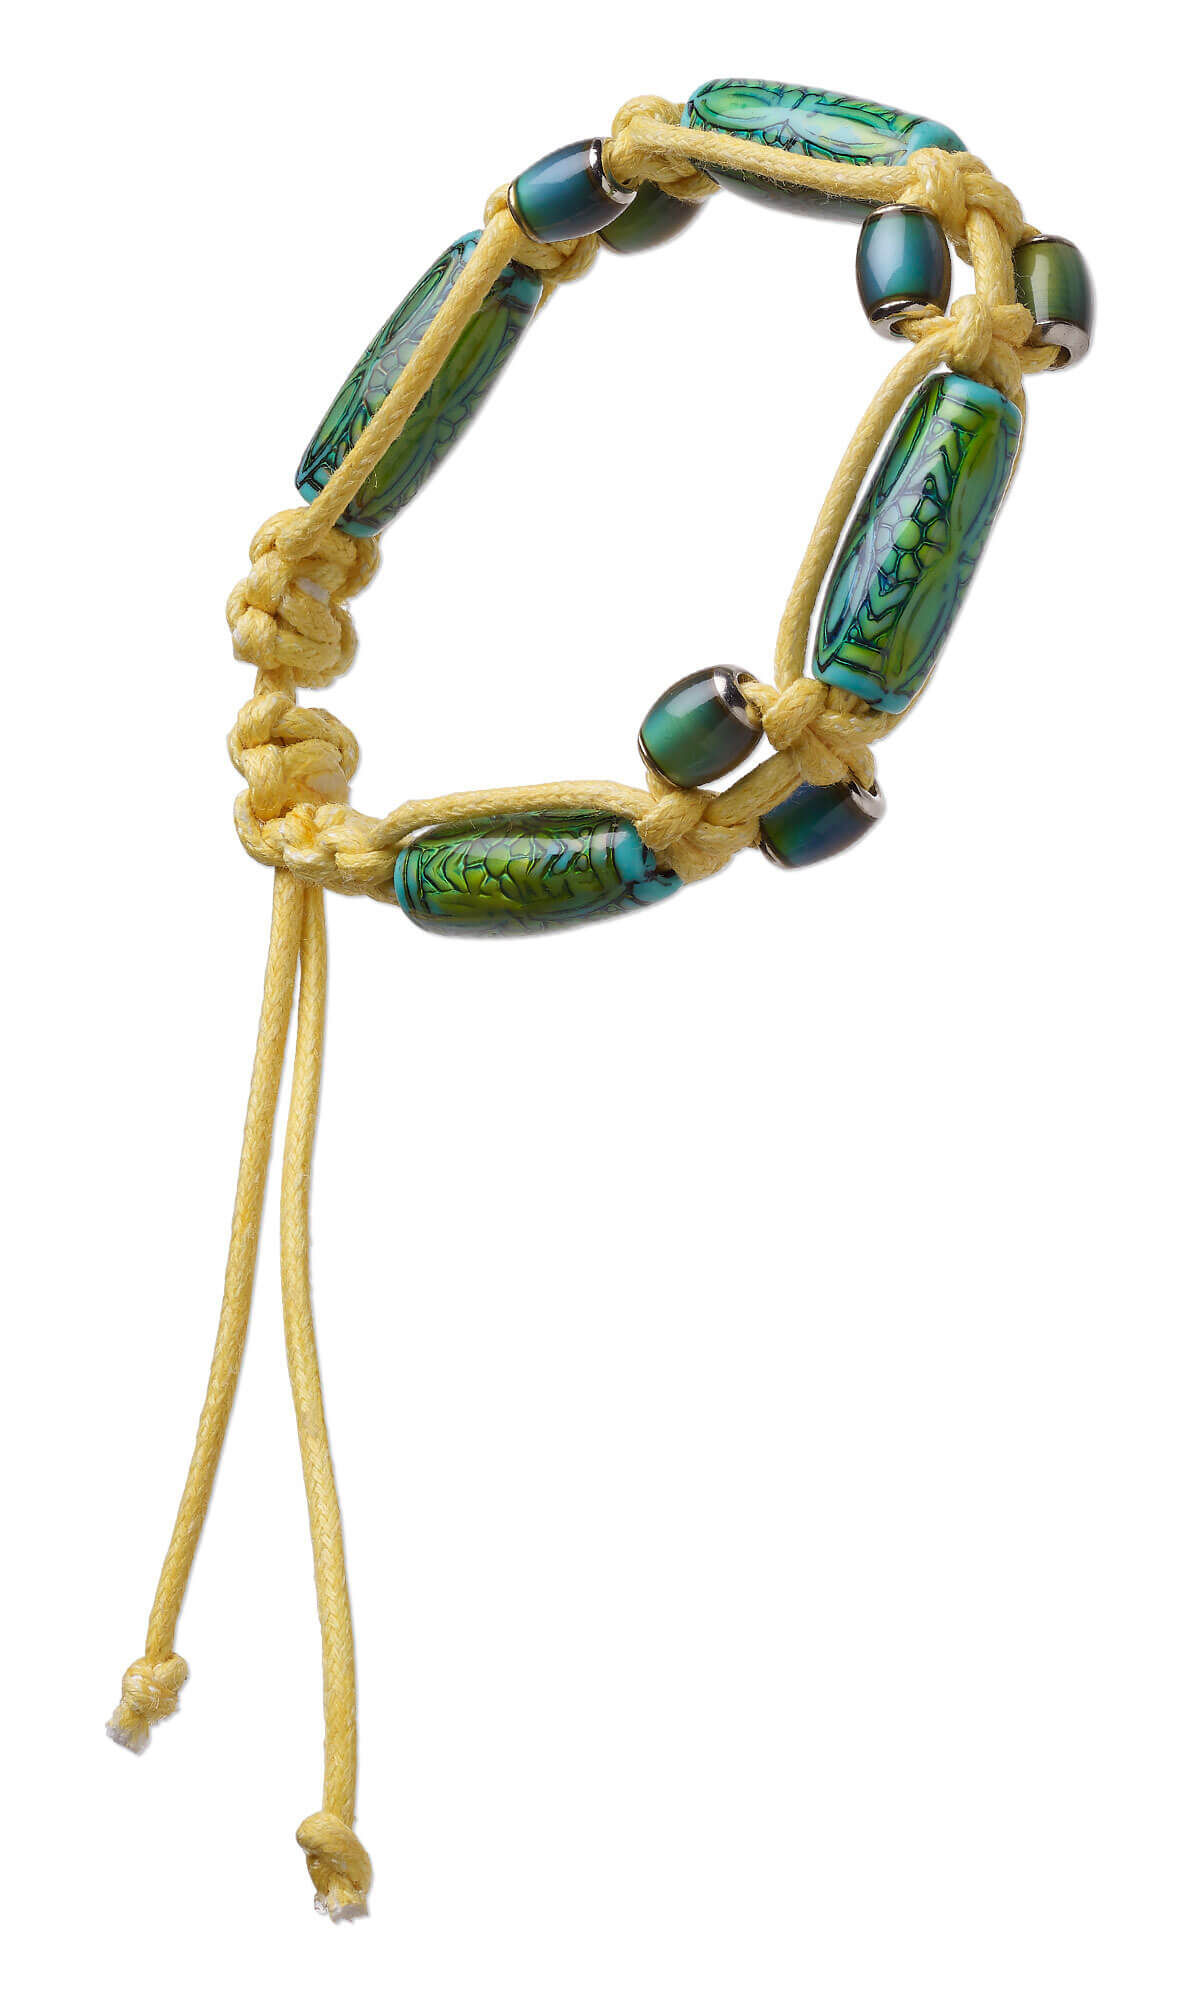
Bracelet with Acrylic Beads and Macramé Waxed Cotton Cord


Design Idea ND24
-- Designer --
Rose, Jewelry Designer, Exclusively for Fire Mountain Gems and Beads®
To learn more about Rose Wingenbach, read her jewelry artist success story here.
: : : Materials : : :
Click here to view a full list of materials used in this design.
Please take the creative opportunity to select the products of your choice for this design, offered here at Fire Mountain Gems and Beads. Some materials may not be available or listed.
- Bead, acrylic and imitation rhodium-plated brass, multicolored, 10x8mm color-changing barrel
- Pliers, nipper, steel and plastic, blue, 5-1/8 inches
- Beading wire, Accu-Flex®, nylon and stainless steel, clear, 49 strand, 0.019-inch diameter
- Cord, waxed cotton, gold, 2mm, 50+ pound test
- Bead, acrylic, turquoise blue and multicolored, 26x11mm color-changing flattened round tube with tribal designs
- Adhesive, E6000® Fray Lock™, crystal clear
Instructions
Cut four 3-foot lengths of cord.
Tie the four strands as one with a simple knot approximately eight inches from the end. Pin or tape the knot down on your workstation to make it easier to form the following knots evenly.
The leftmost cord will be Cord 1, then Cord 2, Cord 3 and the rightmost cord will be Cord 4.
Pass Cord 1 horizontally over Cords 2 and 3 then pass Cord 4 over the end of Cord 1, under Cords 2 and 3 and up through the loop (created by Cord 1) then pull snug. (This is a half square knot.)
Pass Cord 1 under Cords 2 and 3 then bring Cord 4 under Cord 1, over Cords 2 and 3 and through the loop. Pull Cords 1 and 4 tight so the knot rests close to the previous half of the square knot.
Repeat to make a second square knot.
Note: It's important to alternate Cord 1 over and under Cords 2 and 3 to get a flat pattern. Consistently passing over Cords 2 and 3 will cause the pattern to twist.
Pass the two middle cords through a 26x11mm acrylic bead. Tie a square knot at the bottom of the bead then pass a 10x8mm acrylic bead onto each of the outside cords. Tie another square knot.
Repeat to add a total of four 26x11mm beads and three sets of 10x8mm beads.
Tie two square knots after the final bead has been added.
Untie the simple knot at the beginning of the bracelet. Loosen the last two square knots slightly.
Cut a 4-inch length of Accu-Flex® professional quality beading wire. Fold the beading wire in half and thread the two loose ends back through the loosened knots, leaving the fold as a loop.
Push one of the outside cords through the loop of beading wire the pull the beading wire to tuck the cord through the back of the loosened knots.
Repeat with the other outside cord then retighten the knots and apply adhesive as needed for more security.
Tie overhand knots at the ends of the two center cords. Apply E6000® adhesive to secure.
Repeat Step 5 on the other end of the bracelet.
Use the remaining center cords to tie two square knots over the center cords from the first end of the bracelet. These center cords can now slide through the square knot to tighten and loosen the bracelet.
Have a question regarding this project? Email Customer Service.
Copyright Permissions
The pieces featured in the Gallery of Designs are copyrighted designs and are provided for inspiration only. We encourage you to substitute different colors, products and techniques to make the design your own.
All works of authorship (articles, videos, tutorials and other creative works) are from the Fire Mountain Gems and Beads® Collection, and permission to copy is granted for non-commercial educational purposes only. All other reproduction requires written permission. For more information, please email copyrightpermission@firemtn.com.

