Using Metal Clay with a Mold: Tips, Tricks and Troubleshooting

Metal clay is a fascinating material that offers a world of possibilities for the jewelry artist. But it can also prove to be a challenge when using molds due to its sticky nature. Here are some tips, tricks and a little troubleshooting for molding metal clay.
Be Prepared
Although metal clay can be temperamental, having the right tools and setup from the start can make the process much easier. Begin by organizing your workstation. Lay out all the tools, like molds and blades, that you will need, examining each one to make sure it's clean. Coat them with a releasing agent like Slikbaby or olive oil to prevent them from sticking to the clay. If you are new to this medium or are starting a new project, try this tip from jewelry artist Lisa Pavelka: practice with polymer clay first--which has a more generous working time--then graduate to metal clay.


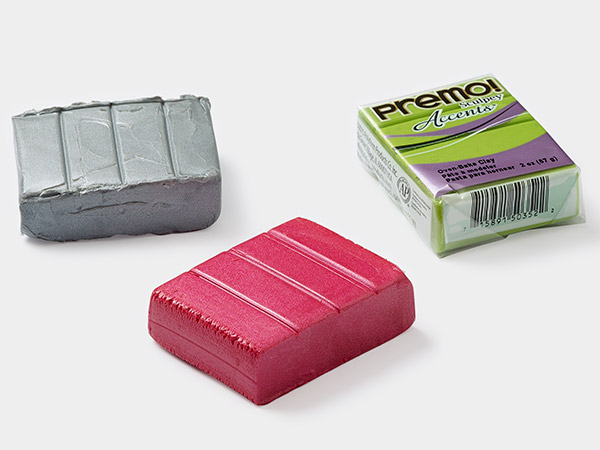
Kneading
Metal clay should be smooth and pliable, not sticky, before going into a mold. This is where kneading or conditioning comes in. Begin by placing the clay in a piece of plastic wrap to help it stay moist and fold and flatten repeatedly to work out any air bubbles. Once you have finished conditioning, check the texture. If it is too dry, knead in a drop of water. Add it drop by drop until it is properly hydrated. If the clay is too wet, let it sit out for a few seconds to dry out a little. When the clay is just right, rub a little olive oil or Slikbaby onto your fingers and roll into a ball or tube shape, rubbing out any creases as you go.
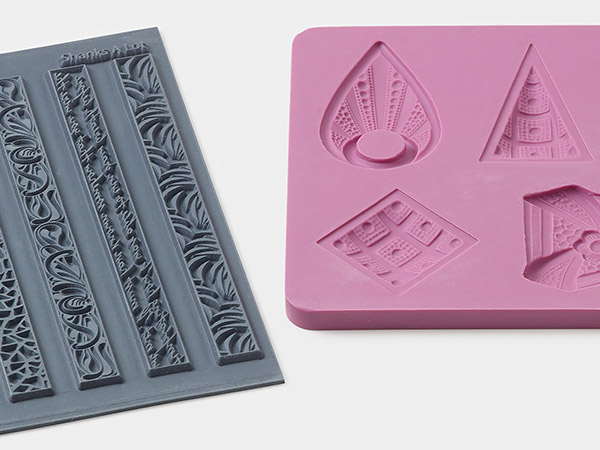
Molding
With your perfectly smooth ball or tube of clay, you can start to make your piece using the prepped molds. This process is somewhat like forming a cookie or pie crust; you want to press the clay out evenly from the middle to the edges of your mold. Trim any excess off with a clay blade and let dry while in the mold. Once dry, carefully unmold and inspect for blemishes and cracks. If you notice any at this point--the greenware phase--there may still be time to repair them.

Troubleshooting
If your designs come out of the mold with imperfections, there are some simple fixes you can do before firing. A little water and a paintbrush is one easy way to smooth out and refine blemishes, or if you have cracks, syringe clay can fill the gaps. If the edges come out rough and raggedy, gently sand them. Taking these steps ahead of time will ensure that your pieces come out of the firing process a success, even if their unmolding was less than stellar.


If worse comes to worst and the piece is unsalvageable for your project, all is not lost. While you may not recover your design, you may be able to recover the clay. If the pieces are unfired, they can be ground up and reconstituted back into workable clay.

Shop for Your Materials Here:
Have a question regarding this project? Email Customer Service.
Copyright Permissions
All works of authorship (articles, videos, tutorials and other creative works) are from the Fire Mountain Gems and Beads® Collection, and permission to copy is granted for non-commercial educational purposes only. All other reproduction requires written permission. For more information, please email copyrightpermission@firemtn.com.