Bracelet with Antiqued Gold-Plated Brass and Steel Drops and Components and Sterling Silver Findings and Jumprings

Design Idea A73H
Riveting!
-- Designer --
Tammy Honaman, Author, Jewelry-Making Expert and Educator, Exclusively for Fire Mountain Gems and Beads®
To learn more about Tammy Honaman, read her jewelry artist success story here.
: : : Materials : : :
Please take the creative opportunity to select the products of your choice for this design, offered here at Fire Mountain Gems and Beads.
Instructions
Use a steel hole punch and rotary drill to create additional holes in each component according to the finished image above. Use files and polishing paper to smooth around the holes of each component so the rivets will properly secure the components together.
Note: For more detailed instructions on creating holes using the hole punch or rotary drill see the Additional Resources section below.
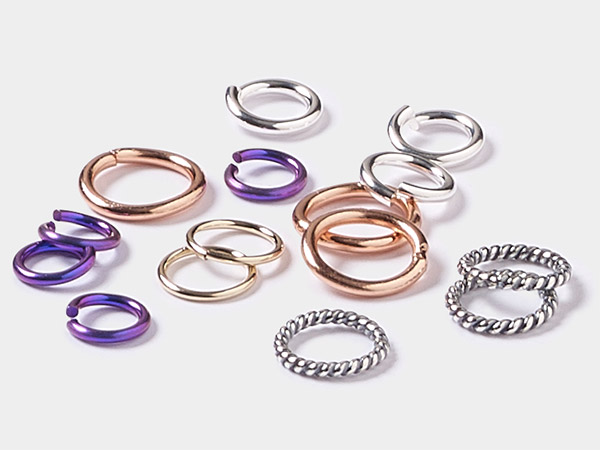
Attach one 6mm jumpring to one 28x5mm textured drop. Pass one 6mm jumpring through the previous jumpring and the hole in one 15mm flat round drop.
Connect the following components using wire rivets:
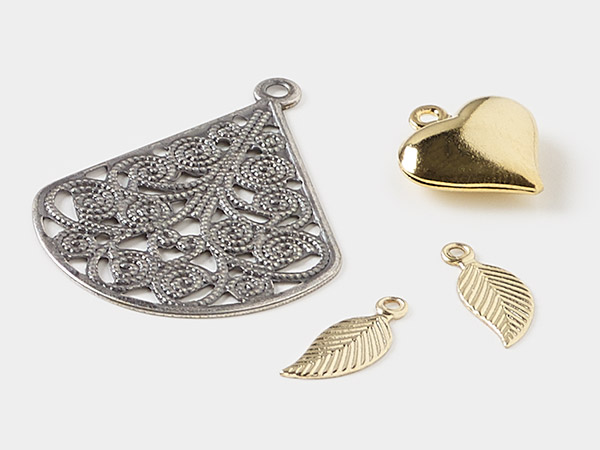
- One 20x20mm diamond link and one 19mm flat round drop
- One 20x20mm diamond link and 17mm flat round drop
- The 15mm flat round drop (Step 3) and a second 15mm flat round drop
- One 16mm textured flat round drop (already drilled) and one 19mm flat round drop
- The remaining two 15mm flat round drops
Check to make sure the end of the 14-gauge wire is cut flush or has a blunt cut end; trim using flush-cutters, if not. Insert the wire into the vice so about 1/2 to 1-inch of the wire is above the vice surface.
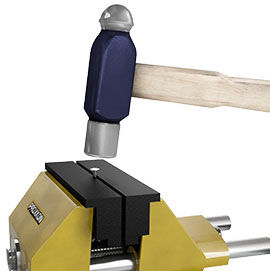
Using the ball-peen hammer, strike the end of the wire. Moving out from the center as you strike, drawing the wire out to the side. Repeat working around the entire end of the wire creating an established "head" on the end of the wire, like a nail head.
Cut about 1/2 - 3/4 inches below the end you just formed. Set the rivet aside
Stack one set of layers to be joined. Insert the wire through the hole so the nail head of the rivet is on the front.
Place the layered items, with the rivet in place, face down on a bench block. Using flush-cutters, trim the wire about 2mm above the surface of the last layer.
Using a ball-peen hammer, begin to form the nail head in the wire, working the same way you did for the other end. Check the assembly to make sure everything is lined up as you like. Adjust if necessary.
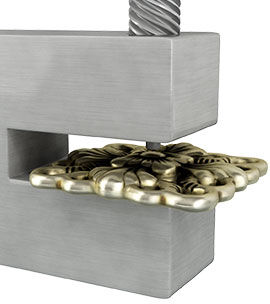
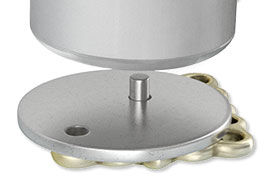
Place the crimp onto the bench block standing straight up. Place the dapping punch onto the top of the crimp. Using the hammer, gently hit the end of the dapping punch. Repeat until you have flared the end of the crimp.
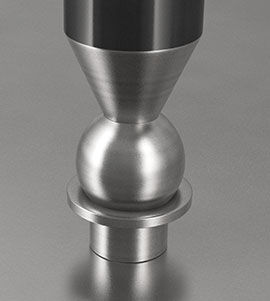
Pass the crimp through the punched holes in one 25mm textured round drop. Place the drop face down onto an anvil or bench block with the flared end of the crimp against the block. Repeat Step 9 to secure.
Remove the dapping tool and continue to hammer each side of the crimp until the rivet is secure and is flared to your satisfaction.
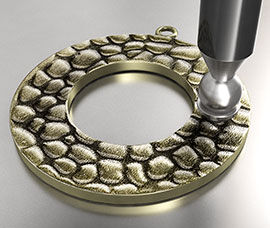
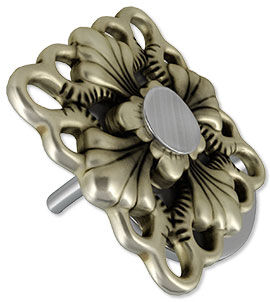
Repeat Step 10 to connect one 25mm textured open round drop to one 38mm moon Lazer Lace™ focal, and one 20x20mm diamond link to one 15mm flat round drop using crimp tube rivets.
Use 6.5mm jumprings to attach each component to a link on the 8mm twisted loop bracelet.
Shop for Your Materials Here:

Have a question regarding this project? Email Customer Service.
Copyright Permissions
All works of authorship (articles, videos, tutorials and other creative works) are from the Fire Mountain Gems and Beads® Collection, and permission to copy is granted for non-commercial educational purposes only. All other reproduction requires written permission. For more information, please email copyrightpermission@firemtn.com.