Single-Strand Necklace with Copper Art Clay® and Leather Cord
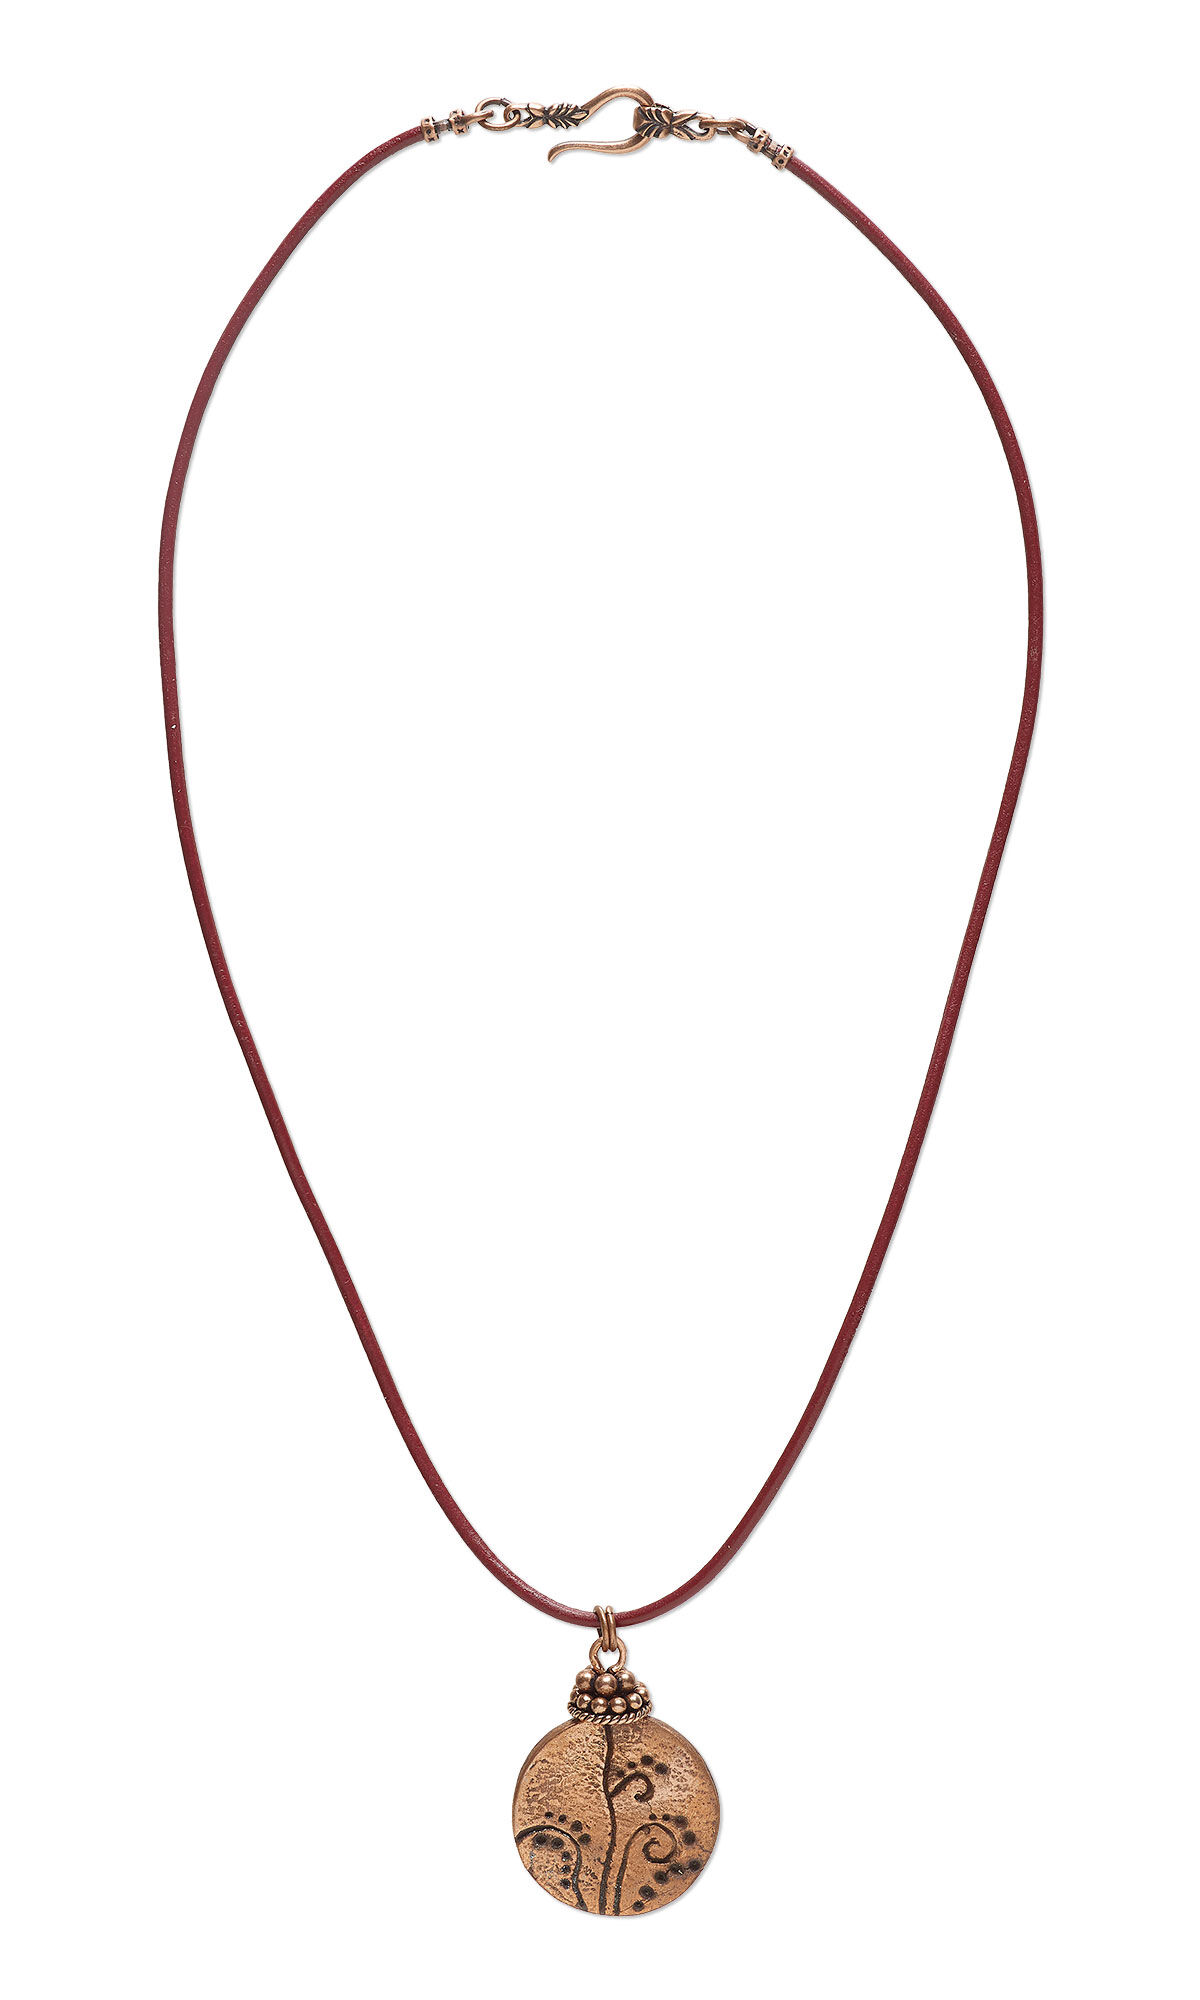


Design Idea RH22
-- Designer --
Patti, Jewelry Designer, Exclusively for Fire Mountain Gems and Beads®
To learn more about Patti Miller, read her jewelry artist success story here.
: : : Materials : : :
Click here to view a full list of materials used in this design.
Please take the creative opportunity to select the products of your choice for this design, offered here at Fire Mountain Gems and Beads. Some materials may not be available or listed.
- Bead and bead cap, antiqued copper, 5x1mm-18x10mm assorted shape
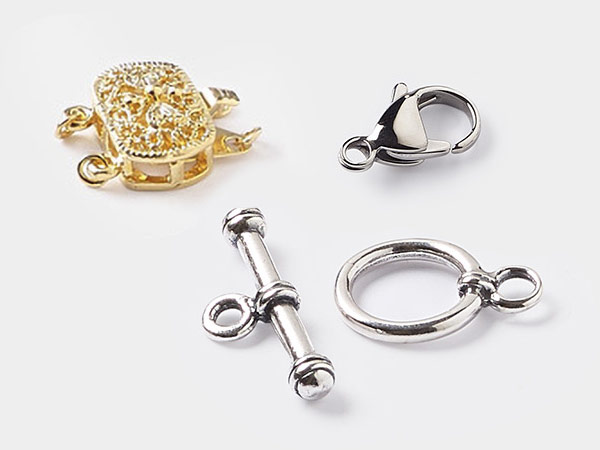
- Clasp, JBB Findings, hook-and-eye, antique copper-plated brass, 21x9mm double-sided leaf
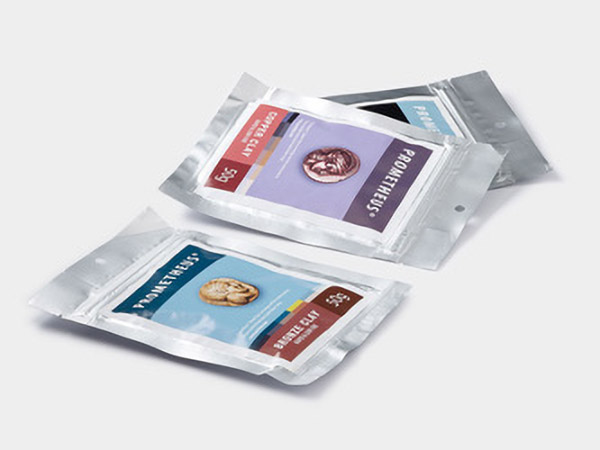
- Clay, Art Clay®, copper
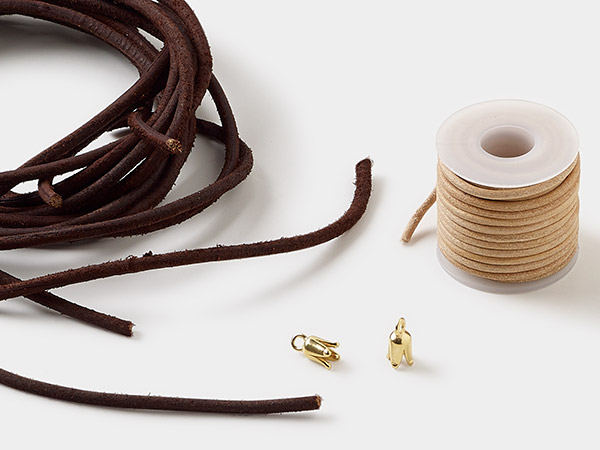
- Cord, leather (dyed), red, 1.5mm round
- Crimp end, JBB Findings, antique copper-plated pewter (tin-based alloy), 5x3mm tube with loop, 1.7mm inside diameter
- Jump ring, antique copper-plated brass, 6mm round, 4.2mm inside diameter, 18 gauge
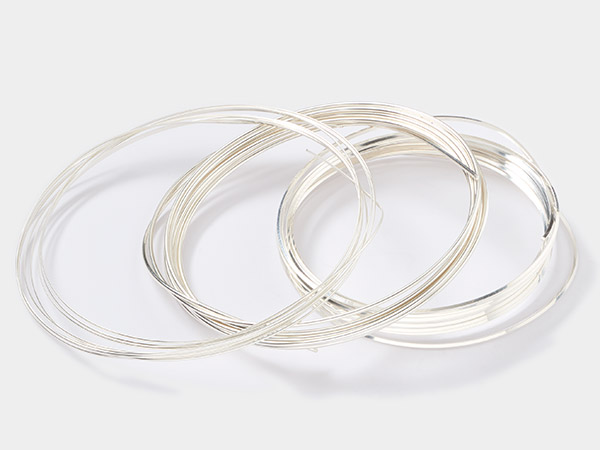
- Wire, Zebra Wire™, natural copper, round, 16 gauge
- Beading awl, steel and plastic, red, 2-4mm with 5-3/4 x 3 x 3/4 inch case
- Chasing hammer, steel and rubberwood, natural, 28mm convex head and 14mm ball head, 10 inches
- Coating, Tool Magic®, rubber, white
- Firing block, compressed vermiculite, 6x4-1/2x1-1/2-inch block
Instructions
Make sure your work area is well lit and ventilated.
On a freshly clean, dry, flat work surface set out:
- 1 Teflon® sheet
- A clay roller
- A clay cutter
- Clay slats
- A sharp craft knife
- A small, lidded container for slip
- A small container of distilled water (non-distilled water causes discoloration)
- A small paintbrush
- An awl set
- A 30mm round cutter
- Slik metal clay conditioner/release
- Nitrile gloves (do not use latex—it interacts badly with metal clay)
- Plastic wrap, cut into a few 4-5 inch squares
- Scissors
- A toothpick
Draw or print a paper ornament pattern in the size of your pendant. Set it aside.
Put on your nitrile gloves. Coat the following items lightly with slik metal clay conditioner and release (Keep in mind that a little goes a long way!):
- Clay roller
- Craft knife blade
- The sharp edge of a clay cutter
- The inside of the round cutter
- The center (work area) of the Teflon sheet
Cut open a package of copper ArtClay®. Set aside the instructions and save them for future use.
*Helpful hint: Work quickly! Once the clay is exposed to the air, it dries extremely quickly.
Using your craft knife, cut away a half-pea-sized piece of clay and put it inside the small, lidded container with a drop of distilled water. Do not use tap water, as it will discolor the clay. Mix with a toothpick to form a creamy slip. Then replace the lid and set the container aside.
Coat your gloved fingers lightly with slik and condition the amount of clay you need for your project in your hands until it’s malleable. Then roll it into a ball.
Coat your gloved fingers and tools with slik again. Do this as needed throughout the clay-working process.
Place the clay ball on the Teflon sheet and use the roller to flatten it about halfway.
Stack two sets of one yellow and one red slat. Place the stacks on either side of the clay, leaving a little space for the clay to flatten out, then roll the clay until it’s the thickness of the slats.
If the clay is getting dry and cracked, apply a thin layer of slik to one side of the clay, recondition and repeat the above step.
When your clay is smooth and an even thickness, push your round cutter into the center of the clay, then remove the excess clay around the cutter.
Immediately roll the excess clay tightly into a square of plastic wrap, twisting the wrap to keep out air, and place the clay into your small, tightly lidded container. Mark the container with the brand and type of clay you’re using.
Remove the cutter to reveal your round ornament pendant.
Smooth any surfaces on the clay that need attention using the edge of your clay cutter or craft knife.
Bring your pattern to your work area, next to the pendant.
Using an embossing stylus tip, create the dots in your pattern by pressing gently.
Use the finest awl tip to extremely gently draw in the basic lines of your pattern into the pendant. You will deepen the lines after the clay dries.
*If the clay is too dry to draw on lightly, wet it with a couple drops of distilled water, wait a few seconds, then try again.
Use the tip of your finest awl to gently smooth down any crumbly or raised areas in your lines.
*Helpful hint: The more you smooth out your clay when wet, the better the finished product will be.
Set the pendant aside and let it dry undisturbed for 24 hours.
*Helpful hint: If you need to work more quickly, you can dry the pendant on a candle warmer, but you must attend it the whole time, flipping it over every minute so it doesn’t warp. It will take about ten minutes.
*Helpful hint: Metal clay MUST be thoroughly dried before doing more finishing, and especially before firing.
*Safety tip: Work in a well-ventilated area. Take precautions not to get metal clay dust in eyes or to breathe it in. It is, essentially, ground metal.
Clean away any wet clay residue and clean and dry your wet clay tools.
Prepare your dry clay work area by setting out the following:
- A small, thin, soft cloth (like a piece of T-shirt or felt)
- An awl set
- A full set of sanding pads
- Jewelry files
- A 220-grit file stick
- The slip you made in the wet phase
- Small paintbrush
- A dust mask
- An apron or smock
- Safety glasses
Put on a dust mask and apron or smock.
Put the dried pendant on the soft cloth.
*Helpful hint: Be gentle with the dried clay, as it can break easily.
Using your finest awl tip, continue defining the line pattern on your pendant. Go slowly and gently, and use smooth strokes—the longer, the better. This is a slow and steady process and will determine the success of your pendant.
Use the tip of the 220-grit sanding stick to sand the edges of any lines that seem rough. Work slowly with gentle pressure.
Lightly sand all the surfaces and edges with each pad, starting with the coarsest and continuing through the finest. You will see that the clay starts to look more metallic as you go. It helps to lay out the sanding pads in order before you begin.
If any areas seem to dip a bit or have minute cracks, paint on small dabs of slip and smooth it out. Use your awl to redefine any lines needed from the slip. Let it dry again. Once it’s dry, re-sand any areas you used slip on.
Use a wet cloth to wipe away any metal clay dust from your work area.
Remove your apron, smock, dust mask and goggles immediately. Make sure any dust particles are disposed of—preferably shake them off in a clear space outside, then wash your hands and forearms.
Prepare your firing work area by moving any flammable materials away and tying back loose hair and clothing. Then set out the following:
- A firing brick
- A large-tipped butane torch
*Helpful hint: The flame size is important in heating the whole piece of clay at an even temperature for the duration of firing—a smaller tipped torch will not work. - A quench dish (a small bowl of water for cooling the solder)
- A pickle pot, prepared with Sparex® pickle compound and water
- Copper tongs
- Steel and fiberglass tweezers
- A treated metal-polishing cloth
- Safety glasses
Plug in your pickle pot, and set it to low.
Place the firing brick in the center of your work area with the quench dish nearby.
Place your clay pendant on the center of the firing brick.
Place your fiberglass and steel tweezers next to the firing block, but away from the immediate torching area.
Lower the light in the room, if possible. It helps to see the heat levels surrounding the clay.
Put on your safety goggles.
Set a timer for 7 minutes.
Ignite your torch and begin firing the clay with even heat across the piece. In a short time, you will notice sparks and a flare-up from the piece. That is normal—it’s the binder burning out of the metal.
Continue firing for an overall firing time of 7 minutes. Keep the flame positioned so the entire piece is cherry red while firing. Quench immediately when the metal darkens a bit from the bright cherry red.
Immerse in pickle for a few minutes until you see the black fire scale disappear. There will be a lighter residue—that is normal. Remove, rinse and pat dry.
Use a flat file to file down any rough edges. Work slowly and in one direction.
Sand all surfaces and edges with course, then medium sanding pads, gently and slowly until you see the light pickle residue disappear.
Cut a 1.5-inch straightened section of natural copper 16-gauge Zebra Wire™.
Flatten the bottom 0.66 inches of the wire on a steel block with a domed chasing hammer.
*Helpful hint: You can use flat-nose pliers to straighten the wire if necessary. It needs to be very straight.
Set the pendant upside down on the firing block with the top of the design pointing straight up.
Use a toothpick to spread an even layer of copper and phosphorus solder paste onto one side of the flattened portion of the wire.
Set the flat portion of the wire, solder side down, onto the pendant so the un-flattened portion comes up from the top. Press the wire down firmly. Use a toothpick or cotton swab to remove any excess solder paste that has splooshed out from under the wire.
Put on your safety glasses, and make sure all loose clothing and hair is tied back and the area is clear of anything flammable.
Ignite your torch and fire the flattened wire approximately one minute, until the solder flows. Quench immediately.
Immerse in pickle for a few minutes until you see the black fire scale disappear. Remove, rinse and pat dry.
Sand all surfaces and edges with sanding pads coarsest to finest, gently and slowly. You will see the pendant become shinier as you go.
Buff with a Sunshine® polishing cloth.
With flat-nose pliers dipped in Tool Magic® rubber coating , push the wire flat over the edge of the pendant to the front, at a 90-degree angle, then back up straight, leaving the base of the wire centered on the top of the clay portion of the pendant, when it was originally centered behind the clay portion of the pendant.
*Helpful Hint: Learn more in “Protecting Tools with Tool Magic”
Thread on an antiqued copper bead cap and slightly smaller dotted rondelle bead. Make a small simple loop tight against the dotted rondelle bead.
Cut a 17.5-inch length of 1.5mm red leather cord.
Slide one end of the leather cord into a 5x3mm copper-plated crimp end. Crimp using fine chain-nose pliers. Repeat for the other end of the cord.
Add one side of a 21x9mm copper hook-and-eye leaf clasp to one crimp end loop using a 6mm 18-gauge copper jump ring. The add the other end of the clasp to the opposite end of the cord.
Add the pendant to the cord using a 6mm 18-gauge copper jump ring.
To learn more about designing with metal clay, check out “Metal Clay Information.”
Shop for Your Materials Here:
Copyright Permissions
The pieces featured in the Gallery of Designs are copyrighted designs and are provided for inspiration only. We encourage you to substitute different colors, products and techniques to make the design your own.
All works of authorship (articles, videos, tutorials and other creative works) are from the Fire Mountain Gems and Beads® Collection, and permission to copy is granted for non-commercial educational purposes only. All other reproduction requires written permission. For more information, please email copyrightpermission@firemtn.com.
