Creating a Polymer Clay Flower and Leaf Pendant

These step-by-step instructions with Christi Friesen, renowned polymer clay artist, teach you how to make a polymer clay flower and leaf pendant using Premo! Sculpey®, crystal beads and other fun jewelry supplies.
Instructions
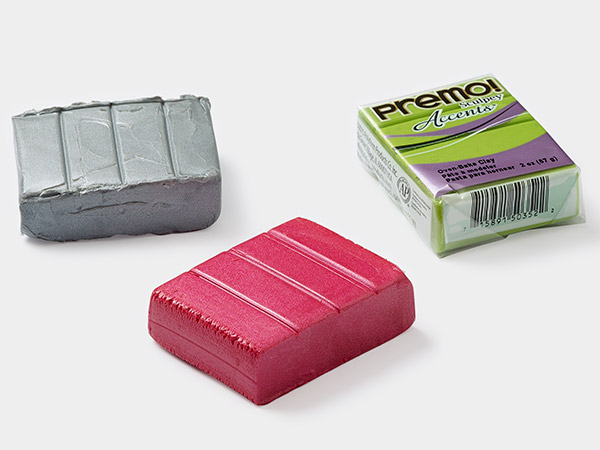
Condition shades of green polymer clay by hand or by running through a polymer clay roller until it's soft and pliable.
With your fingers roll small balls of light green clay, half the size of a pea, for the leaves. Roll as many as desired. Set the balls aside for later use.
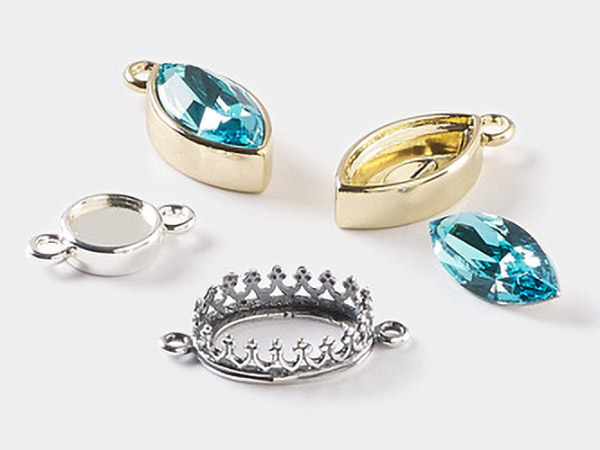
With your fingers, flatten dark green clay into the size and shape of the bezel.
Tip: Fingerprints only enhances the design of your project.
Apply a small amount of adhesive to the edge or the bezel then insert the clay into the bezel.
Scratch into the clay in the bezel with the tip of a needle tool to create a mossy texture.
Tip: If desired, add the mossy texture after adding the embellishments just to the spaces between to save time.
Using your fingers, roll and pinch the balls of light green clay then flatten them.
Using the edge of the tip of the needle tool, press and drag down the center of the clay, long-ways. From the center line, press the edge of the tip needle tool into the clay moving out on either side of the center line to create veins. Repeat as many times as desired.
Tips:
- Hold the handle of the needle tool low, pressing to make an indentation
- If your lines go outside of the leaf-shape you may go back and reshape the leaf with your fingers or leave as-is if desired
Push the edges together along the middle line, making the leaf look more realistic.
Repeat to create as many leaves as desired.
Press the leaves on the dark clay in the bezel. Arrange as desired.
Tips:
- You can use the sculpting tool to press the clay onto the other piece of clay but you can also use your fingers
- To add a more three dimensional look, you may leave air between the moss and the leaf but not too much since it could be fragile
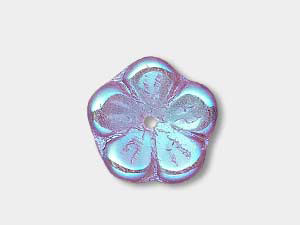
String onto a headpin a few beads, adding a flower bead last, with the concave side up towards the head of the pin.
Tip: You may string as many beads as desired.
Using the flush-cutters, trim the wire to approximately 1/2 inch.
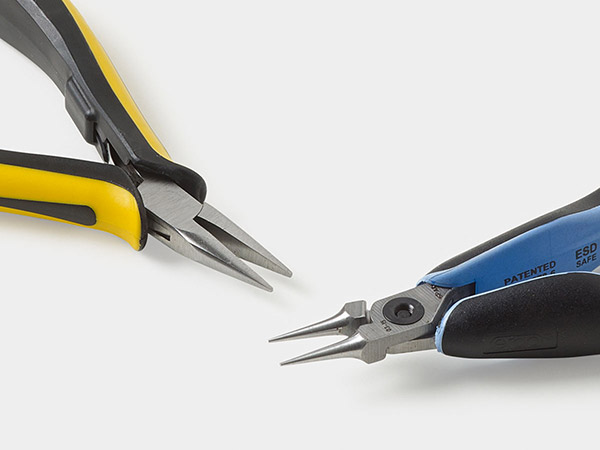
Using needle-nose pliers, pull the end of the headpin towards itself, creating a hook on the tip.
Tip: The hook keeps the headpin in place after baking.
Repeat to create as many flowers as desired.
Insert the hook-end of each headpin into the center of cluster of leaves, pressing them in place with a pair of needle-nose tweezers.
Trim leafy-bits from a wire bead cap finding.
Apply a small amount of adhesive onto the leafy-bits and insert them as desired.
Insert a 1-inch length of wire into the hole of a flower bead. Bring the ends of the wire together. Insert the ends into the jaw of a pair of needle-nose pliers and twist the wire ends with your fingers, securing the bead into place. Trim the wire to approximately 1/2 inch.
Using a pair of pliers, bend a hook at the end of the wire. Press the hook into any desired place onto your piece.
Repeat as desired.
Use an artist brush to apply mica powder onto your clay, if desired, to create contrast.
Bake according to manufacturer's instructions.
Note: Polymer clay does not air dry.
Shop for Your Materials Here:
Have a question regarding this project? Email Customer Service.
Copyright Permissions
All works of authorship (articles, videos, tutorials and other creative works) are from the Fire Mountain Gems and Beads® Collection, and permission to copy is granted for non-commercial educational purposes only. All other reproduction requires written permission. For more information, please email copyrightpermission@firemtn.com.


