Create a Polymer Clay Pendant Featuring Sgraffito
Follow along with award-winning polymer clay artist Christi Friesen as she walks you through the steps to create a pendant with a sgrafito design, an ancient technique made by scratching through a surface to reveal a contrasting color.
Instructions
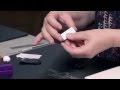
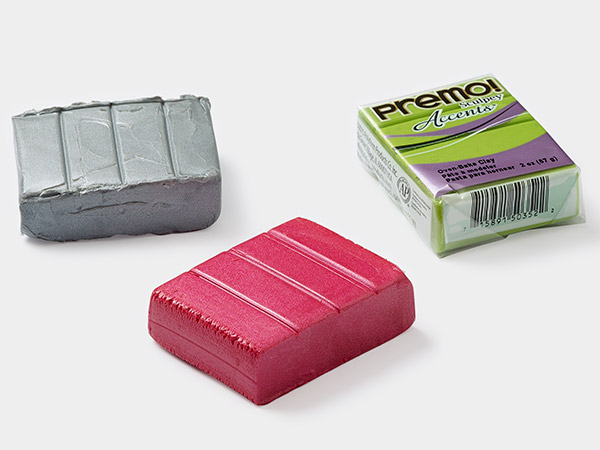
Condition colors of polymer clay in your hands or by running it through a poly-roller machine until it's soft and pliable. Roll the dark color of clay once more on the thickest setting creating a sheet about the thickness of a quarter then roll the lighter clay through on almost the thinnest setting, about the thickness of a dime.
Lay the dark colored clay onto a flat work surface then lay the light colored clay onto the dark clay. Using your fingers, press the two together.
Tip: Polymer clay sticks to itself when you press them together.
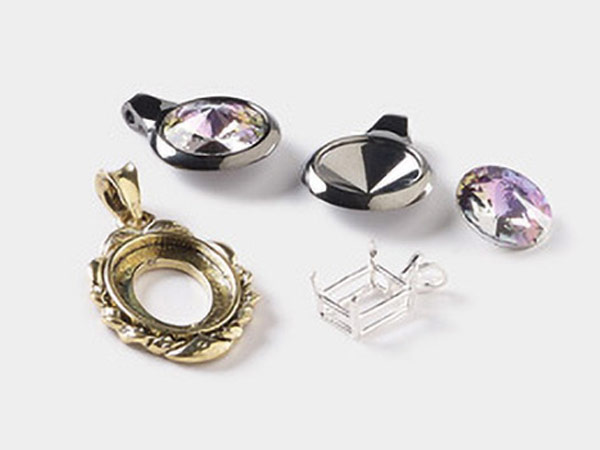
Press the bezel into the clay like a cookie cutter, creating border around the surface you'll work on.
Using the needle tool, scratch a design of your choice onto your clay inside the cut-out shape you created with your bezel.
Tip: The design should create a scratchy and rough look as the black clay will show through.
Using the slicer blade, slice the blade through the clay and pull away the excess clay, trimming out the clay design created by the bezel earlier.
Insert the clay design into the bezel to fit it.
Tip: If the design is too large, trim any excess clay.
Remove the clay from the bezel. Apply a small amount of Signature Series Poly Bonder™ by Lisa Pavelka into the bezel. Gently press the clay design into the bezel.
Tips:
- Applying the adhesive before baking bonds the clay to the bezel more permanently, however you may apply the adhesive after baking
- Gently press the clay into the bezel to keep the design intact
Insert your needle tool through hole in the bezel to create a hole though the clay so that a cord or chain may later be inserted.
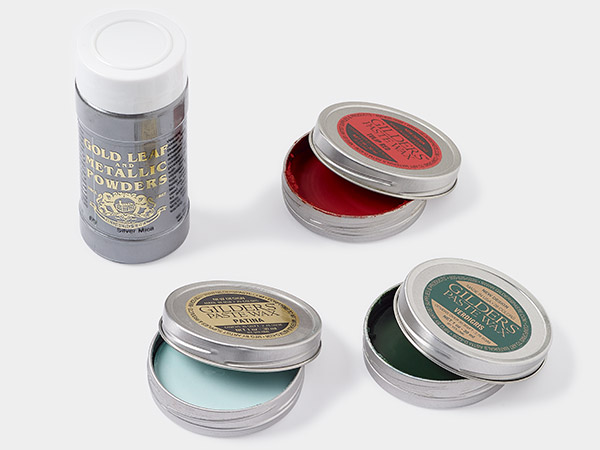
Use an artist brush to apply mica powder to the design, if desired.
Bake according to manufacturer's instructions.
Note: Polymer clay does not air dry.
Shop for Your Materials Here:
Have a question regarding this project? Email Customer Service.
Copyright Permissions
All works of authorship (articles, videos, tutorials and other creative works) are from the Fire Mountain Gems and Beads® Collection, and permission to copy is granted for non-commercial educational purposes only. All other reproduction requires written permission. For more information, please email copyrightpermission@firemtn.com.