Creating a Polymer Clay Lion
Follow along with polymer clay artist and instructor, Christi Friesen, to learn how to make a fun lion pendant or brooch out of Premo! Sculpey® jewelry-making clay. Have a roaring good time.

Instructions
Cut two 2-inch lengths of 28-gauge wire.
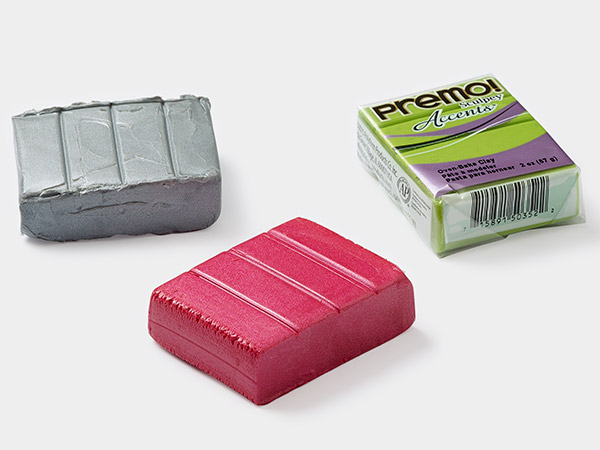
Condition colors of polymer clay well by hand or running them through a polymer clay roller until soft and pliable. Blend colors to create the shade of your choice.
Roll a section of clay into a ball approximately the size of a small grape. Shape the ball into a flat oval.
Roll another section of a slightly lighter shade into an oval, for the head, then press it into the center of the flat oval. Use a finger to create indentations for "eye sockets" on either side of the top of the oval.
Roll two small balls of a contrasting color then press one into each eye socket. Use a dowel to create a deep depression in the center of each eye socket.
String a small bead onto the center of one length of wire. Grasp the wire with chain-nose pliers then twist the bead securing it in place. Trim excess wire then form a hook on the end of the twisted wire.
Repeat to create a second twisted bead drop.
Insert one twisted bead drop into each eye socket.
Roll two more small balls of clay and place them on the face where the cheeks would go. Roll a third ball of clay then press and roll one end into a teardrop shape. Place the point of the teardrop below and between the cheeks forming the chin.
Roll a small amount of clay (possibly the face color) into a teardrop then place it at the top of the cheeks, point side up, forming the nose.
Use a sculpting tool to blend and form a fur-like texture.
Roll a contrasting color of clay into a rough triangle nose shape then press it over the previous teardrop in the center of the cheeks.
If desired roll two more contrasting colors and place eyebrows and a small amount of color on the bridge of the nose.
Combine colors of clay by rolling and folding then twist them several times. As the clay gets thinner, pinch off segments and place them around the lion head forming the mane.
Create very thin segments and place them at the top of the head and over the forehead, creating bangs.
Fold the opposite ends of the bangs and mane around the back side of the base.
Use a needle tool to poke holes between the mane segments then apply liquid clay into the hole.
Use tweezers to separate and arrange silk fibers in the hole.
Tip:
- It may be a good idea to place a section of silk fiber into the oven to verify it's heat resistance before placing into the clay.
- Add thin segments to clay to cover gaps in the mane that may occur while placing fibers.
String a couple of small beads onto a headpin. Trim to approximately 1/4 inch then form a hook on the end of the headpin. Insert the headpin into the mane. Repeat as desired.
Trim approximately four lengths of beading wire then insert them in the cheeks forming whiskers.
Tip: Because beading wire is coated with plastic, it glues itself into the clay.
Use a needle tool to drill a hole from one side of the top to the other for stringing.
Bake according to manufacturer's instructions.
Shop for Your Materials Here:


Copyright Permissions
All works of authorship (articles, videos, tutorials and other creative works) are from the Fire Mountain Gems and Beads® Collection, and permission to copy is granted for non-commercial educational purposes only. All other reproduction requires written permission. For more information, please email copyrightpermission@firemtn.com.