Filling Filigree with Polymer Clay
Use polymer clay in ways you may not have thought of as you follow along with award-winning artist Christi Friesen and learn how to fill filigree or other jewelry components with Premo! Sculpey® clay for personalized pendants.
Instructions
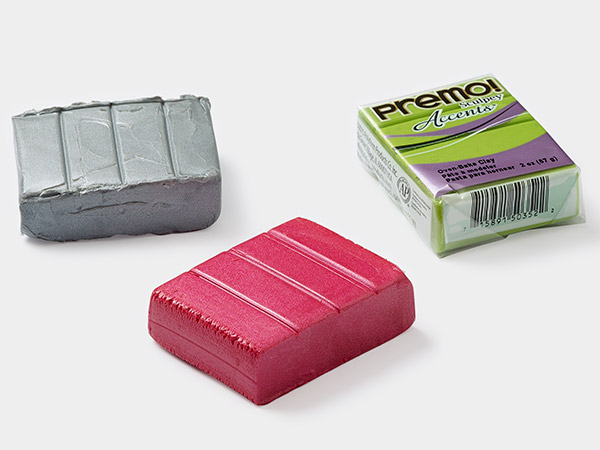
Mix and condition separate colors of clay by hand or using a poly-roller machine, then separate and shape each color into pea-sized balls, then roll the balls into tiny snakes.
Note: The snakes do not have to be perfectly even, straight or narrow.
Set a snake-shaped piece of clay onto the backside of the filigree then line it up against any lines or other shapes around the border as desired.
While looking at the front of the filigree, gently press the clay up from the back to smash the clay through the ridges, creating the desired pattern.
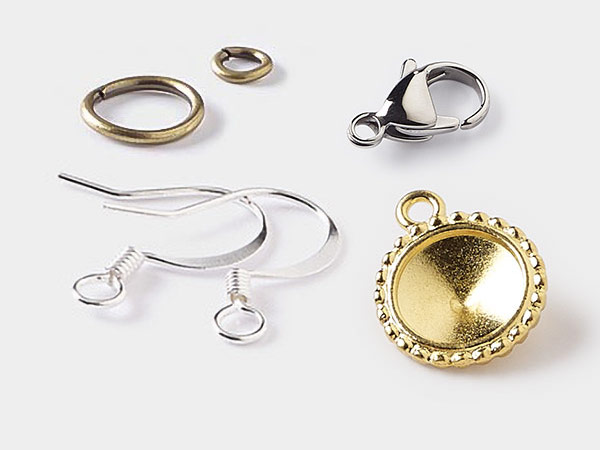
With a needle tool, drag the tip around the filigree containing excess clay to remove the clay from the filigree holes.
With a cutting blade, shave excess clay that is bulging on the backside of the filigree.
Set a colored ball of clay onto an empty space on the backside of the filigree.
While looking at the front of the filigree, gently press the clay up from the back to smash the clay through the empty space. Repeat to fill the empty spaces with as many different colors and shapes of clays as desired.
Tip: If the ball of clay sticks out too much just manipulate it to the desired shape.
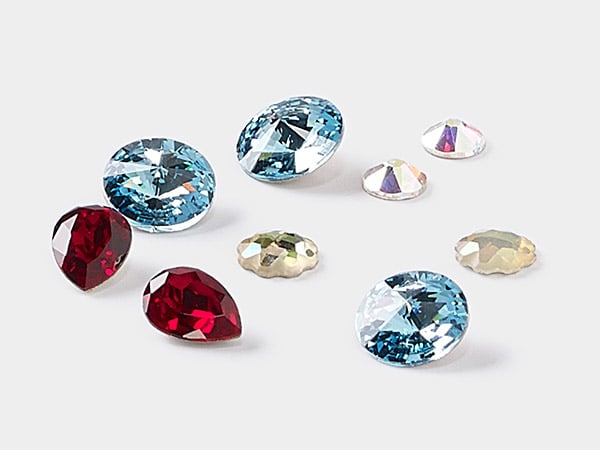
Use a Tweezer-Vac™ or an embellishment positioner to place a crystal onto a desired area of the clay then press the crystal into place.
Repeat to affix the desired amount of crystals.
Tip: If rolling the embellishment positioner to remove the crystal doesn't remove the crystal, use a needle tool to scrape the crystal from the tool.
Shave away any excess clay that bulges out the back of the filigree.
Optional
With a needle tool, cut away clay from a filigree area on either end of the component, creating holes to later add jumprings or any other beading material.
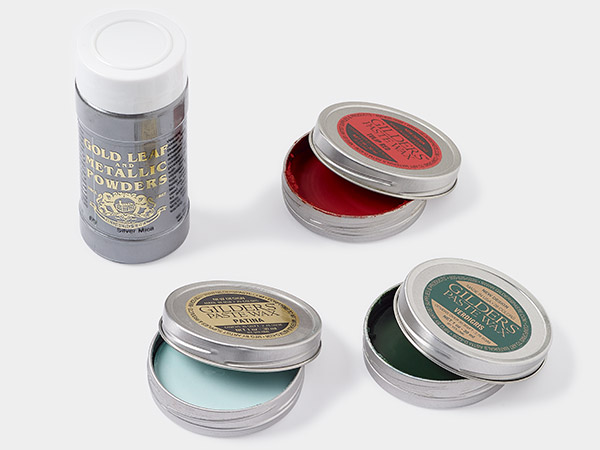
With a small artist brush, apply mica powder to desired areas then bake for approximately half an hour according to manufacturer's instructions.
Flatten an amount of similar-colored clay into a very thin sheet then apply small amounts of liquid clay to the back side of the clay. Press the clay sheet over the liquid clay. Pull, pinch and press the clay around to fill the backing, hiding the undesired clay from sight.
Shave any excess clay from around the edges.
Optional (If Step 6 was skipped)
Option 1
With a pair of pliers, create a little hook at the end of a headpin then bend the straight end of the wire in the opposite direction, creating a shepherd's crook. Insert the small hook into the clay then cover it with the clay sheet, allowing the closed crook to pop out from underneath to string later.
Option 2
Glue on a hinged pin to the backing to wear as a pin.
Bake once more according to manufacturer's instructions.
Shop for Your Materials Here:
Have a question regarding this project? Email Customer Service.
Copyright Permissions
The pieces featured in the Gallery of Designs are copyrighted designs and are provided for inspiration only. We encourage you to substitute different colors, products and techniques to make the design your own.
All works of authorship (articles, videos, tutorials and other creative works) are from the Fire Mountain Gems and Beads® Collection, and permission to copy is granted for non-commercial educational purposes only. All other reproduction requires written permission. For more information, please email copyrightpermission@firemtn.com.