Stamp-e-Gane Tool Embellishment
Embellish jewelry tool handles and much more in this tutorial using a take on mokume gane with Fimo® Professional polymer clay and texture stamps. Explained step by step by mixed media artist extraordinaire, Lisa Pavelka.
Instructions
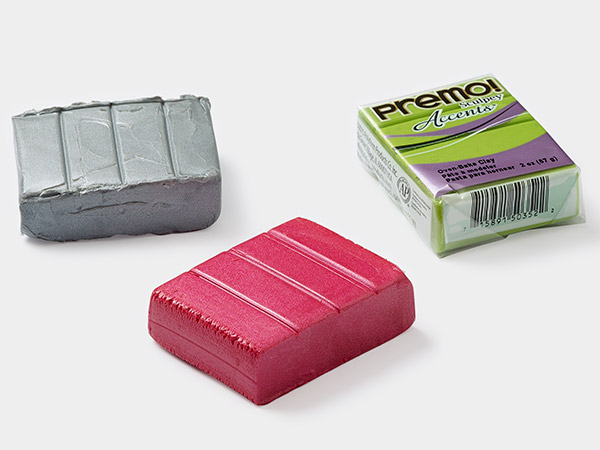
Condition half a block of blue, green and white Fimo® Professional clay separately through the clay machine on the 4th or 5th largest setting.
Condition approximately half a block of black clay using the clay machine then set aside to use later.
Stack each color then trim the edges to a uniform size using a stiff clay blade.
Compress the layers together using your fingers then run the stacked clay through the clay machine on its thickest setting.
Tip: The trimmed edges of clay can be separated and set aside for later use.
Cut the clay in half then stack the halves so the colors alternate. Use your fingers to smooth the clay from one end to the other, eliminating air bubbles.
Repeat to stack a total of three times, making sure the colors alternate, creating a block of clay.
Note: The halves do not have to be equally cut.
Remove the blade, collate and collar from the aluminum hobby knife then place the preconditioned black clay on a Teflon™ sheet.
Place the tool handle on top of the clay then, using the handle as a guide, trim an even line parallel to the handle. Trim the excess clay on either side to even with the width of the handle.
Lift the even edge of the clay up from the work surface and onto the handle, smoothing it out and rolling it back once then forward approximately half way again to eliminate air bubbles. Use a clay knife to trim the edge to an approximately 45-degree beveled angle, so the edges overlap and hold together better.
Roll until the clay touches the opposite edge forming an imprint then unroll a little bit.
Tip: If the clay edge attaches to the opposite side and causes a tear, unroll then trim at the tear.
Trim at the imprinted line at a 45-degree angle then remove the excess clay. Continue rolling so that edges meet exactly.
Tip: If the clay overlaps, smooth it out by rolling or stretch it out a little if the clay is too short.
Remove the Teflon sheet then gently roll using the flat pads of your palm to smooth out the seam. Trim away any excess clay from each end.
Spray a release agent onto one side of the block of clay created in Step 3. Press the block of clay, evenly, into a textured stamp using your hand.
Using a flexible blade, slice a very thin layer from the block, taking off embossed shavings.
Continue to stamp and shave until you get more interesting visual elements.
Tips:
- The harder you press the block into and the deeper the impression, the sooner you will obtain the desired effect.
- Be sure to check both sides of the embossed shavings. More often than not the more interesting elements is on the back side of the clay.
Note: Try to achieve random impressions.
Embed any undesired shaving pieces into the bottom of the block.
Randomly place thin shaving pieces onto the clay base of the pen.
Trim large shaving pieces into smaller ones, placing them onto the base of the pen, allowing portions of the black clay to show through.
Using the palm of your hand, roll the tool handle to smooth the clay.
Add more shavings until the desired look is obtained and repeat to smooth out the clay. Trim any excess clay away or roll the ends into the handle.
Tip: Use an acrylic block or ceramic tile, if desired, to prevent grooves from forming and creating a smooth surface.
Bake for approximately ten minutes then let cool.
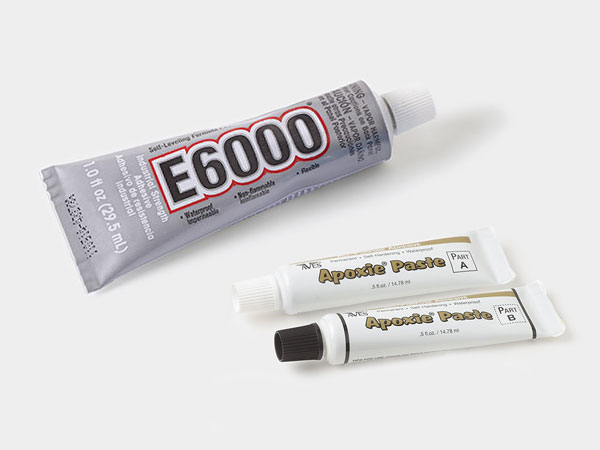
Roll a small ball of clay then apply a very tiny amount of Poly Bonder™ glue to the end of the handle of the tool. Press the ball of clay over the glue, making sure it isn't entirely flat.
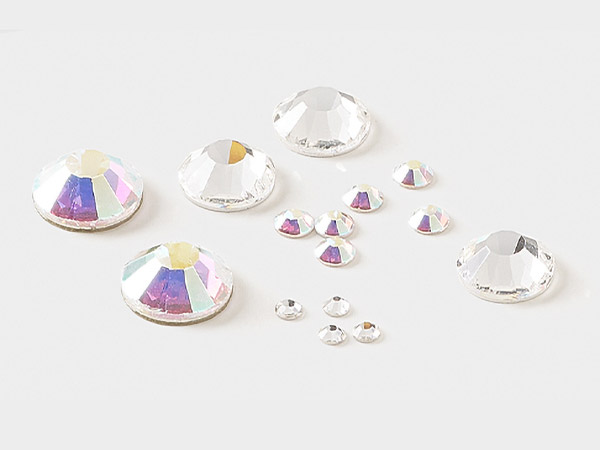
Use a Crystal Katana embellishment positioner to place a flat back crystal into the clay previously added to the tip of the handle then use a cup tool to press the crystal into the clay, allowing the clay to rise up and around the crystal holding it in place, like a bezel.
Use a cup-tool at the end of a ball-tipped style to push the crystal into the clay for a more permanent hold.
Bake according to manufacturer's instructions.
Tip: Use cement glue to re-apply the crystal if it falls out in the future.
Shop for Your Materials Here:
Copyright Permissions
All works of authorship (articles, videos, tutorials and other creative works) are from the Fire Mountain Gems and Beads® Collection, and permission to copy is granted for non-commercial educational purposes only. All other reproduction requires written permission. For more information, please email copyrightpermission@firemtn.com.