Single-Strand Necklace and Earring Set with Premo! Sculpey® Polymer Clay and Czech Glass Beads
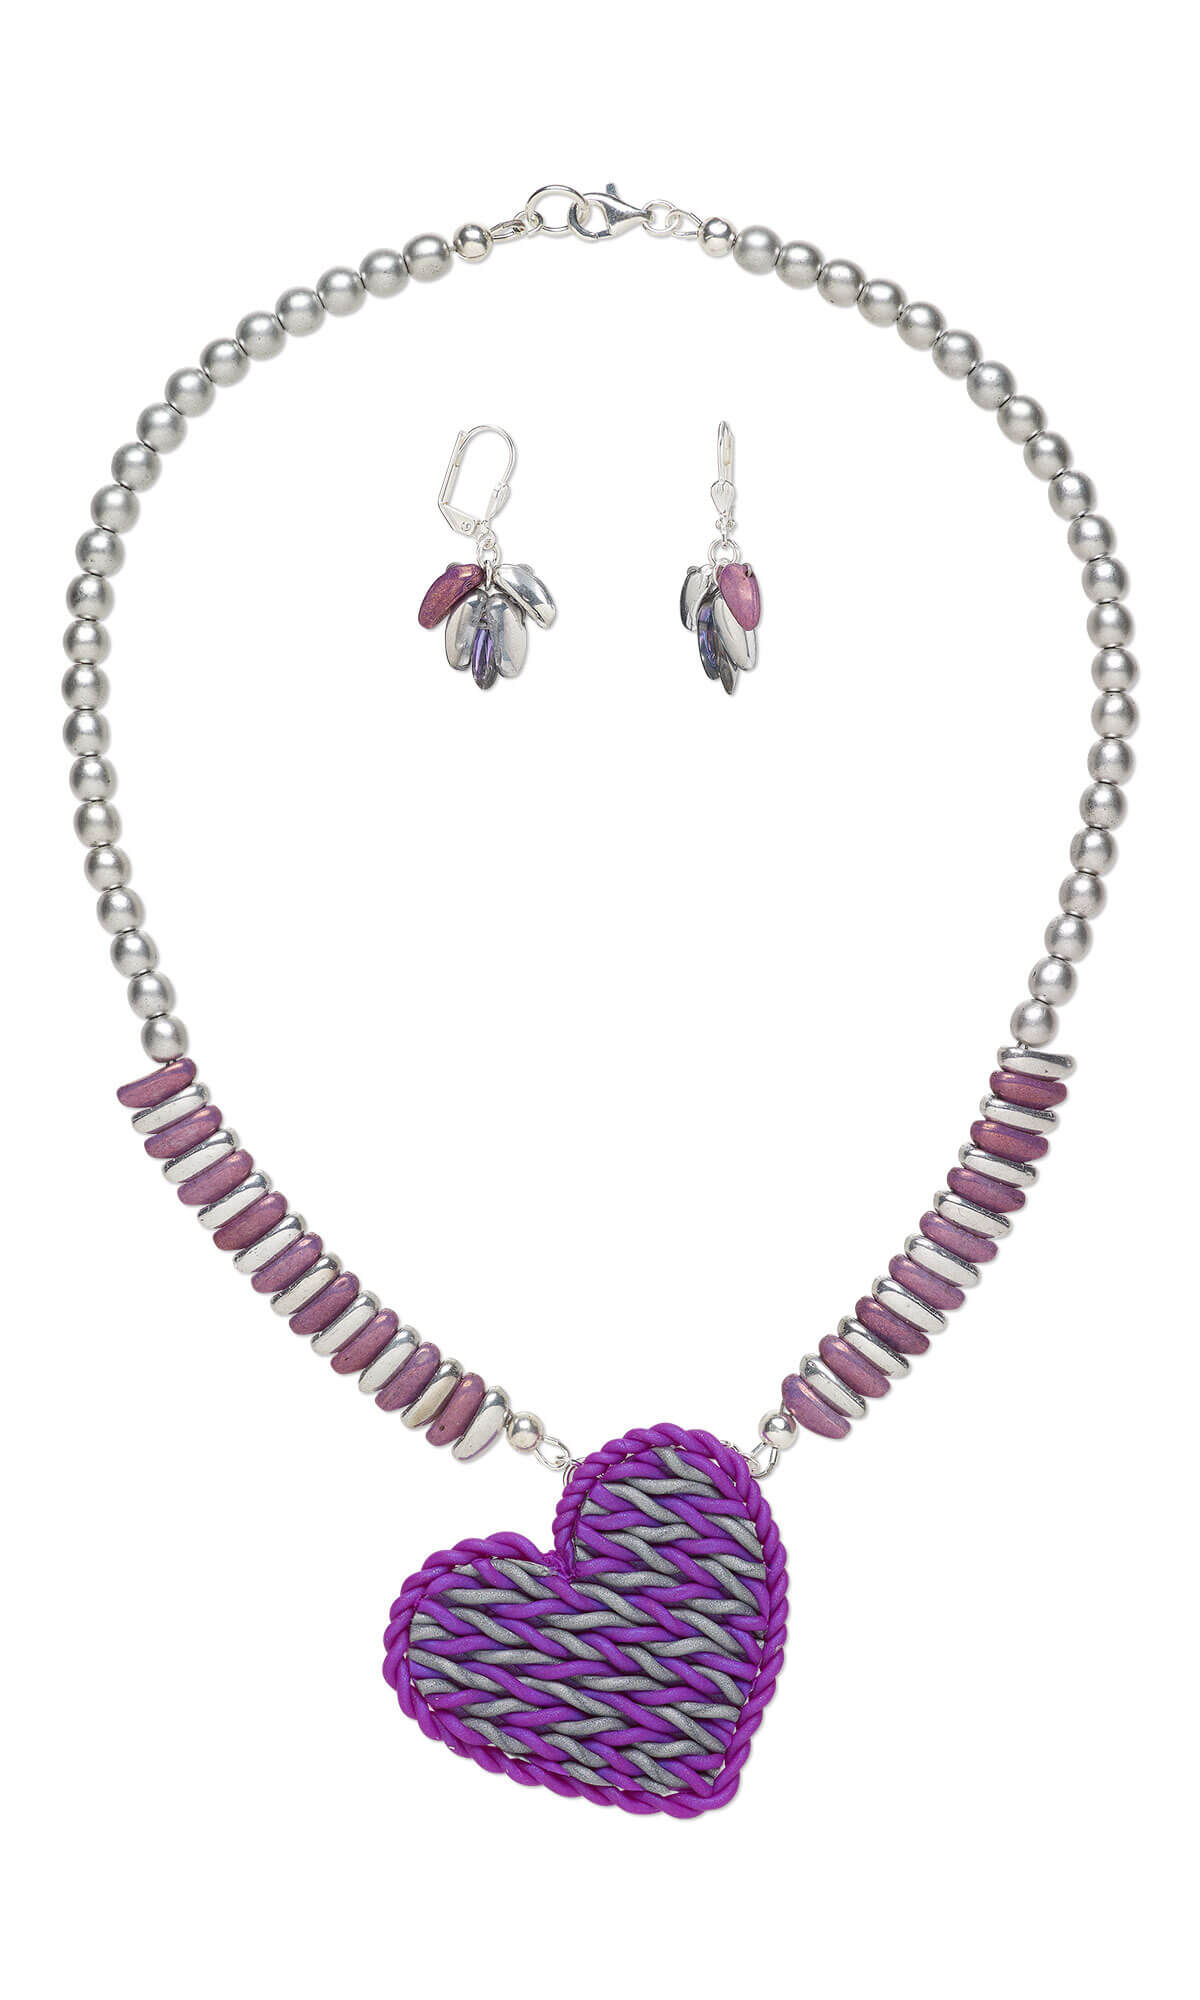

Design Idea G60F
-- Designer --
Anna, Exclusively for Fire Mountain Gems and Beads®
: : : Materials : : :
Please take the creative opportunity to select the products of your choice for this design, offered here at Fire Mountain Gems and Beads. Some materials may not be available or listed.
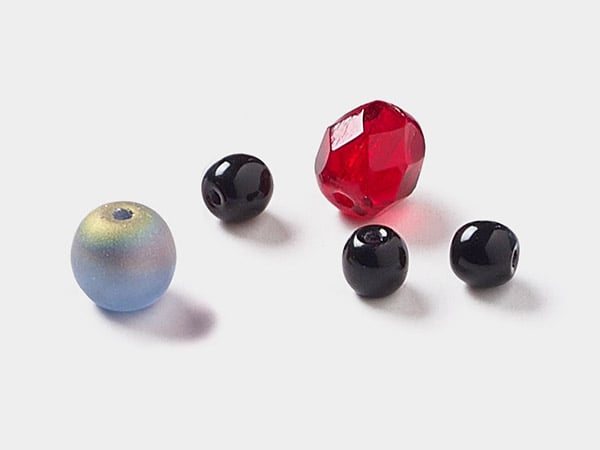
- Bead, Czech glass druk, opaque satin metallic silver, 6mm round
- Bead, Czech pressed glass, clear vitrail with half-coat silver, 10x3mm top-drilled dagger
- Bead, Preciosa Chilli™, Czech pressed glass, opaque jet silver, 11x4mm top-drilled chilli with 2 holes
- Bead, Preciosa Chilli™, Czech pressed glass, opaque lilac, 11x4mm top-drilled chilli with 2 holes
- Bead, Preciosa Chilli™, Czech pressed glass, translucent clear silver icy blue, 11x4mm top-drilled chilli with 2 holes
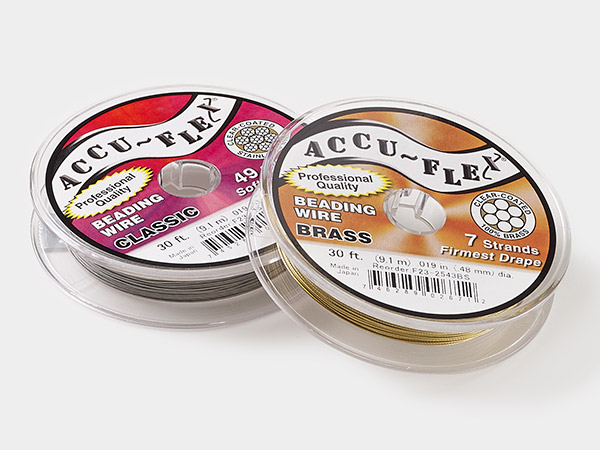
- Beading wire, Accu-Flex®, nylon and stainless steel, clear, 49 strand, 0.019-inch diameter
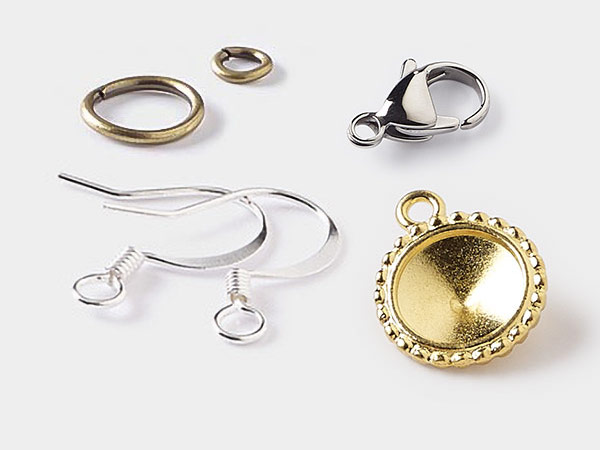
- Clasp, lobster claw, silver-plated brass, 9x6mm with open jump ring
- Crimp cover, silver-plated brass, 5mm round
- Crimp, sterling silver-filled, 2mm tube
- Ear wire, silver-plated brass, 15mm leverback with 6x3mm shell and open loop
- Jump ring, silver-plated brass, 4mm round, 2.4mm inside diameter, 20 gauge
- Jump ring, silver-plated brass, 6mm round, 4.2mm inside diameter, 18 gauge
- Jump ring, silver-plated brass, 8mm round, 6mm inside diameter, 18 gauge
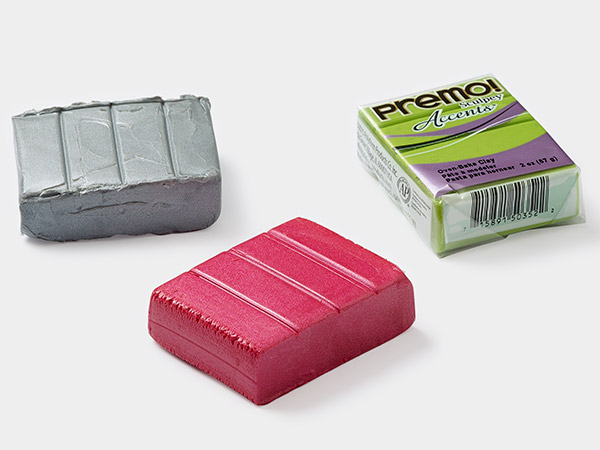
- Polymer clay, Sculpey® PREMO, purple pearl
- Polymer clay, Sculpey® PREMO, silver
- Wire protector, Accu-Guard™, silver-plated brass, 4mm tube, 0.5mm inside diameter
Instructions
Necklace Instructions
Begin by conditioning the purple pearl and silver polymer clays using a polyclay roller.
Tip: A small amount of clay can be conditioned in your hands by kneading, stretching, or rolling. If conditioning is done this way, be sure to clean your hands to ensure residual color is not leftover prior to working with the next color.
Creating the Heart Pendant
Run a section of the purple pearl clay through the polyclay roller reducing the thickness to about 1.5mm.
Roll out a square shape approximately 3x3 inches.
Using the round disc of the clay extruder, extrude approximately 14 purple pearl strips 2-1/4 inches in length and two purple pearl strips approximately 5 inches in length.
Repeat to extrude approximately 14 silver strips approximately 2-1/4 inches in length.
Take one 2-1/4 inch purple pearl strip and one silver strip and twist these together. Place the twisted strip diagonally onto the 3x3 inch square.
Repeat to create a total of 14 twisted sections of purple pearl and silver strips.
Cut out a heart approximately 2 inches in size from the square and twisted strips.
Take the two 5-inch purple pearl strips and twist these together.
Form the purple pearl twisted strips around the outside of the heart.
Press part of one 6mm jump ring into the top side of one curve of the heart. Repeat to add a second jump ring approximately 3/4 inches from the first jump ring.
Tip: Using the flat purple pearl base of the heart can help keep from marring the twisted strips.
Place the heart into a pre-heated clay craft oven onto a baking rack and bake according to manufacturer’s instructions.
Cut two 9-inch lengths of Accu-Flex® professional-quality beading wire.
String onto on length of beading wire: one crimp and one Accu-Guard™ wire protector. Pass the beading wire back through the crimp. Pull the beading wire so the crimp rests snug against the Accu-Guard leaving approximately 1/4 inch of beading wire on the end.
Crimp, then trim the excess from the short end of the beading wire. Finish with a 5mm crimp cover.
String the following onto one length of beading wire:
- 22 opaque satin metallic silver 6mm rounds
- Repeat this sequence to string eight sets:
- One opaque jet silver 11x4mm top-drilled chilli
- One opaque alabaster lilac 11x4mm top-drilled chilli
Repeat Step 9 to secure the strand.
Repeat Steps 9 - 10 to create a second strand.
Pass one 4mm jump ring through one 6mm jump ring on the heart and the Accu-Guard on the chilli end of one strand then close.
Pass the jump ring on one lobster claw clasp through the Accu-Guard on the opposite end of the strand to secure the strand.
Pass one 4mm jump ring through the remaining 6mm jump ring on the heart and the Accu-Guard on the chilli end of the remaining strand then close.
Pass one 4mm jump ring through the Accu-Guard on the opposite end of the strand and one 8mm jump ring then close.
Earring Instructions
Cut two 5-inch lengths of Accu-Flex professional-quality beading wire.
String the following onto one length of beading wire:
- The bottom hole of one silvery icy blue 11x4mm top-drilled chilli
- One clear vitrail with half-coat silver 10x3mm top-drilled dagger
- The bottom hole of one silver ice blue 11x4mm top-drilled chilli
- The top hole of the previous silver icy blue 11x4mm top-drilled chilli
- The top hole of the first silver icy blue 11x4mm top-drilled chilli
- The bottom hole of one jet silver 11x4mm top-drilled chilli
- The top hole of the previous jet silver 11x4mm top-drilled chilli
- The top hole of one alabaster lilac 11x4mm top-drilled chilli
- The bottom hole of the previous alabaster lilac 11x4mm top-drilled chilli
Tie a knot with the remaining wire to secure the weave. Trim any excess wire.
Pass one 4mm jump ring through the beading wire between the top hole of the jet silver chilli and the top hole of the alabaster chilli then close.
Pass one 4mm jump ring through the previous jump ring and the loop on one leverback earwire then close.
Repeat Steps 2 - 3 to create a second earring.
Have a question regarding this design idea? Email Customer Service.
Copyright Permissions
The pieces featured in the Gallery of Designs are copyrighted designs and are provided for inspiration only. We encourage you to substitute different colors, products and techniques to make the design your own.
All works of authorship (articles, videos, tutorials and other creative works) are from the Fire Mountain Gems and Beads® Collection, and permission to copy is granted for non-commercial educational purposes only. All other reproduction requires written permission. For more information, please email copyrightpermission@firemtn.com.

