Quick and Simple Polymer Clay Cane Leaves
Follow along with award-winning artist Lisa Pavelka as she gives step-by-step instructions on how to make a millefiori cane out of Fimo® Professional polymer clay, which can be used as clay cane leaves in jewelry designs.

Instructions
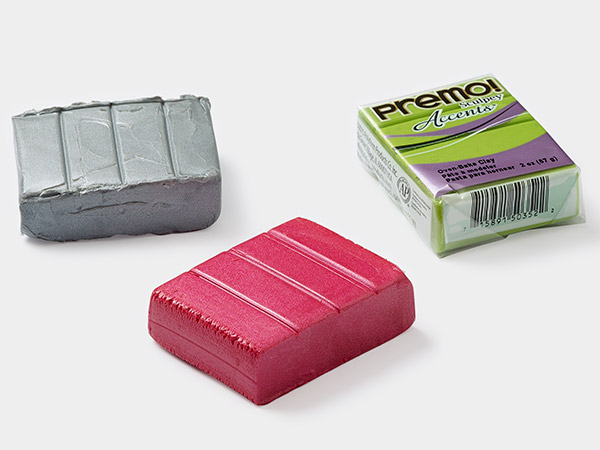
Condition sections of white and black polymer clay by hand or by running them through a polymer clay roller until soft and pliable. (Clean the roller machine between colors.) Continue to reduce the black clay to a thin sheet.
Roll the white clay into a ball then roll on a flat surface and flatten the ends, creating a marshmallow (cylinder).
Place the sheet of black polymer clay on a flat surface then place the white clay on the sheet. Trim the black sheet to the width of the white clay. Trim the end of the strip facing toward you to a nice clean edge. Place the white clay at the trimmed edge of the strip, then roll the sheet around the white clay until the trimmed edge meets the sheet on the opposite side.
Tip: The edge of the strip should impress a line where it meets the opposite side of the sheet.
Trim the sheet just inside the line so the ends meet around the white clay.
Reduce the resulting black and white cane by squeezing and compressing then rolling on the flat surface with your hand. Continue to reduce the cane to approximately 1/8 inch.
Tip:
- Rolling is typically not recommended when working with canes because it can distort the design inside. Since there is no design in this cane, rolling is a good way to speed the reduction process.
- The resulting cane will produce several dozen leaves and can be stored for later designs
Pinch along one edge of the length of the reduced cane forming a leaf shape.
Trim a leaf by bringing your blade down in an angular motion. Flip the cane then trim a leaf from the opposite side.
Tip: This trimming technique will help to avoid distortion.
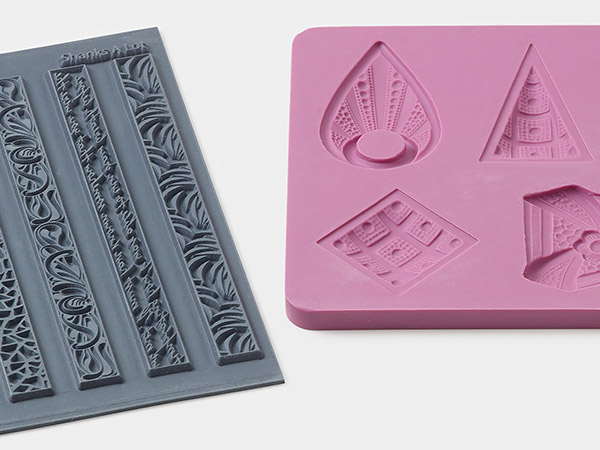
Place leaves on the design as desired. If you find you have distortion in your background clay, use a texturing tool to camouflage around the leaves.
Use a needle tool to drag down through the center of each leaf to create a vein line. It's okay if some of the black clay spreads.
Note: View the "Clay Embellished Crystal Passions® Squares" how-to video for instruction on creating the design shown in this tutorial.
Roll small balls of black clay and press them in areas where you would like to add flat back crystals. Press a flat back in each clay ball creating bezels that will keep the flat backs in place.
Bake according to manufacturer's instructions.
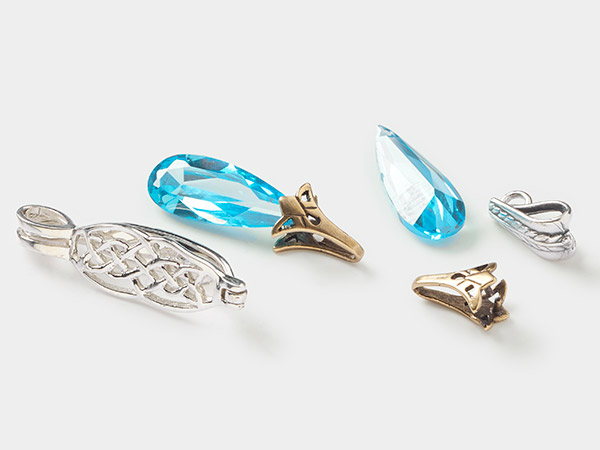
Glue a glue-on bail, head pin, eye pin, piece of wire or a decorative jump ring in place along one side or one corner on the back of the component. Roll out a piece of clay thick enough to sandwich and support the bail then cover the back of the bail with the piece of clay.
Use a piece of sand paper to texture the surface of the clay then trim even with the edges of the component.
If desired, add an additional bail to the bottom of the component to add dangles to enhance your work even more.
Shop for Your Materials Here:
Have a question regarding this tutorial? Email Customer Service.
Copyright Permissions
All works of authorship (articles, videos, tutorials and other creative works) are from the Fire Mountain Gems and Beads® Collection, and permission to copy is granted for non-commercial educational purposes only. All other reproduction requires written permission. For more information, please email copyrightpermission@firemtn.com.