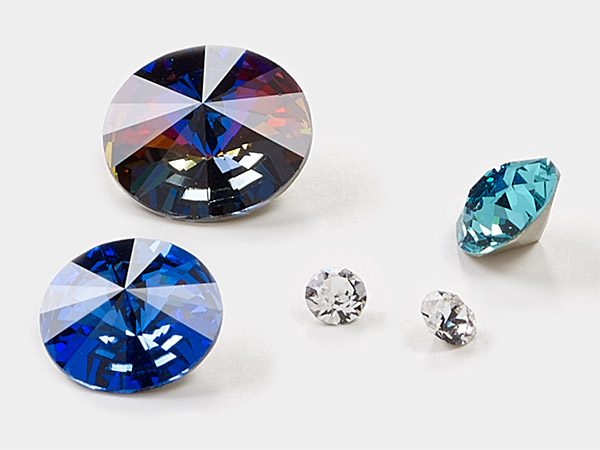
Designing with 2-Part Epoxy
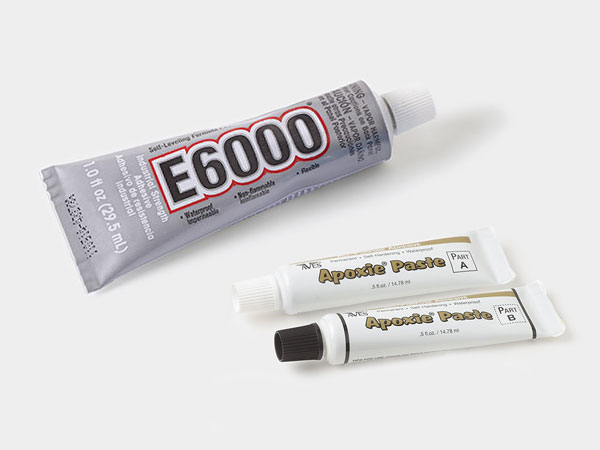
2-part epoxy is a versatile medium. Not only is it a glue that will join two things together, it can be molded, shaped, textured and used to create stunning designs.

Instructions
Mixing 2-Part Epoxy
Put on the vinyl gloves to protect your hands as you work with the epoxy.
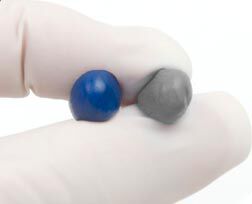
Slice off equal portions of each part of the epoxy.
Note: They must be equal for the epoxy to be activated and then to cure properly.
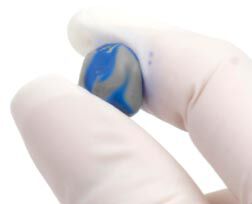
Knead the two parts together.
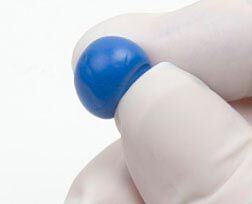
Knead until there is no color differentiation between the two parts.
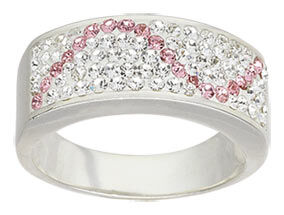
Creating a Pave-Style Design
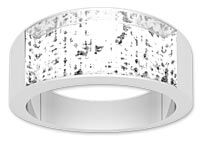
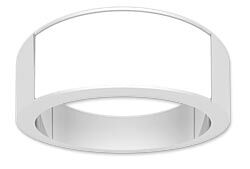
Pinch off a small amount of your prepared epoxy. Press it into the channel of your finding or ring.
Remove any excess and make sure the surface of the channel is level.
Press the non-stick work surface onto the epoxy to smooth it out and remove any imperfections or finger prints.
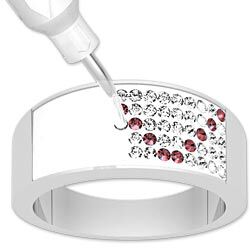
Using the Tweezer Vac™ or a pair of tweezers, pick up a chaton and place it into the epoxy, positioning it keeping in mind the pattern you have chosen to create.
Repeat adding chatons or flatbacks until your design is complete.
Note: if you remove the rubber tip, be sure to use the correct size tip so your rhinestone is not sucked into the Tweezer Vac.
Creating a Textured or Molded Epoxy Design
Pinch off a small amount of your prepared epoxy. Shape it into a ball. Press the ball onto a texture plate or mat. Let it set in place until the epoxy has set up.
Remove the epoxy from the texture mat.
Finish as you'd like—drilling a hole, sanding rough edges, painting the surface—the choice is yours.
Shop for Your Materials Here:
Copyright Permissions
All works of authorship (articles, videos, tutorials and other creative works) are from the Fire Mountain Gems and Beads® Collection, and permission to copy is granted for non-commercial educational purposes only. All other reproduction requires written permission. For more information, please email copyrightpermission@firemtn.com.

