How To Use Resin

by Tammy Honaman, Author, Jewelry-Making Expert and Educator, Exclusively for Fire Mountain Gems and Beads®
Instructions
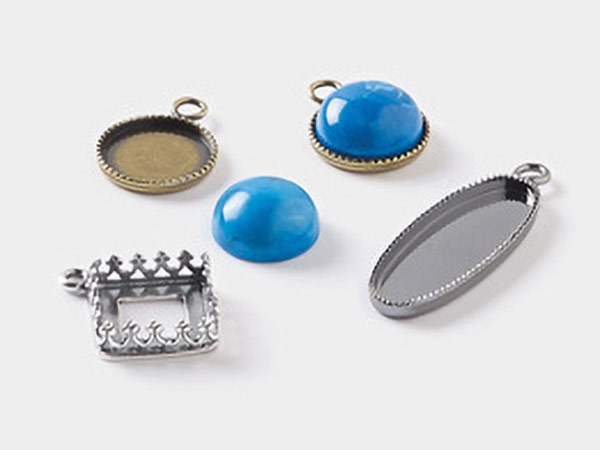
Gather the items you would like in your finished design and place them into your bezel.
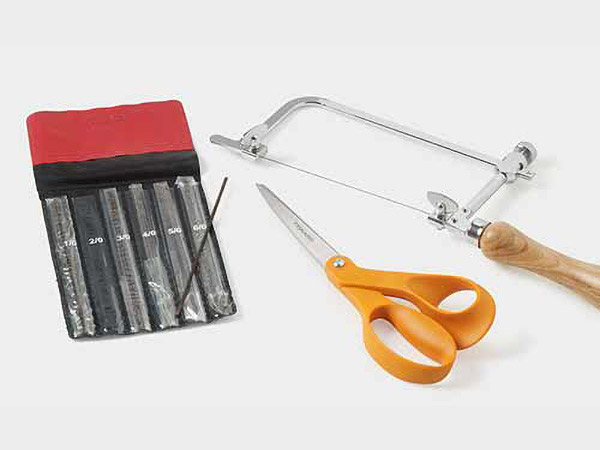
Tip: For the design shown: a piece of paper was cut to fit the inside dimension of the bezel; a small disc was cut from a 38mm Lazer Lace™ focal (moon design) using the disc cutter; and a few mussel shell heishi beads were placed inside the bezel.
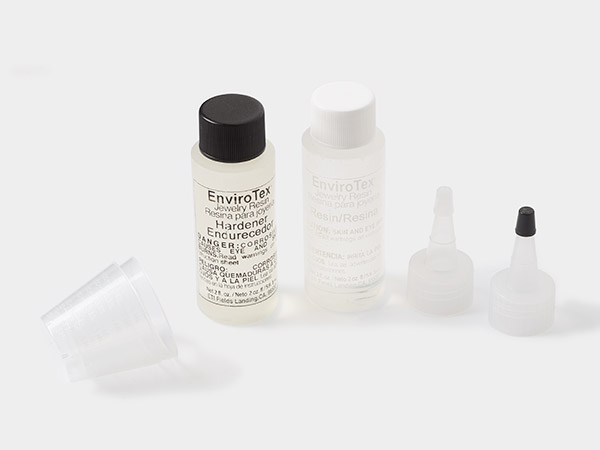
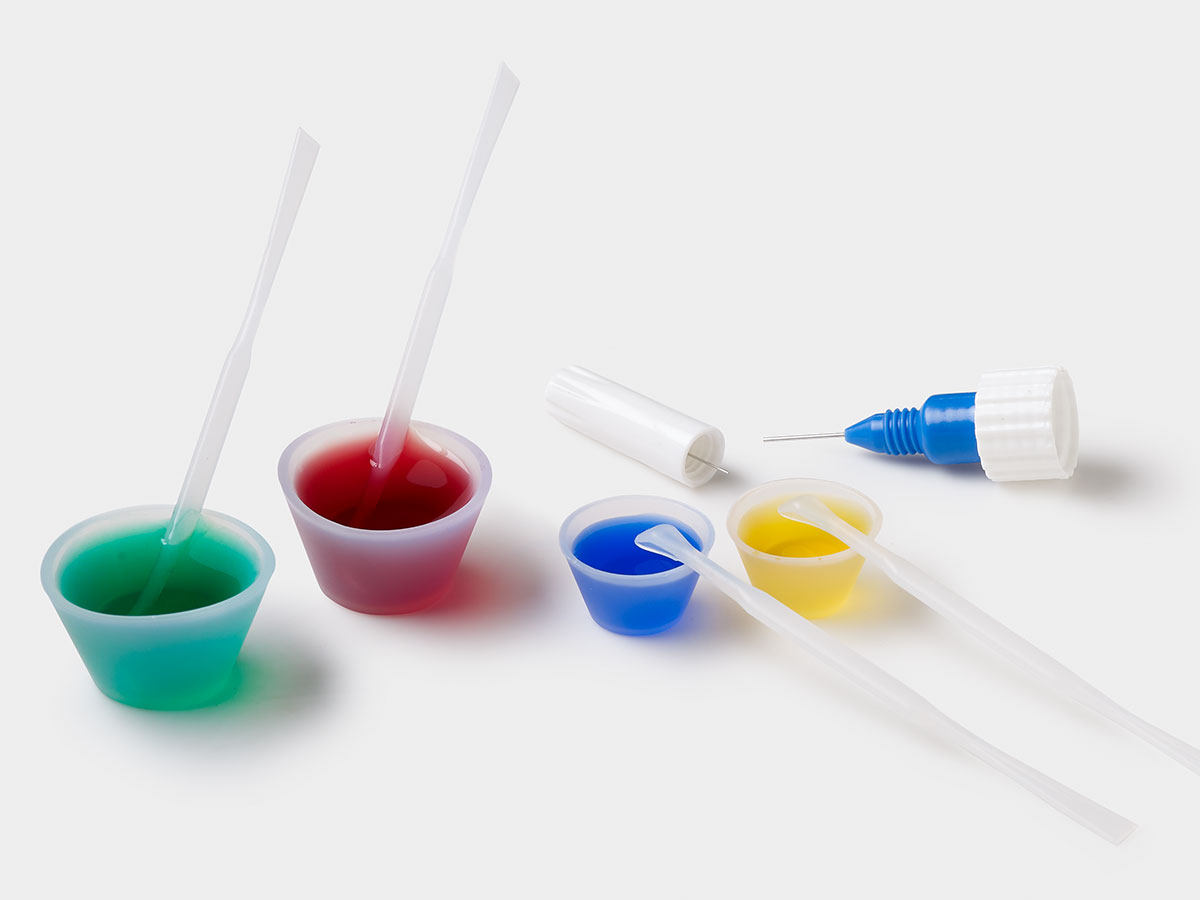
Following manufacturer's directions, pour 1/4 ounce of Part A into a mixing cup then pour 1/4 ounce of Part B into the mixing cup. Using a stir stick and a gentle folding motion, blend the two parts together. Mix for at least 2 minutes. As you mix, scrape the sides and bottom of the cup to make sure all parts of the liquid are mixed together. Blend until the liquid is clear and no striations are evident.
Carefully pour the liquid into the bezel, trying not to disturb the parts you assembled. Pour until almost full. Let the liquid settle and see if you are happy with the height of the liquid. The liquid will spill over the edge, so be careful.
Tip: If you want a domed surface pour the liquid until the bezel is almost full then let it set for 5+ hours. Mix and pour a second layer. This layer will not only create a domed look to the finished design but also offer a magnified view.
Check the liquid for bubbles. Place a task light close to the bezel to help bring any bubbles to the surface. If any appear, use a toothpick to pop them as they reach the surface. Let the bezel sit undisturbed overnight.
If any liquid spilled over the edge, wait until the resin has cured and peel it off. You can use your fingernail, a fine-edged tool or craft knife--work carefully!
Shop for Your Materials Here:
Copyright Permissions
The pieces featured in the Gallery of Designs are copyrighted designs and are provided for inspiration only. We encourage you to substitute different colors, products and techniques to make the design your own.
All works of authorship (articles, videos, tutorials and other creative works) are from the Fire Mountain Gems and Beads® Collection, and permission to copy is granted for non-commercial educational purposes only. All other reproduction requires written permission. For more information, please email copyrightpermission@firemtn.com.