How to Create a Resin Pendant

Instructions
Step 1
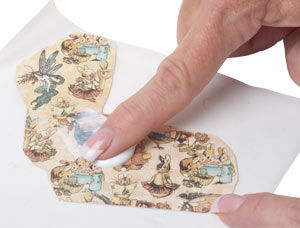
Cut a piece of paper larger than the pendant you'll be embellishing. Apply a layer of Mod Podge to the front of the paper and allow the glue to dry.
Repeat for a second coat on the front and for 1-2 coats on the back. Allow to dry.
Step 2

Score the outline of the pendant onto the paper. Trim the paper inside the score lines so it fits inside the border of the frame. Place the paper inside the frame.
Optional: Add findings and elements of your choice before filling with resin.
Step 3
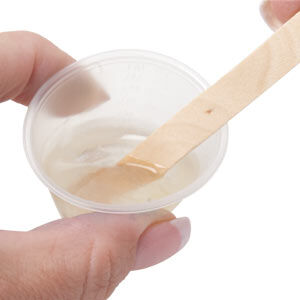
Prepare 1 oz of resin (the minimum amount suggested by the manufacturer) following manufacturer's instructions.
Step 4
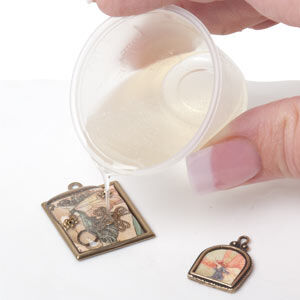
Place the pendant onto a non-stick Teflon sheet and onto a level surface. Gently and carefully pour in a small amount of resin. Allow the resin to level itself, and if needed add another small amount. At this stage you do not want to overfill the pendant.
Tip: You can control the amount of resin by dripping it off of the stir stick.
Using the beading awl, adjust your findings if they shifted from their positions and pop any air bubbles, if present.
Allow the resin to cure. If you would like to add depth to the design and create a higher dome, repeat Step 3 and add resin to the top of the already cured layer, being careful not to have the resin overflow.
Tip: If the resin does overflow, allow to cure completely then, using a craft knife, carefully trim the excess away.
Shop for Your Materials Here:


Have a question regarding this tutorial? Email Customer Service.
Copyright Permissions
All works of authorship (articles, videos, tutorials and other creative works) are from the Fire Mountain Gems and Beads® Collection, and permission to copy is granted for non-commercial educational purposes only. All other reproduction requires written permission. For more information, please email copyrightpermission@firemtn.com.