How to Use Resin in Open Settings

Instructions
Condition a small amount of scrap polymer clay in any color then roll it through a pasta machine.
Lay the clay flat on a small craft mirror. A small tile or the glass insert from a small picture frame will also work.
Place a strip of painter's tape on top of the clay, then place the open setting on top of the tape.
Using another flat object such as a tile or piece of glass, press the setting and tape into the clay.
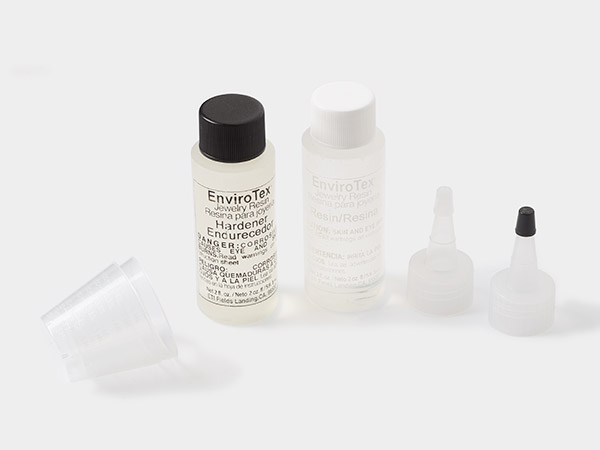
Apply a very small amount of Magic-Glos® in the middle of the setting. Spread the Magic-Glos around using a toothpick, awl or needle tool until the inside of the setting is filled, forming the first layer.
Note: The first layer should be very thin to ensure no Magic-Glos escapes through any small holes under the textured part of the metal.
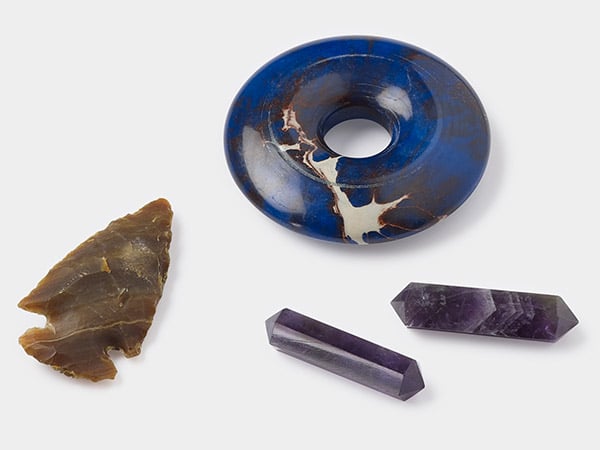
Using a pair of tweezers, add inclusions such as steampunk gears to the first layer of resin. Place the larger components toward the center of the first layer of resin so that subsequent layers will completely cover the components.
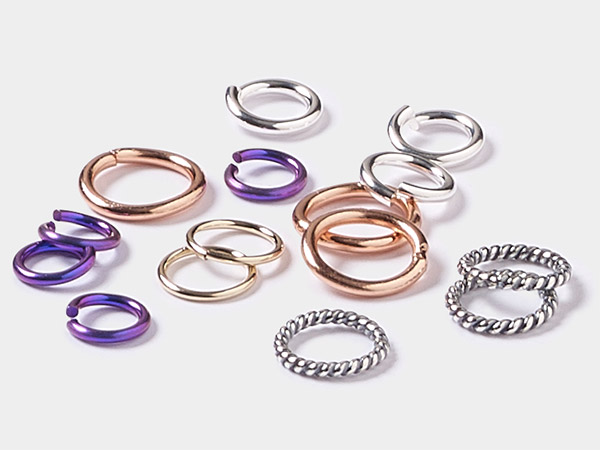
Tip: If a suspension method is not included in the design, a hole may need to be drilled later in order to add a jumpring or ice-pick bail. Keep in mind which part of the design may be the "top" when adding components to the resin and leave a space for a drill hole.
Place the design under a UV lamp for about five minutes to set the first layer of resin.
Note: Do not worry if the first layer is slightly tacky to the touch after removing from the UV light.
Begin the next layer of resin by adding a small amount of Magic-Glos to the middle then spread from the center to the edges ensuring an even coat on top of the previous layer. Be careful not to add too much Magic-Glos to the next layer, or any components added may migrate or move positions when placed under the UV light or in the sun.
Add another set of components to the second layer of resin. Use smaller components than the ones used in the previous layer.
Place the design under the UV light to set the resin.
Repeat Steps 5 and 6 until the desired number of layers of resin have been added.
It is important to add layers of Magic-Glos to the front center of the setting then spread the resin out to the edges. Add enough resin to self-level, then spread to the edges. The bottom "crust" layer may be loose and may come out when removing the painters tape, so spreading each new layer to the edge will help grip the layer below it.
Gently remove the tape with the resin design on top from the scrap clay. Slowly peel the tape from the back of the resin design.
Note: The back (bottom layer) may not be completely set and may still by goopy. This is normal.
For a completely transparent look, fully cure the setting now.
Finishing From the Back
Place a piece of scrap clay onto another small cure surface (such as the one used in Step 1) then prop the resin setting on top of the clay with the back side facing up. This will allow excess resin to flow over the side onto the cure surface if too much is added, as well as being able to rotate and check the level of the design.
Notes:
- Ensure the clay pedestal is smaller than the diameter of the setting to prevent the Magic-Glos from pulling away from the edge
- Adjust the design as needed so it lays flat. This will allow the Magic-Glos to spread evenly when applied.
On a piece of parchment or scrap paper, mix together a small amount of Magic-Glos and a small scoop of resin opal glitter.
Tip: Do not pour the Magic-Glos directly onto the glitter as the impact may cause the glitter to scatter. Instead, pour the resin next to the glitter then bring the glitter to the resin using your mixing tool.
Mix until the consistency is close to a paste. If desired, add more Magic-Glos to thin out the mixture.
Using the mixing tool, pick up the mixed resin and glitter paste and apply it to the back of the setting.
Note: It's okay to apply the glitter mix to the back of the setting if it was not fully cured from Step 7.
Spread the glitter mix until the layer is flat and even.
If adding a suspension (such as a bail or large jumpring), press it into the glitter mix now then cure.
For a smooth finish, keep adding layers of Magic-Glos until the suspension is fully covered.
For a rough finish, leave the back as is.
Note: If leaving the back as-is for a rough finish, be aware that the suspension may become loose and fall out over time.
Fire the surface of the resin with a butane torch for one very quick second to pop any bubbles that may have formed under the resin.
Notes:
- Always ignite a butane torch away from you or any flammable objects
- Work in a well ventilated area
Place under a UV light once more then cure until finished.
Note: It is OK to cure using natural sunlight. However caution should be used when doing so as dust, bugs or other debris may become trapped in the resin as it cures.
Shop for Your Materials Here:
Copyright Permissions
All works of authorship (articles, videos, tutorials and other creative works) are from the Fire Mountain Gems and Beads® Collection, and permission to copy is granted for non-commercial educational purposes only. All other reproduction requires written permission. For more information, please email copyrightpermission@firemtn.com.