Bead Soup Mosaic

Presented by Lisa Pavelka, Award-Winning Artist, Author and Instructor
Instructions
Necklace Instructions
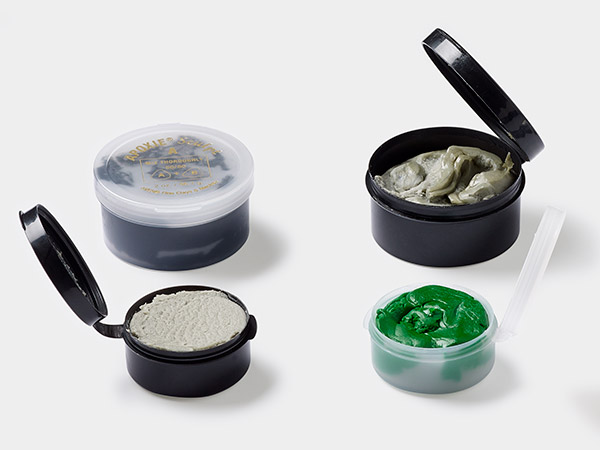
Mix equal parts of the hardener and colored 2-part Apoxie® Sculpt for approximately two minutes or until a single solid color has formed.
Note: Wear a pair of disposable gloves when working with Apoxie Sculpt.
Tips:
- Using a silicon mat as a work surface will allow the hardened epoxy to peel off. The epoxy may permanently adhere to other types of work surfaces once dry.
- When mixing colors, make sure to mix equal parts of each color with an equal part of hardener. Once each color has been mixed with the hardener, blend the colors together.
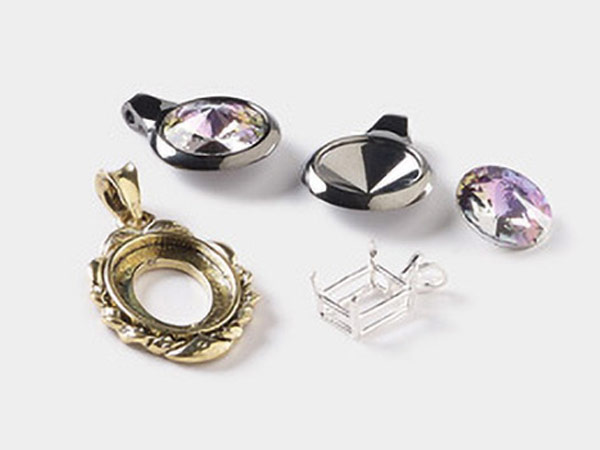
Hand mold the epoxy into the shape of the bezel setting, then using fingers or a tool such as a ball-tip stylus, work the epoxy into the corners of the setting.
Tip: Use alcohol wipes to easily clean up any Apoxie Sculpt before it dries from the work surface or tools.
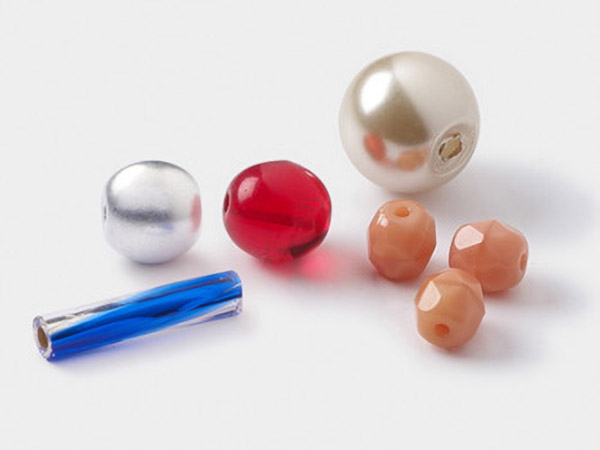
If desired, sketch out a pattern for the bead soup mosaic or place the beads freehand.
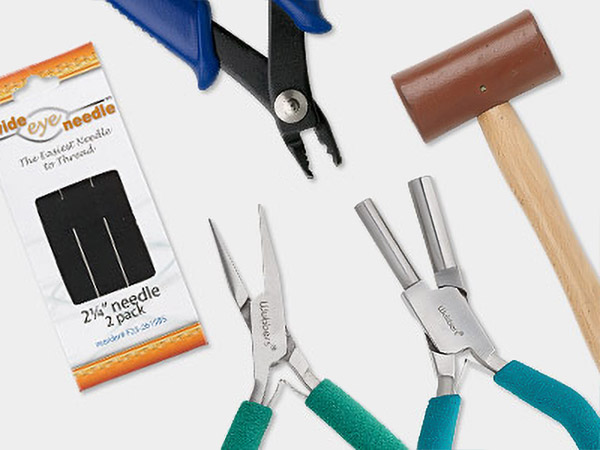
Using tweezers and a needle tool or beading awl, pick up beads and gently press them into the clay. Do not embed the beads too deep into the clay when beginning the mosaic to prevent the clay from burying the beads.
Tip: Use additional Apoxie Sculpt clay as needed to fill space created by removing beads.
Continue to place beads as desired into the clay.
Note: Apoxie Sculpt has approximately 2 - 3 hours of working time before it sets. Apoxie Sculpt also has a shelf-life of about 1 - 2 years and the longer it has been on the shelf, the shorter the working time will be. Apoxie Sculpt that has been on the shelf for longer may have as little as 30 - 60 minutes of working time.
Tips:
- Place a micro-layer of Apoxie Sculpt over any unfinished areas of clay that has already hardened to continue placing beads
- Apoxie Sculpt can be baked along with polymer clay in an oven
Once all the beads have been placed as desired, gently press them down to make sure all beads are seated firmly in the clay. Allow approximately 24 hours for the Apoxie Sculpt to fully cure.
Tip: For beads or components that are loose after the Apoxie Sculpt has cured, use a small amount of E6000® to glue it back in to place.
If desired, apply a coat of Magic-Glos® for a glass-like finish.
Note: Magic-Glos may appear to "flatten" smaller flat back chaton crystals. This is an optical illusion that may give the chaton a mirror-like finish. This effect does not happen on larger chaton crystals.
Use a beading needle to spread the Magic-Glos as needed. Air bubbles may form while the Magic-Glos seeps into all the tiny crevices and holes in the beads. If they are near the surface, use a hand-held butane torch and very briefly apply heat to the surface to pop any air bubbles.
To cure the Magic-Glos, place it under a UV lamp or in direct sunlight for approximately 5 - 10 minutes.
Shop for Your Materials Here:
Copyright Permissions
All works of authorship (articles, videos, tutorials and other creative works) are from the Fire Mountain Gems and Beads® Collection, and permission to copy is granted for non-commercial educational purposes only. All other reproduction requires written permission. For more information, please email copyrightpermission@firemtn.com.