Unclutter Your Workspace The Ultimate Guide to Organizing Jewelry Supplies
Organizing a jewelry-making workspace can seem like a daunting task with the myriad of beads, findings, stringing materials and adhesives cluttering the area. Don't despair! You can transform your space from a chaotic mess to a functional and inspiring creative haven with a bit of determination, dedicated effort and savvy solutions.
A Motivational Start-Off
Kristal Wick, a professional jewelry maker, author, designer and instructor, decided one day that her messy studio needed an overhaul. Taking inspiration from her friend's refreshingly tidy and well-organized studio, Kristal strove to create an environment that would not only streamline her creative process, but be more likely to "[invite] the jewelry-making muse to visit."
Kristal shared her thoughts on her organizing journey and offers some tips for getting started on yours:
"I can't say I enjoy the process (just like exercise), but I do love the results and have committed to scheduling time in each wacky week to see at least a foot of table surface clear of all beady debris on a regular basis. It really DOES save time (which I believed to be a myth). So I'd like to share some of my tips to jumpstart your process:
- Chocolate and coffee
- Frequent visits to artistic peeps' studios for organizational ideas and inspiration
- Containers, containers, containers!
- More chocolate
- Crank those dancing tunes
- Let go of any judgmental, shaming self-talk—it simply does no good!
- More chocolate
I wish you luck and may the tidy force be with you on your journey!"
Take a Look, Clear it Out
Start by evaluating your space. Look around your design area and consider how much floor and wall space there is. Determine if the clutter stems from lack of storage, items not being where they belong or a bit of both. This initial assessment will help you move forward with a simple clean-up or a whole room overhaul.
If the area does need a complete redo, take some time to clear it out. This will make it easier to maneuver and to see your work area with fresh eyes. It will also give you the chance to look over your supplies with a critical eye. Anything you don't (or won't) use, remove from your inventory by donating or selling. This way, those unused items won't make their way back into your newly organized space.
When reimagining your workspace, consider your workflow preferences. Your crafting table is the hub of your workspace, so finding the ideal location for it is key. Do you prefer it along a wall or maybe in the middle of the room? Now is the time to set in place; then all the other pieces can be made to work around it.
But what if your crafting space also doubles as your kitchen or dining room table? You'll need a way to pack away the pretties when mealtime rolls around. Never fear; there are storage options for the double-duty creative space, too.
Let's Talk Storage
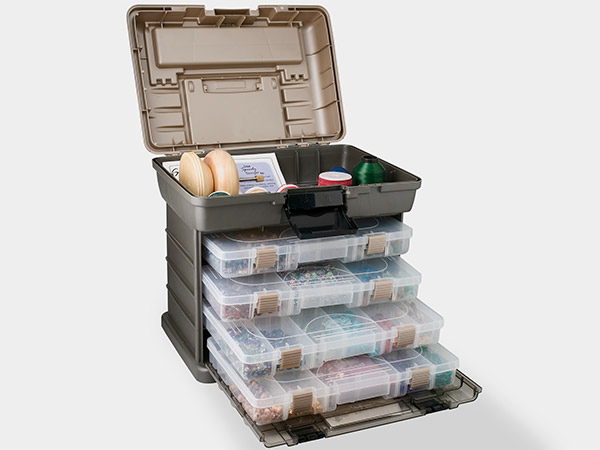
If your work area is on the smaller side or is needed for other activities than crafting, trolley carts are an excellent option that can be rolled out when you need them and rolled away when you don't. Investigate the different kinds of drawer units with casters and a variety of drawer sizes to accommodate diverse jewelry-making and crafting supplies.
Something else to consider for a smaller place is the wall. This vertical surface can help you maximize your storage with floor-to-ceiling bookcases and hanging cabinets. Or you could dedicate one existing shelf unit or cabinet to your supplies if your space allows. It's all about working with what you have and finding what works for you.
When working with a larger area, resist the temptation to have excessive shelves and bins. Try to keep it simple and according to what you need. An abundance of storage can sometimes lead to worse clutter because it allows you to keep things you may not need, just because there's room for it.
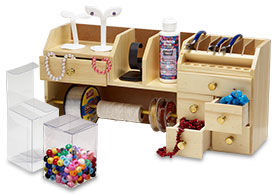
For the smaller yet crucial items like beads and findings, invest in functional storage solutions designed to handle a variety of tiny pieces. Also consider desktop organizers for immediate access to frequently used tools and stringing materials. Utilize storage bins that fit your shelving dimensions to maintain a neat appearance and consider transparent or labeled bins for easy identification. Display your favorite beads as part of your décor to keep them accessible and integrate your personal style into the workspace.
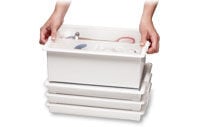
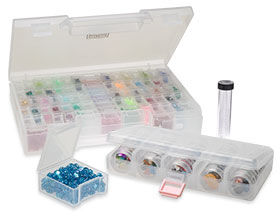
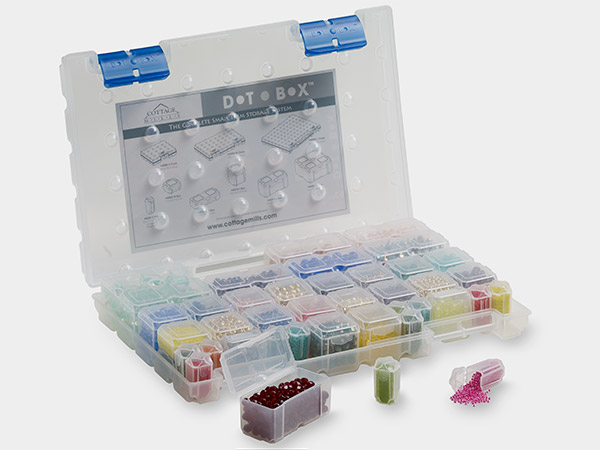
Elizabeth Ward's Bead Storage Solutions™ offers a tailored approach to organizing beading and jewelry-making supplies. These stackable, see-through bins and containers with patented "easy up-and-out" features enable effortless inventory management and component retrieval, ideal for the designer who has to use their worktable for tasks besides jewelry-making.
The system's modular design allows for a customized setup, accommodating various sizes and types of materials, ensuring your workspace remains organized and adaptable to your creative needs.
Organizational Types
Now comes the task of putting the room back together and organizing your supplies. To do that, you'll need to decide what organization method works for you. There are three "types" of organizers among craftspeople—horizontal, vertical and mobile—all with unique storage needs, which are detailed below. Which one seems most like you?
Horizontal
This type prefers everything laid out flat in front of them, with paperwork in stacks. A large table and lots of counter space is ideal, along with flat storage bins and beading boards. Here are some great horizontal organizational tools:
- Bead Storage Solutions™
Has plenty of bins, trays and containers that can be mixed and mingled to create a personalized system. The trays can be laid out around you on the table so you can see everything you have.
- Acrylic and Plastic Sectional Organizers
Clear and translucent acrylic containers corral beads, components and stringing materials into groups. Secure lids prevent beads and small pieces from spilling and keep little fingers (and kitty paws) out of your supplies.
- Tubes and Vials
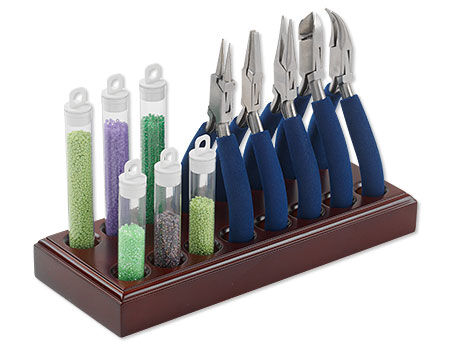
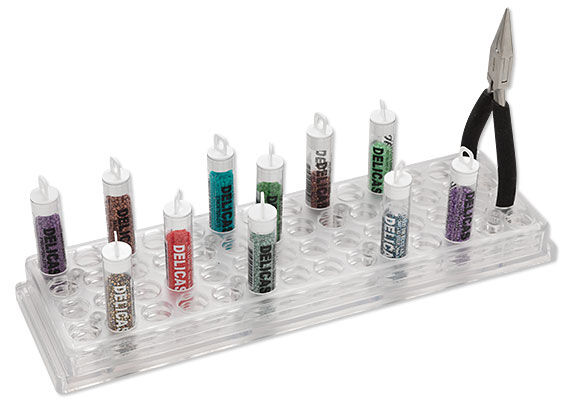
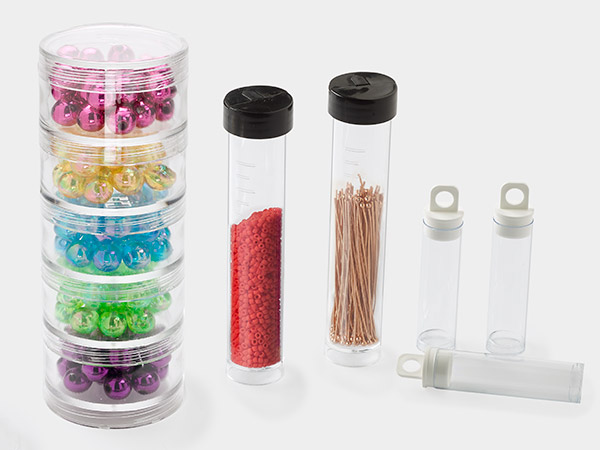
Stand vials and bottles in a row or put vials or Delica® seed bead tubes in racks like test tubes and you'll have all the colors spread out in front of you, exactly how you like them.
- Foam Display Inserts with Internal Vials
Foam pads studded with individual vials that seal securely with screw-on lids. These include padded interiors to prevent scratching or chipping. Foam pads fit standard half and standard full trays.
Organizers with Internal Containers, Vials or Tubes
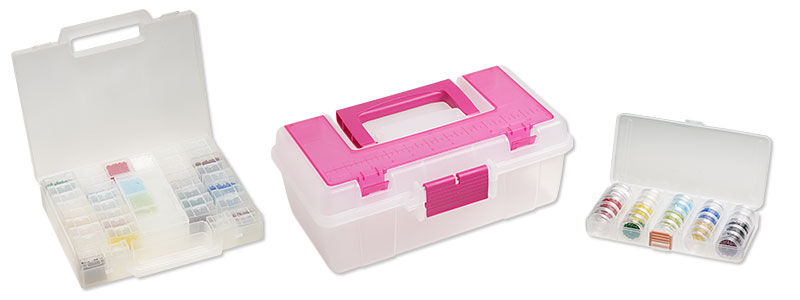
Plastic containers include internal vials for secure, individual storage. Group by color, by material, by size—whatever system works best for you.
Vertical
This type likes their supplies hung up and strung up as much as possible, so they can see what's available. This method needs plenty of wall space, so everything is clearly visible. Here are some great vertical organizational tools:
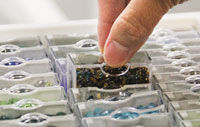
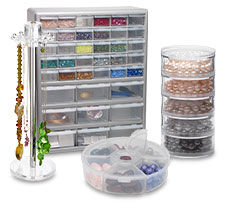
- Bead Storage Solutions Tip bins on their sides and you have a wall of tiny crystal-clear drawers, showcasing the colors, shapes, sizes and finishes you need to see. Closed compartments help keep the dust off, too!
- Storage Organizers and Caddies Keep it together with stackable wall organizers and caddies. A variety of drawer sizes means you can store beads, findings, tools and more—all in one place.
- Hanging Racks with Vials, Blister Packs and Boxes A wall of pegboard with hooks or some wire racks are all you need to set up jewelry-making space with hanging vials. Ideal for seed beads and other small items—it's almost like shopping!
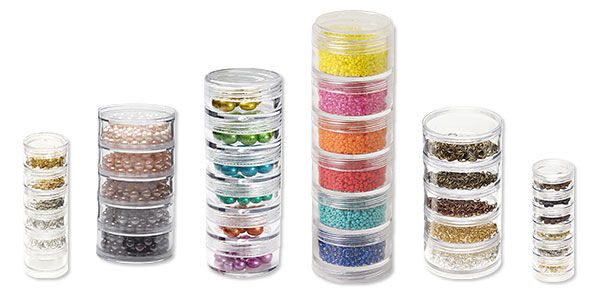
- Space-Saver Jars and Towers Stacking vials and bead towers let you organize without taking up design space.
Tammy Honaman, an author, jewelry-making expert and educator, highly recommends screw-together space saver jars. "[These] are an innovative way to store any size seed bead," Tammy says. "These clear plastic containers are made up of individual jars that screw together into a column. Keep like colors together in the same column so you can quickly eye the perfect match for your project. If you have a color you'd like to add, just twist it on! Then, twist the individual colors for your project from their columns and build a new column, making your project portable. Add another Space Saver jar to the column for needles and thread, and you've got a perfect on-the-go storage unit."
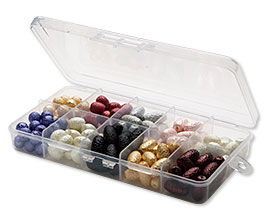
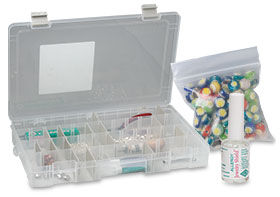
For Czech seed beads on hanks, Tammy encourages beaders to "place them in 5x3-inch clear plastic zip-top bags. Keeping the hanks in bags will ensure that any loose strands stay contained. Put the filled zip-tops in a Plano® plastic organizer box, a versatile storage unit in a range of styles that let you choose the storage design to meet your needs. Or hang [the] hanks on a necklace display [or wall display racks]. You can line your entire studio [and surround yourself] with…shimmering color!"
Mobile
This type is the creator on the go. Mobile organizers benefit from storage options that ensure their projects are portable. Here are some organizational tools for jewelry makers on the move:
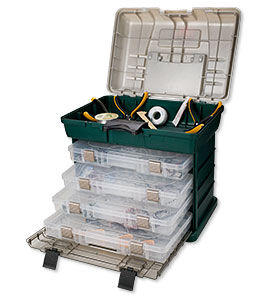
- Totes Handles, secure closures and multiple compartments in a variety of sizes all make these totes easy to take on the road with you.
- Organizers/Finished Jewelry Displays Take your stock or finished jewelry with you. Create on the road, in the hotel room, at the show—wherever—then set up your booth with the same items you organized with.
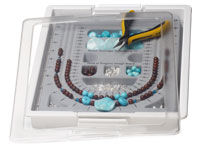
- Travelling Beading Mats and Bead Boards You're in the middle of a design and you've got to hit the road. These bead boards let you roll up your project, fold up the mat—or cover it—and take it with you!
As with any system, it's possible to be a mix of different types. You may be horizontal in some aspects of your creative flow, vertical in others, et cetera. Understanding your organizational preference allows for a customized system that makes for smoother and more effective jewelry making and a tidier space to work in.
Specialty Organization
Some jewelry-making supplies need special organization, and standard containers often don't work for the tiniest components such as seed beads or crimps. And what about tools and stringing materials or components that are prone to tarnish? Here are some great options for corralling your special-needs materials:
Seed Beads and Tiny Component Organization
Delicas, Dyna-Mites™, rocailles, TOHO®, Ming Tree™— you’ve got them all. Make sure you know which is which using a selection of seed bead organizers. Also applies to tiny charms, drops, crimps, chatons and flat backs, plus a plethora of other small components:
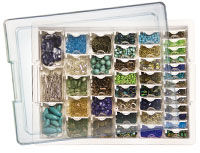
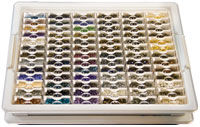
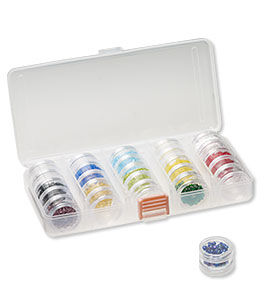
- Bead Storage Solutions Tiny Containers™ fit the Tiny Containers Tray™ and the Assorted Bead Storage Tray™. You can't get better seed bead organization than this.
- Tubes and Vials with Tube or Vial Organizers Hanging vials for vertical organizers, standing trays with vials for horizontal organizers—if you need to sort your seed beads, there's a system for you.
- Reused Organizers These systems come pre-filled with starter sets, kits or color families. Use up the beads and reuse the organizers for yourself.
Tammy Honaman shares some pro tips from her own experience with organizing seed beads:
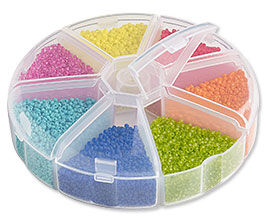
"Part of cleaning up my studio space involved grouping like items together…I transferred the Dyna-Mites™ and the Delica® seed beads into 5x9/16-inch vials. I then placed the vials into clear plastic organizers like the one pictured below.
This brightened up the place and helped me see and appreciate the beads I have, and see what I am missing!"
Tammy also highly recommends using see-through containers and clearly labeling containers indicating size, shape and origin. "This makes it especially simple to retrieve specific types of seed beads for a project," she says. You can also repurchase the same color, shape and brand more easily if you run out in the middle of a project.
Anti-Tarnish Organization and Storage
Fine silver, sterling silver, sterling silver-filled, silver plate—they're all prey to tarnish. The same can be true of copper and brass jewelry components. Even gold is vulnerable. Prevent tarnishing and color changes in your metals by storing them in anti-tarnish bags and organizers or with anti-tarnish strips.
- Anti-Tarnish Organizers These water-tight organizers by ArtBin® contain tarnish inhibitors, molded right into the plastic dividers and designed to protect non-ferrous (iron-free) metals such as gold, silver, copper and brass for up to five years.
- Anti-Tarnish Bags Anti-tarnish resealable bags are coated on the inside. The coating neutralizes the effects of oxygen on silver, platinum and gold.
- Anti-Tarnish Strips and Coating Make your storage safe for silver by adding Shine-On™ anti-tarnish paper to your organizers. Protect copper, brass and other metals by coating them with Jewelry Shield™ or Jeweler's Skin Guard™ (5548BS).
Tools Organization
You've got more tools than you know what to do with—you need a selection of tool organizers for your pliers, nippers, soldering irons and other jewelry-making tools. Here's a selection of organizers for jewelry-making hand tools:
- Bead Storage Solutions The large Supply Bin™ lets you put your big tools in the right spot.
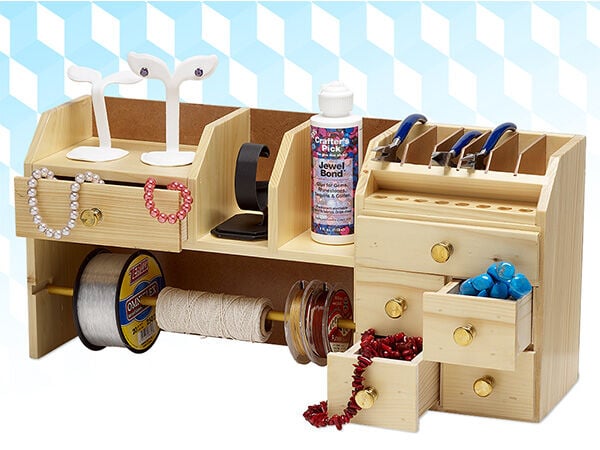
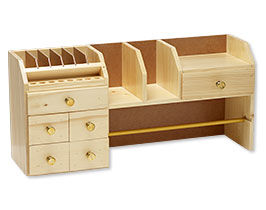
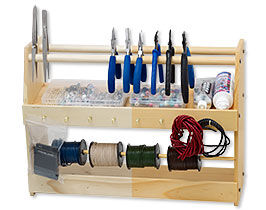
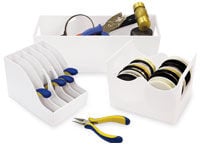
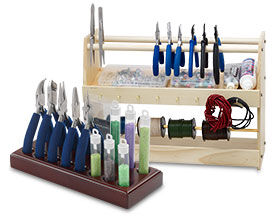
- Organizers and Stands Hold pliers, nippers, snips and more with workspace-ready acrylic and wood organizers.
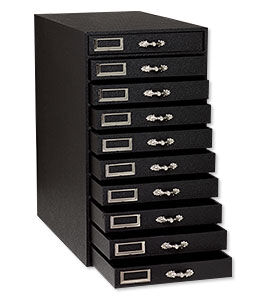
- Storage Organizers and Caddies Stackable wall organizers and mobile tool caddies offer a variety of drawer and pocket sizes for tools both large and small.
Stringing Materials Organization
You've got tons of cord, string, ribbon and thread—you're a fiber geek as well as a bead lover. You can store them all without tangling, with some of these organizers:
- Bead Storage Solutions Organize spools of Accu-Flex® and other stringing materials using the large Supply Bin™.
- Beadalon® Spool Tamer™ Prevent spools of wire, thread and cord from becoming a tangled mess. Simply slip the elastic band around the spool and adjust it to fit snugly. Thread the stringing material through the hole in the buckle for easy pull-out action with no uncoiling when cut. The handy tool rack keeps wire secure on the spool so your wire and desktop stay organized.
- Boxes and Spools Keep spools of thread, cord, ribbon and beading wire right at hand. The Huggy Spool® lets you safely and securely coil loose stringing materials, then stores easily on a bar or in an organizer slot. Works great for spools of wire-wrapping wire, too!
By incorporating these strategies and specialized storage solutions, you can maintain an organized, efficient and aesthetically pleasing jewelry-making workspace, allowing for greater focus on creativity and craftsmanship.
Shop for Your Materials Here:
Have a question regarding this project? Email Customer Service.
Copyright Permissions
All works of authorship (articles, videos, tutorials and other creative works) are from the Fire Mountain Gems and Beads® Collection, and permission to copy is granted for non-commercial educational purposes only. All other reproduction requires written permission. For more information, please email copyrightpermission@firemtn.com.

